Fruit pastries are so easy to make. And such a tasty dessert that can be made light with just a little butter.
You’ve probably seen fruit pastries at bakeries or French pastry shops. These homemade ones are inspired by those…
And I first saw them at a gourmet food market called Sutton Place Gourmet that’s now branded as Balducci’s. “Gourmet” was the word we used for foodie today.
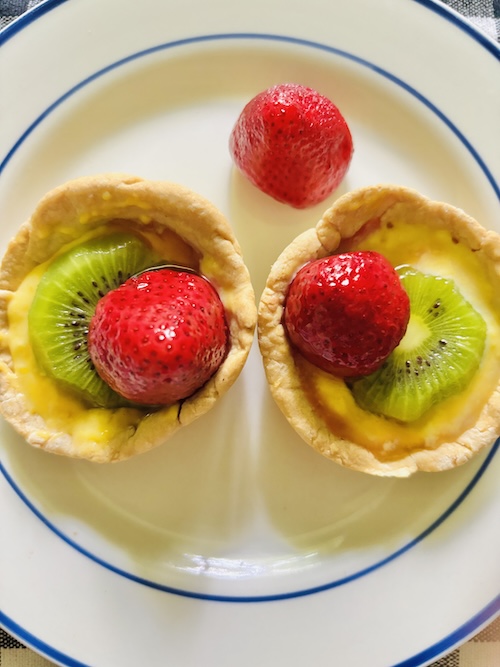
The bakery section had the fruit desserts with strawberry, kiwi, and blueberry on a curd pastry base (that I now know how to make and you can too!).
Besides fruit colorful, they were one of the few individual desserts out there… as in, no need to share. So they stood out!
Plus, the desserts also had a shiny glaze ontop, even more than the one in my strawberry gaze plate. 🍓🍓 They looked like shiny food magnets you’d stick to your fridge.
Those were the days that I worked in hotel catering.
And never back then did I think I would make these fruit pastries at home.
Each can get her own tart.
Also, below I’ll tell you how you can make these fruit pastries and keep this pastry tart dessert recipe, low-sugar… with sweet and sour-tart tastes.
Basically, a tart tart. And a sweet tart (for the sweethearts 💕).
Oh, and you can also make these low-fat. I already pointed out the little butter than can be added.
…It’s a myth that you need a lot of butter to make pastry. I think we learned buttery habits from pies that are a kind of pastry.
It’s true you need a little butter (as in a pat or two, but not a whole stick). Measuring is not so important with butter in this application.
And unlike cake, neutral oil will not work well the same in taste or texture in a sweet pastry. If you’re a cake girl 🙋🏻♀️, see my butter vs. oil notes.
The less butter in pastry gives it a less buttery taste, but the compromise is well worth it if you want to keep it more healthy. The hint of butter tastes are definitely still there in moderation.
And you can still work with the dough to make pie and pastry shapes.
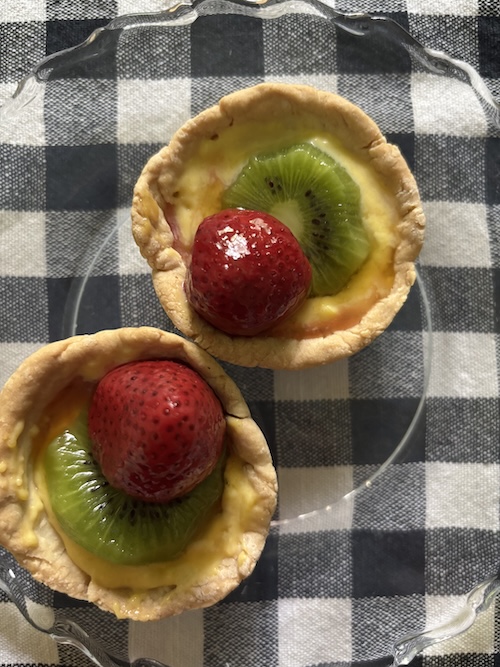
You can even make these checkered pie design (with you know the country cross hatch pastry pie-style 🥧)… or simply just place them on a checkered napkin 😊for a homemade effect.
The obvious simpler way (like the open-face fruit tart photo’d above) can be done easily with 5-10 minutes of total prep time, 35 minutes baking time, and 5 minutes or less curd (stove) making time.
There are 3 simple steps for these fruit pastries: make the tart shells, curd, and arrange the colorful fruit (the fun-nest part!).
The prep steps are: bring out the ingredients (including the butter first to not forget like I often do) for the pastry, preparing fruit you’ll use, and separating an egg yolk from egg white for curd (easier to do when an egg is cold).
Some tips:
Save the egg white for a savory meal or a light, but protein-full dessert like cottage cheese chocolate mousse or a ricotta semi freddo dessert.
For the butter, since it’s a modified smaller amount used in this recipe, you can set it ontop of the stove while the oven is preheating. If you’ve got a standard kitchen appliance setup like mine, one or more of the stove burners turns warm when the oven is turned on (even though the stove itself is turned off).
Heat rises.
And as that happens, you can make the curd on the stove. They work great in mini fruit tarts too.
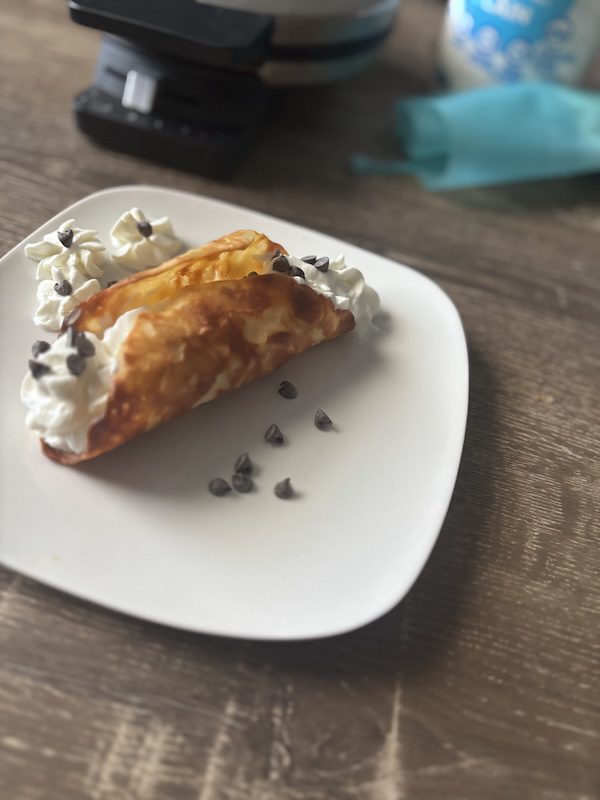
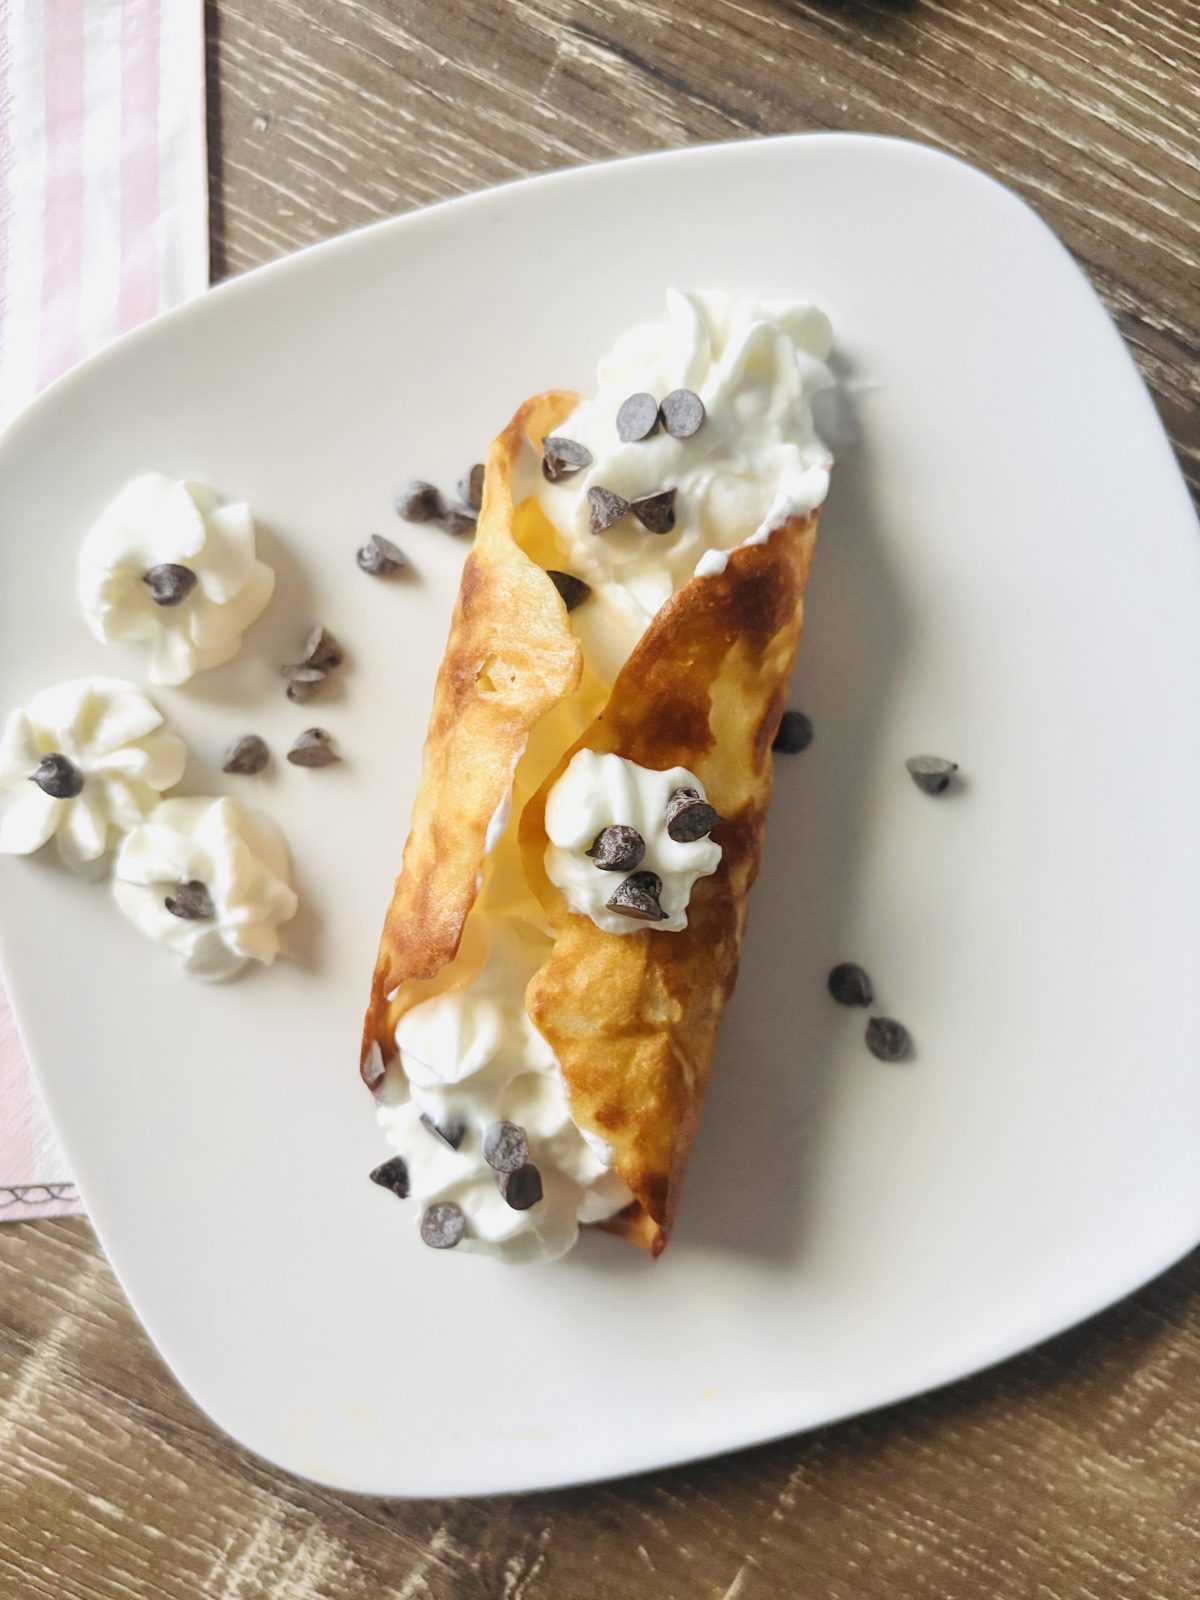
Like these (cute?) ones! I paired strawberry with tart rhubarb on a lemon curt tart that I’m taking to a picnic. Two tarts in one. 😋
They look like little dessert sushi. 🍱 And they make great catering dessert adds.
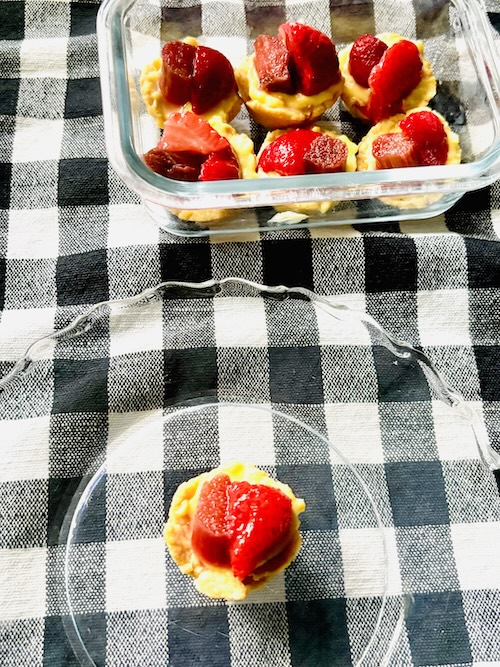
…Oh look, one extra for moi!
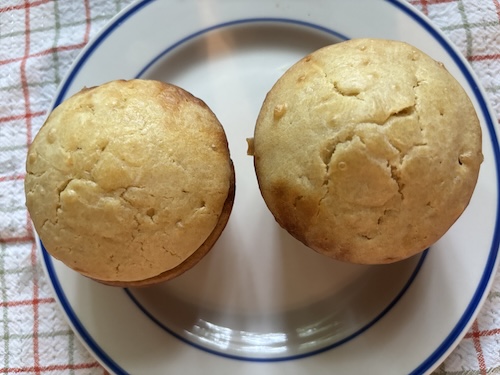
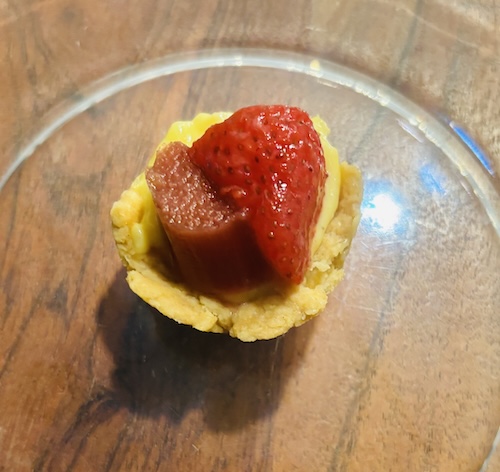
It looks a bit craggy, haha. Like a wheel that won’t go far!
But truth is, I never aim for perfect shapes. Good is good enough. Because I know they’ll get gobbled up in nanoseconds.
I kinda like that they’re rustic, as there’s no mistake that these are home made!
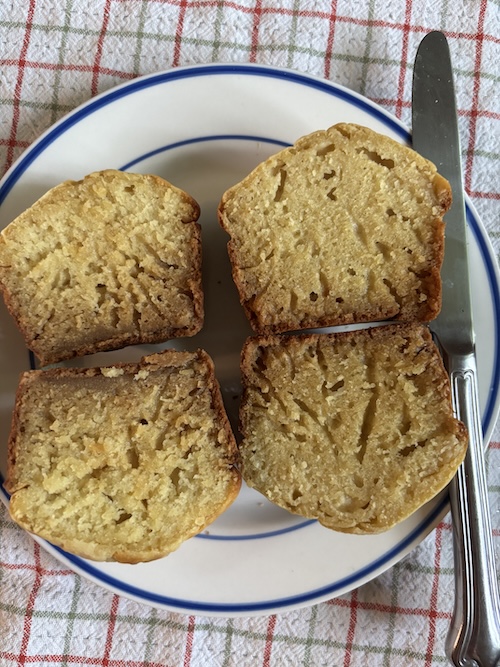
And make no mistake they are as delicious (if I may say so) when you pop them in your mouth.
…Did I already mention they have no added sugar (as a bonus)?
I kept mine without added sugar (besides the sweetness in natural fruit).
But on that note, for a glazed look and to keep it low-sugar, you can add a healthy drizzle of honey that pairs well with the fruit flavors and especially well with pastry buttery flavors. This keeps the dessert bite sweet and in good balanced taste proportions…
The small amount of lemon curd goes exceptionally well with strawberry.
…Maybe serve with a strawberry lemon trifle parfait?
Some like raspberry, but I think straw-lemon is a heavenly balanced pairing. And butter and honey is on that same high level.
You’re in for a sweet treat (…even if it’s bite size sweet craving one!).
Ready to make this?
Fruit Pastry Tart (Low-Sugar)
Ingredients
- 1/4 cup all purpose flour
- 1 Tbsp softened butter
- 1 Tbsp water (plus more)
- lemon curd (instruction below)
- fruit of choice
- honey (optional)
Instructions
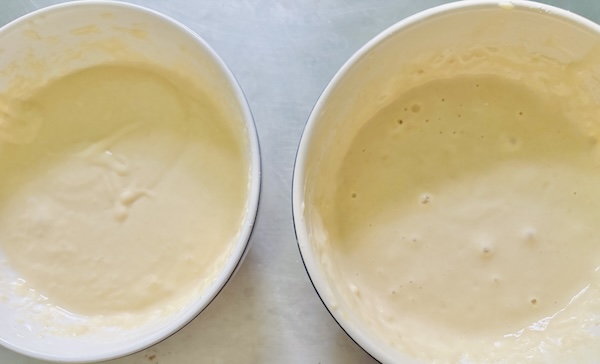
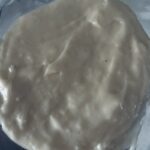
- Cut the softened butter into small pieces and incorporate (fully coat) into the flour. Use just enough water to bring the butter and flour together. The water will make up for the small amount of butter that will adhere to the the flour. Make a pastry disc. Cover and refrigerate for a few minutes.
- Shape pastry in muffin tin. Bake at 350°F for about 35 minutes or until edges and bottom are golden brown. Let cool at room temperature.
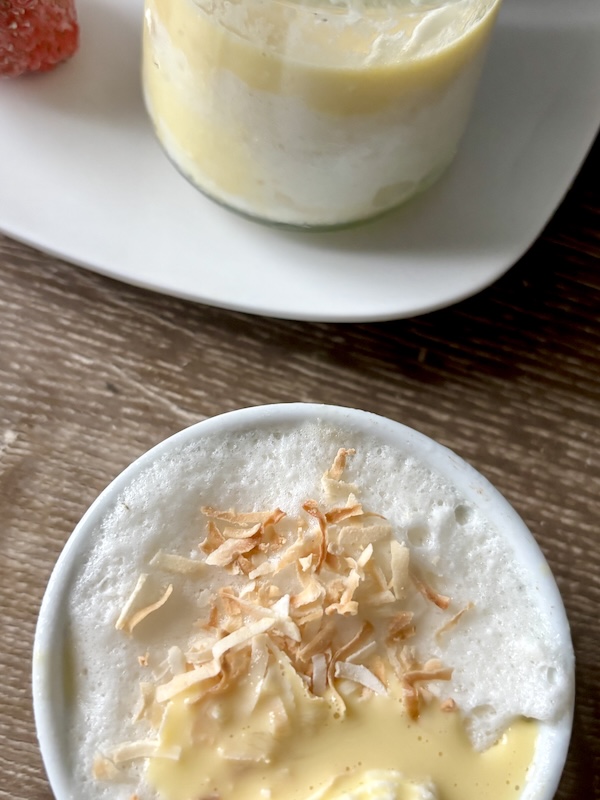
- Make the lemon curd. On low heat, combine 1/4 cup flour, 1-2 Tbsp butter, 1 egg yolk, and 1/2 tsp lemon juice or zest. Add the egg yolk last. Stir constantly so egg doesn't cook. Once the mixture comes together, remove from heat. Refrigerate for a few hours.
- Add a small amount of curd in pastry tart shells. Add fruit of choice on top such as as seasonal berries.
- For a glaze look you can drizzle a small amount of honey ontop.