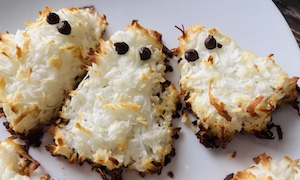
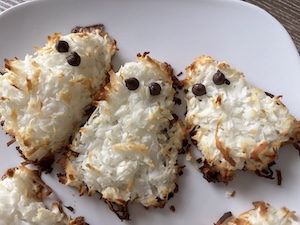
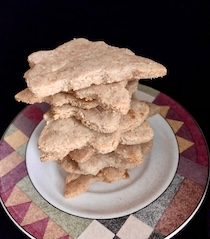
Halloween cookie is a good alternative to candy. And a macaroon is a 2-ingredient easy cookie idea. That’s not to be confused with a macaron. But still a treat and not a trick with these appearing ghostly Halloween cookies.
They have a candy bar bite if you add some chocolate like these chocolate-morsel ghost staring with mac-raccoon eyes.
What makes these different from traditional macaroons is they are made without a can of condensed milk.
The fat from condensed milk never settled with me and I figured out this cookie doesn’t need that, or even need any butter like most cookies.
You can make this Halloween cookie macaroon easy with whole milk if you don’t mind the dairy.
And one tip is: if you want to make whole milk last longer than the going-sour expiration date daily clock from ticking, freeze the milk you won’t be drinking anytime soon. That freezes the clock (and takes the pressure off).
When you bring the milk back down to the fridge, after overnight or so, it’s as good as good drinking milk or milk to bake with… Just a helpful idea.
And that’s milk that’s perfect for this ghostly good cookie recipe (and dunking baked ghosts in if that’s what you choose)! Or you can pair with a coconut chocolate smoothie.
Then to make the ghosts, combine the milk with unsweetened coconut. This is a low-sugar, fiber ingredient. Along with milk, you’re getting vitamins and minerals that most (Halloween) candy can’t boast.
So these Halloween cookies are light, but heavy in nutrients, relative to their ghostly body weights.
And they won’t disappear in the oven (like a light meringue ghost would without sugar 👻). Here they are happy as can be as a Halloween cookie trio.
And you can add to your yogurt parfaits or cereals. Or any meal or snack you would add coconut or milk to.
The best part is this is a 15-minute prep to bake finish project… and just one bowl prep easy.
Oh, and actually you can measure your coconut in a measuring cup and then add the milk in tablespoons to the same cup. So you don’t even need a bowl.
That’s it to make your ghost mixture!
Add them to a non-stick baking pan or on a silicone mat on a baking pan so they don’t stick. Avoid baking parchment paper as you ghosts can stick.
And if you’re wondering whether to add the chocolate eyes before they bake, yes!… go ahead. That way they can stick to the ghosts and cutely look back at you as they bake.
They will meld and not melt at low temps.
And after baked, then you have a low-sugar, sweet-ish, and happy-spirited snack to munch on. 👻
This is an easy ghost macaroon cookie that's low-sugar.
Course Dessert
Cuisine American
Prep Time 5 minutesminutes
Cook Time 10 minutesminutes
Total Time 15 minutesminutes
Author Brandy @ Healthy Happy Life Secrets
Ingredients
1cupcoconut, unsweetened
5Tbspwhole milk (2.5 ounces)
mini chocolate chip morsels
Instructions
Blend the ingredients and then shape mixture using cookie cutters as guides or use your fingers to shape into a ghost (round top and swervy bottom)
Add two chocolate chips as eyes.
Bake at 350°F/180℃ for about 10 minute when the edges are browneds. Do not over bake. If you will be distracted, bake on a lower temperature and bake for a little longer.
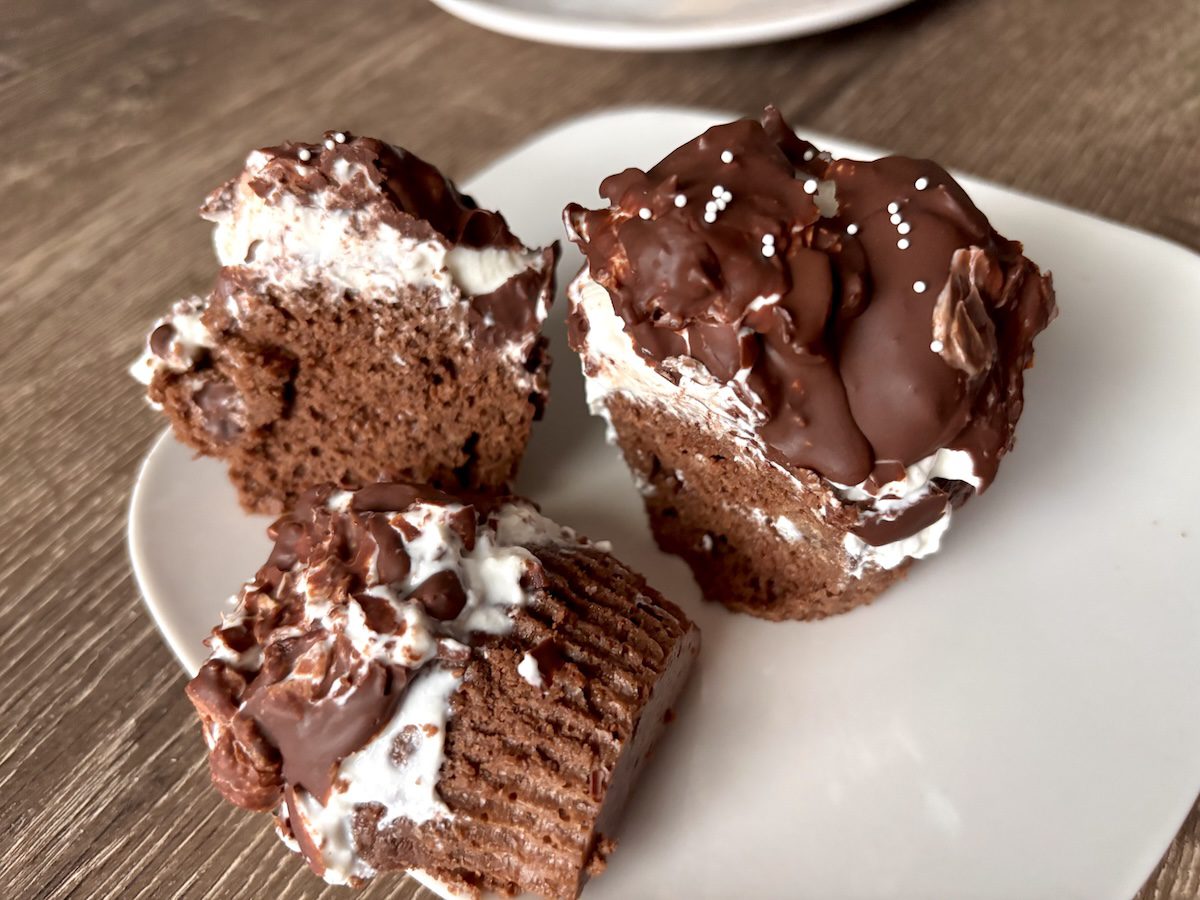
Hi-hat cupcakes are one of my favorites. My eyes light up in delight. A 3-step cupcake has everything to be a quintessential dessert staple… chocolate, frosting, and a cup-cake layer.
Who doesn’t like being greeted with this type of hat? Hi-hat back atcha!
And while the white pillowy cloud of goodness is usually made with meringues or marshmallows… this one is not. Because that usually equals a generous amount of white granulated or powdered sugar… and that adds up to high sugar in the body.
…And when sugar is high, then you want more to eat. Both you and your body crave more.
And those “empty calorie” sugars do you no favors if you’re trying to be healthier, low-sugar, are pre-diabetic, or trying to lose weight.
But this hi-hat cupcake recipe version is not that high (sugar) way.
It’s also full of healthy ingredient goodness mixed in to a delicious low-sugar chocolate treat..
If you use the ingredients and technique below, then you’ll bypass the high-way negative effects.
…See what I did there? 😊
Low-Sugar Points:
And knowing all this, as an intentional anti-inflammatory food and low-sugar baker, I used a smidge of monk fruit sugar for the cupcakes that won’t spike blood sugar like regular white sugar does.
Monk fruit sweetener is also super sweet tasting on the tongue, so you don’t need much. For all those good reasons, it’s added to the cupcake and also helps the cake texture.
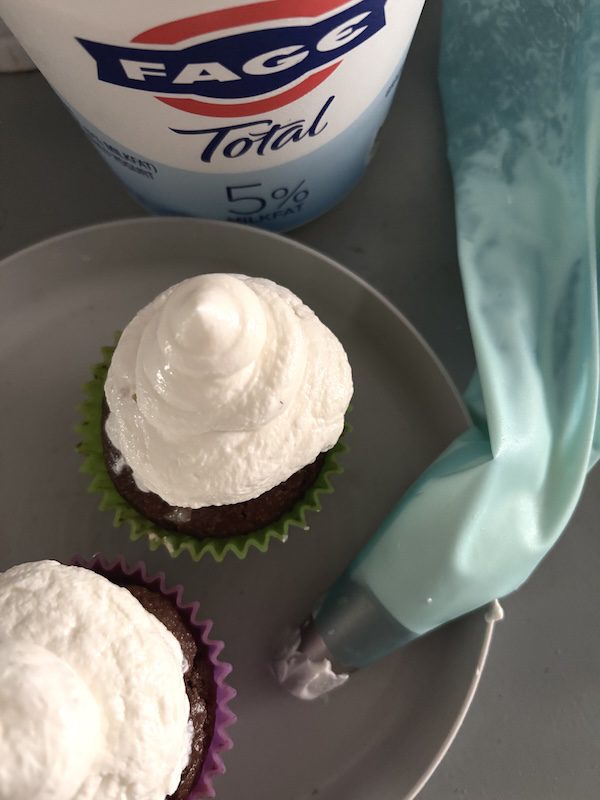
For the frosting, I decided to use the natural sugar already in Greek yogurt as the sweet ingredient.
Yogurt naturally has lactose that’s a natural form of sugar.
So there’s no added sugar… and when food shopping, you can look for those written Greek yogurt label confirming positives to see for your very own eyes.
A thicker yogurt (5% or whole milk) works consistently for a thick frosting, but 2% or reduced milk could work too from the many yogurt options out there.
The test is when you open your yogurt, if the yogurt slides off a spoon like most regular yogurts. If it’s thicker like many Greek yogurts, it won’t easily slide without your needing to prod it along.
And if it fails the spoon test, you likely will get an elegant mound cupcake hat (like a melting snowman or pill hat), but not a cone shape or an elf’s hat that you often see with hi-hats.
But either hat style will melt in your mouth or get gobbled up by someone. 😋
…And actually the less perfect it looks, the more likely that’ll happen quick… if you get my drift.
And I’m all about easy over perfection.
Then for the last part of melted chocolate, you have many options. Some chocolate morsels has monk fruit sugar as an ingredient if you want more healthy options. You can also choose dark cacao or regular dark chocolate morsels.
But now we’re getting ahead of ourselves…
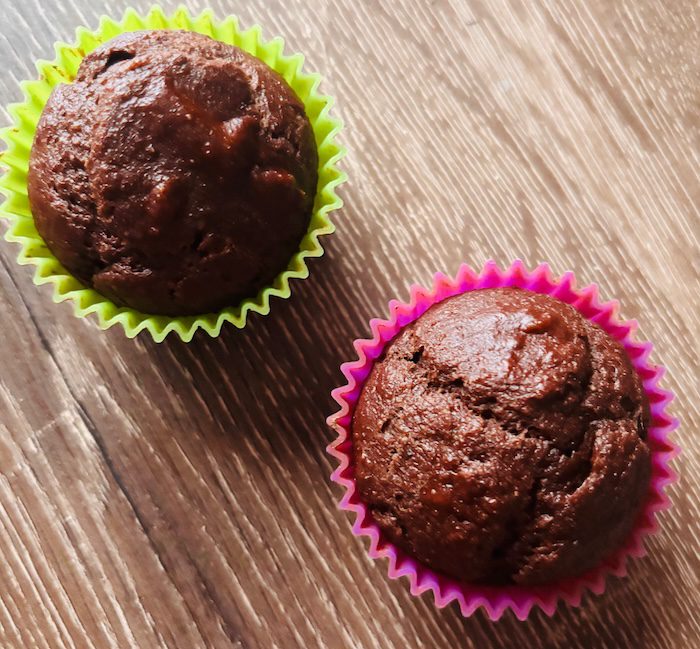
Because.. first you have to make the cupcakes! And then you can assemble or put it all together.
And for planning, you can make the entire hi-hat cupcakes in under 2 hours, or in stages.
The cupcake itself from start to finish will take less than 30 minutes.
Ready?
To make the foolproof easy hi-hat cupcakes, these are the chocolate cake ingredients and steps:
-2 egg yolks
-1/2 cup milk + more (I usually add an extra few Tablespoons because that will yield a thinner batter… and that means more cupcake)
-1 Tbsp neutral oil or liquid form of coconut oil (if you want to use less healthy fat, then you can use 1/2 Tbsp and it will also work as cake is naturally a more dry texture to begin with)
-1 tsp lemon juice or white vinegar for acidity
3/4 cup almond flour
1/2 cup all-purpose flour
1/4 cup cacao (or unsweetened cocoa powder)
1/8-1/4 tsp monk fruit sugar
1/2 tsp coffee (optional)
1/2 tsp baking powder
1/4 tsp baking soda
pinch of kosher or coarse sea salt
Step 1: Measure your flour and dry ingredients and add to combining large bowl.
I have found gluten-free almond flour with a little all-purpose flour works best, and adds healthier vibes. So it’s the best choice all-around. But if you don’t have almond flour on hand, then you can also use full-on all-purpose flour.
I leave out the coffee for chocolate cakes but that’s a decision you make as some people love the pairing. For me, salt adds more of an impact in taste to a chocolate cake than coffee does. Another option is to add a little more cacao powder than the recipes call for to bring in more “chocolatey” vibes.
I like the dark, bitter unsweetened 100% cacao to be the star ingredient in the bake. But to each her own… you do you!
Then start adding liquid ingredients. Separate your eggs when they’re cold from the fridge (and you can save your egg whites for other recipes like baked cannoli shells).
Hand whip/loosen up egg yolks in a separate bowl (and reserve adding the egg until the end if you want to taste your batter before baking). But otherwise, you can add the egg yolks to one easy bowl along with all the other liquid ingredients. Use 1/2 cup of milk of choice
Any taste-friendly liquid would work. Even a little water would work, but it would be a zero taste add (and less fat and protein for the cake texture), so I wouldn’t recommend.
Oh and btw, it doesn’t matter if you add dry to wet or wet to dry ingredients. And in happy nostalgia, that’s what my favorite baking teacher Martha Stewart has said before. Her teachings have encouraged my hi-hat and cupcake baking to name a few practical areas.
And in my small kitchen box, the reason I add wet to dry (or add dry ingredients first to the bowl) is because then I now know how much actual liquid I would need based on the batter texture consistency (e.g. all milks and flours are not exactly equal). I find it easier to pour a splash more liquid than to go back and have to measure out dry ingredients..
But either way, combine by hand the dry and wet ingredients. I recommend with a spoon instead of a classic baking whisk because batter-flour pieces tend to stick to a whisk and you can lose half a cupcake that way… and we want all the cupcakes! 🧁
Plus, you’re not as likely to over mix or over combine your batter with a spoon. There is such a thing as having to0 much fun mixing… but it doesn’t belong in a cake. 😀
Then after a few magic strokes, fill your cupcake holders to almost full. I use reusable silicone cupcake holders but you can use paper or foil ones too. You can also spray your baking cupcake tin, but be sure it’s the kind that isn’t potentially dusting off metal glitter over time that can end up in your cupcakes.
Bake the soon-to-be hi-hat cupcakes at 350°F/180°C for 20 minutes. Don’t over bake. The cakes should be on the paler side with a little golden glow.
Pull out of the oven when time is up. If you’re not sure, you can test with a toothpick if it comes out clean.
And while still warm, pull the cupcakes out from the cupcake tin that’s still warm. You want to stop the baking heat that’s still coming from the cupcake tin.
And you can easily do this with a metal spoon.
…maybe the one you rinsed off that you used for combining the ingredients in the batter? As you bake more, you naturally get more efficient. 😊
Place the cupcakes on a plate. Let the cupcakes cool in the fridge for about 10 minutes. If you don’t plan on finishing your hit-hat cupcakes in one sitting, then cover the cupcakes in the fridge (I recommend) or you can leave out covered overnight at room temperature.
Make the frosting for the hi-hat cupcakes frosting:
Again, you can find no added sugar because it’s Greek yogurt that has lactose natural sugar (and win body points 💯).
It’s about 5-6 tablespoons of thick yogurt per cupcake. You can add less if you want to.
Use a piping bag to pipe on frosting with a large round circle piping tip. You can also use a thick pastry-type bag, snip a bottom corner, and use that as the round opening.
Tip: If you discover you have the wrong yogurt type that won’t work for frosting after you’ve opened the yogurt container (…that has happened to me as someone who likes food experimenting!), then you can keep your cupcakes in the fridge covered (to prevent drying out) for up to a week, and still make the frosted hi-hats and melted chocolate. They’ll still be delicious… and from the get-go, you let-go and let melt away all of your hi-hat cupcake worries!
Then when you’re happy with your frosted cupcakes, refrigerate them to let the Greek yogurt frosting set.
Next, make the melted chocolate. You can use a coconut oil melted chocolate recipe. And for this hi-hat cupcakes recipe application, you can use about half of a third of the coconut oil. And then let the melted chocolate get back to about room temperature (so you don’t melt the frosting and it slides off like Frosty ☃️).
It’s a little like tempering dark chocolate without having to be so precise in degrees, to get a shine.
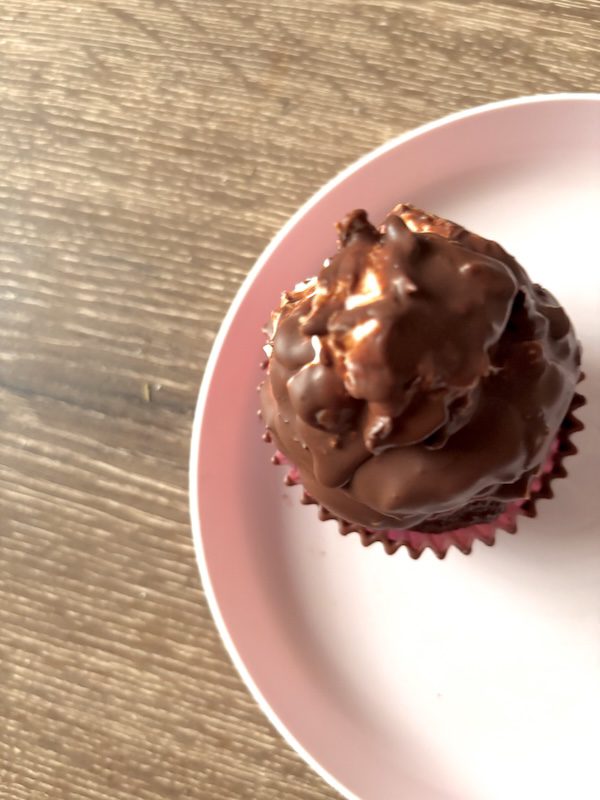
Hold the cupcake at the bottom and twirl in melted chocolate. You may lose a little frosting in the melted chocolate that you can easily add back on.
Then refrigerate the cupcakes for 2-3 minutes to let the chocolate set.
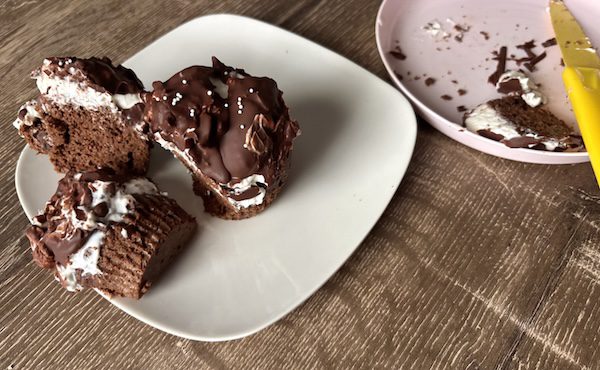
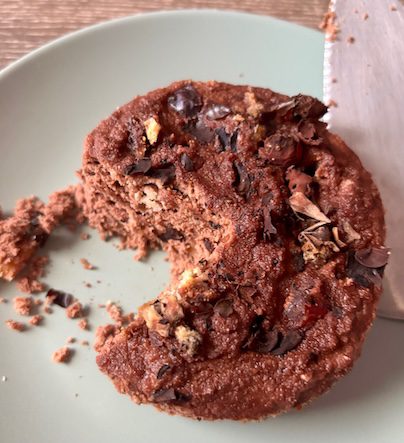
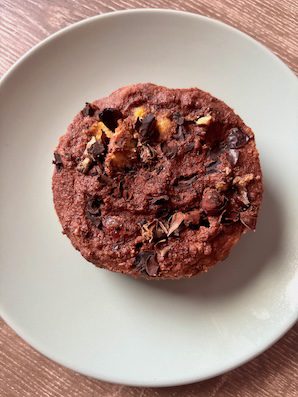
This is a moist chocolate cupcake with no-sugar added frosting and melted chocolate. If you make these for others, they will be a hi-hat-hit. This makes 4-5 regular size cupcakes.
Course Dessert
Cuisine American, new york
Author Brandy @ Healthy Happy Life Secrets
Ingredients
2largeegg yolks
1/2cupmilk of choice (plus more)
1/2Tbspneutral oil (light olive oil or liquid form coconut oil recommended)
1tsplemon juice or white vinegar
3/4cupalmond flour
1/2cupall-purpose flour
1/4cup cacao powder or unsweetened cocoa
1/8-1/2tspmonk fruit sweetener (depending on how low-sugar you would like to make this)
1/2tspbaking powder
1/4tspbaking soda
1/8-1/4tsppinch of kosher or coarse sea salt
4-6TbspThick Greek yogurt per cupcake (no-added sugar recommended)
dark chocolate morsels (for melted chocolate)
coconut oil (for melted chocolate)
Instructions
Pull eggs out of refrigerator and separate the egg yolk and whites (save the whites). Whisk the egg yolks to combine to cupcake batter. If you will want to taste the cake batter, put egg yolks in a separate bowl, otherwise they can be added to the combining batter bowl.
Make the chocolate cupcake batter in one bowl. Gently combine dry and wet ingredients. Tip: use a spoon to combine. This will be a wet batter that you can pour and spoon into the cupcake holders/pan. Fill the cupcake to about 1/8" from the top.
Bake cupcakes at 350°F/180°C for 20 minutes. Let cool in refrigerator. This will make 4-5 full cupcakes depending on how much total liquid/milk you add.
Make the frosting with Greek yogurt. Add to a piping bag with a round or star tip. Hold straight up on cupcakes and press the piping bag a few times and then pull up. Refrigerate cupcakes while making the melted chocolate.
Make the melted chocolate (see the melted chocolate recipe). Hold the cupcake bottom and sides, and then dip each frosted cupcake into the melted chocolate. Refrigerate to let the chocolate cold set.
Enjoy! Cupcakes will last for several days covered in the refrigerator.
Notes
Monk fruit sweetener is a healthy, anti-inflammatory sweetener. It is more sweet than granulated sugar, so you only need a little.
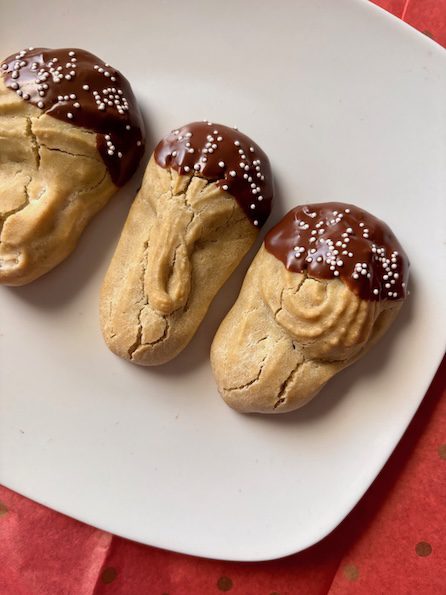
Cardamom cookie is great with melted chocolate vibes. And since these are healthy-ish with cardamom and olive oil, you can make these cake soft cookies anytime.
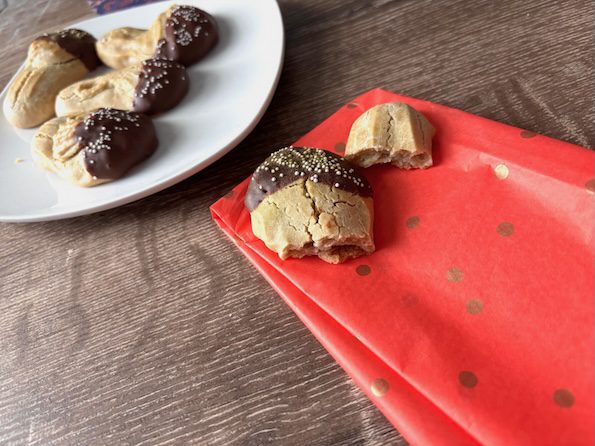
The chocolate and a hint of vanilla with cardamom make a great combo for a warm festive cooke. They just need a mug and warm beverage to dunk in.
This reminds me of a vanilla wafer soft cookie or the Italian dipped cookies. You can make these S-shaped cookies that look like a G clef symbol or Gruppetto on a music sheet.
It’s classic on a cookie, just like classical music sheets.
…I don’t read music, but I appreciate everything about music when I hear tunes 🎼
Or if you’re into beauty, you can make cookies like unique railing curves in historical homes. They don’t have to be cookie cutter.
And whatever shape you make these, you’ll hopefully get a nice hump rise. And this has become my new favorite cookie (I say that about most yummy cookies in front of me!).
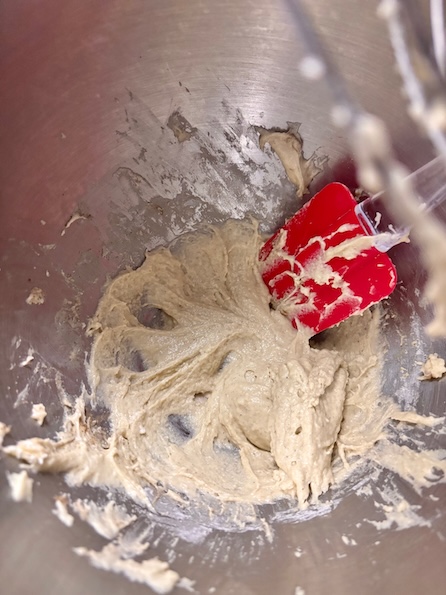
You’ll want to pipe the cookies as the batter will be a little sticky (or elastic). So cookie cutters are not needed. And you can decide if you want make them each unique shape or a specific cookie cutter shape.
And how these are different than most cookies is the cake flour. You want to be sure to not mix too much as you’re not trying to build gluten (like for bread). And that gives the softer bite.
And actually if you pipe the batter through a pastry bag with a larger tip, you’ll get a better result. It’s not always about the flour.
The reason they need to be piped and not smeared on a baking tray or through a cookie cutter, is so the air isn’t knocked out of them.
When it’s piped, you get a pouffy cookie.
You can pipe onto a sprayed cookie sheet (or Silpat on baking tray so they don’t stick).
After baked, you’ll see all the piping marks so each cardamom cookie can be unique. And swirly good. 🍥
Happy like a pouffy bubble skirt, and not an A-line one that’s flat to the surface (that can be good for other applications). 👗
That reminds me of my mom who was a dressmaker. She made me a pink bubble skirt that also made me happy. So puffy or pouffy is a good word in my book. And cookies.
And when the baked cookies have cooled down, they don’t deflate.
Then you can dip them in melted chocolate that’s best with a coconut oil method that’s foolproof every time! If you use refined oil, you won’t taste the coconut-y tastes if that’s what you’re after.
I think that’s a myth that people believe that it’ll turn into an easy low-sugar coconut cookie (that’s good for other tasty occasions!).
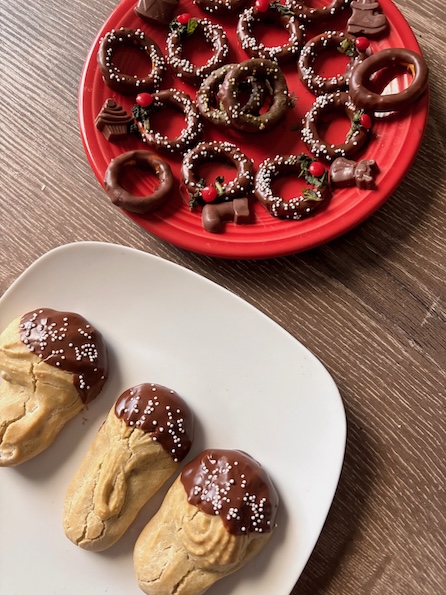
And the cardamom cookie belong on a holiday table of snacks.
And you can make cardamom tree cookies for a Jenga stack on a plate while you listen to Christmas music.
This is a festive low-sugar cake cookie that's easy to make and requires no butter. These will be puffy light and crunchy but soft inside like vanilla wafer cookies, and can be dipped in melted chocolate.
Course Dessert
Cuisine American
Author Brandy @ Healthy Happy Life Secrets
Ingredients
3/4cupcake flour
1tspmonk fruit sweetener
1egg
1tsplight olive oil
1/4cupmilk
3/4tspbaking powder
white vinegar (or apple cider vinegar)
1/2tspvanilla extract
pinch of salt
1tspcardamom spice
Instructions
Mix ingredients. The ingredients should be wipeable and slightly elastic (almost like a choux recipe except *no need* to add the heated stove as another step... yay!). Tip: if your batter is too wet, add back a little flour.
Add your batter to a piping bag. Recommend using a large star tip (or sharp jagged tip if you're looking at the tip from the side).
Bake at 350°F/165°C for about 20 minutes or until bottom and sides are golden brown (but most the outside of the cookie will stay a light pale color). Don't overbake.
After the cookies cool, dip in melted chocolate and add sprinkles before the chocolate sets, if desired. Let set In refrigerator or room temperature. Plate and enjoy!
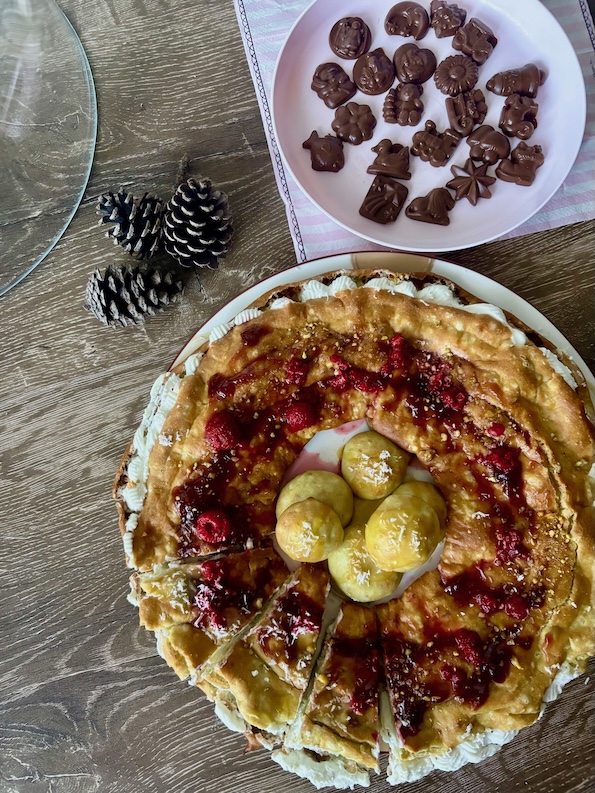
Fruit cake is a special dessert. It makes for a great Christmas, year-round, and holiday cake (…when done right that is). It’s a fruity, sweet cake. And this one is all healthy, and low-sugar without added sugar. Recipe below.
…And ok, I know what you may be thinking off the bat… is this fruit cake more on the healthy tasting side (like inedible cardboard where you’d rather eat an oatmeal bowl)?
Oh and btw, is it enjoyable like a chocolate cake? ..because that’s what you’re after!
And I agree.
My thinking, what’s the point of making a sweet treat if it doesn’t taste good?
That weighs on my conscience.
Because I’m a food lover who wore a 10-year food belt planning hundreds of parties in nice hotels and restaurants before I started baking regularly at home.
…And my childhood sweet food dreams are daily reminders. 💭
But a fruit cake isn’t one of those dreams that’s usually on my mind (but today is its lucky day). This one is COCOA-nuts!
…As in coconuts and cocoa as strong flavors.
…Because from what I remember, the durable (fruit cake) ones don’t have the best passed-down reputation (from holiday gifts of the past I think)… I never got one as a house gift but I saw them on store shelves wrapped tightly in the thick plastic wrap 🥮.
…Those are from Christmas past (and maybe still sitting in the back shelves 😀).
…Instead, bring in and out the fresh, new millennial fruit cake, pleeaaase! That’s a happy one to match its naturally sweet celebrational cake name.
And this particular homemade fruit cake is cocoa and cherry pairing, crumbly-soft-texture-cake divine.
If a tasty pairing is like a harmonious modern singing duo or two complementary colors on a wall, then this cake fits right in. 🩷🩵
…But don’t take my word for it, make it yourself and try it… I dare you! 😊
It’s coconut flour and cacao (or unsweetened cocoa) healthy. Another delicious pairing, btw.
And if you’ve not worked with coconut or gluten-free flours much with cake, I’ve got you… some quickie lesson tips below to take out the guesswork.
Gluten-free coconut flour is a smart one to add in, and that you can learn to use for healthy and tasty reasons!
And it’s in this fruit cake, that’s 5-minute prep and 3 one-bowl main ingredients EASY.
You can even mix the cake batter by hand.
…That’s what I did.
Or use your Magic Bullet blender to blend the egg yolk and dry ingredients.
Let the oven do the heavy lifting and magical baking work.
So to begin… pull out all your ingredients.
Nature’s fruit and cocoa is the main sweet needed.
You can also choose your favorite fruits, dried or fresh (if eaten within the week).
You can sub in dried cherries. And tart-tasting acerola cherries (not common) are known for their superfood anti-inflammatory properties.
But here I splurged with Maraschino (dessert) cherries because the amount is so little for such high tasting Christmas celebration holiday time impact, that I made this for.
The sweet cherries are also easy to find year-round at most grocery stores, so you can store in your fridge pantry.
And the glace shiny kind is easy to find and always a sweet crowd pleaser. They’re the classic cherry red on top that looks like an ornament. 🍒
One glace cherry has about 1.9 grams of sugar or about 6 cherries per tablespoon of sugar (12 cherries recipe total), and you can cut this down in your bake to less for lower sugar if you choose.
Whatever you decide, cherries are divine in and on top (as the cherry saying goes)… and definitely better after baked in.
Along with cocoa… or cacao used.
The difference is pure (💯) cacao is minimally processed and unsweetened cocoa that’s anti-inflammatory healthy.
You can use other cocoa powders, but they will likely have additives and sugar.
So there you have your two star flavors (cherry-chocolat-y 😋)for this fruit cake. And you’ll want to add more fruity forward vibes!
Fruit Cake Flavoring:
Getting the flavors to your liking will matter for this fruit cake as coconut flour can be overpowering in taste that is the dominant ingredient and only flour used.
…Unless you’re making a coconut cake where you want coconut to stand out, you’ll want to mask the coconut flour flavor somewhat. 🥥
Like in this cacao-cocoa fruit cake with coconut flour.
That’s easy to do when you follow the recipe and some taste pairing guidelines.
For the coconut oil, you can use a refined coconut oil with less coconut-ty flavors, and that can be stored in your pantry or cool kitchen cabinet shelves and then it will last a long time. I found a larger jar version at Walmart that was bulk cost-effective and less per ounce.
And then your other flavors can come through on your fruit cake.
Like when you add almond extract and stronger baking extracts such as orange extract (or even orange zest), you will not taste the coco-nutty vibes… like those you catch from suntan lotion coconut air waffs at busy summer beaches. 😀
Also when you use complementary flavors on the food wheel, to support the star ingredients and bring them forward, the coconut flavors will step back.
But avoid flavors that won’t work with this fruit cake. Like lemon… or peppermint (that’s not even in the fruit category). Let’s not get too crazy 🤪
You can also use coconut milk that will help support the subtle coconut flour come through a little like a budding flower, but not overpower.
The dried fruits you add also will be supporting.
I used dried apricots and even dried rose (not a fruit). But you can add any dried fruits (pineapple, more cherries, raisins, dates, coconut, etc.) that fancy you at prep time. And even add in chopped nuts and seeds if you want
So then now you’ve got the flavors, and can combine with the flour.
Two Coconut Flour lessons to keep in mind:
In my experience, gluten-free flour like coconut flour will not rise with common leaveners like baking powder and baking soda. So they are not used. And since no gluten-flours are added to this fruit cake, I expect little rise.
And I use a frothy egg white that will be the small leavening lift (like from a ballet flat shoe to flats) in this fruit cake. It won’t be a high-heel like with gluten flours. 👠
And since there’s no table sugar, brown sugar, or any white sugar added, the egg white will not be meringue lifting whites.
That sounds deflating…
But the trick is to use a tall sided baking pan vessel. That way, the cake will be about as tall as you fill it, before it enters the oven. 😉
And, the second lesson is that coconut flour is dry in its properties. Like very dry!
So you will need about 3 cups of liquid to about 1 cup of coconut flour.
These days, you can find coconut flour any and everywhere. For pennies per ounces.
But since it’s a more advanced cake flour to work with (if you’ve never worked with), it’s good to know that it will take lots of liquid like a thirsty camel. 🐫
And that by adding more liquid, you’re not doing anything wrong.
And as you add in more liquid in the beginning, the coconut flour becomes drier (almost like a pasta dough).
It will come together on the other side of the batter.
For the batter, look for a mashed potato consistency with a little bit of lumpiness and grittiness that will be as close to the smooth cake batter as you can get.
And use grit to stick it out until it gets there.
You can measure out the liquid but your best bet is to eyeball it out as daily prep temperature, ovens, and conditions change.
And then you’ll now know what to look for, the next time you use coconut flour.
Soft and wet, the batter will be slowly pourable. And that will help make a fluffy-inside cake (and not a dense cake).
Last step for coconut flour fruit cake:
And then after you’ve got your cake batter and your flavor tastes in your mixing bowl (or easy blender)… 🎉
The last step is to gently fold in the egg whites to your batter (egg yolk, flour, and flavors) with a baking spatula or spoon.
And so… what will this fruit cake batter look like (you ask)?
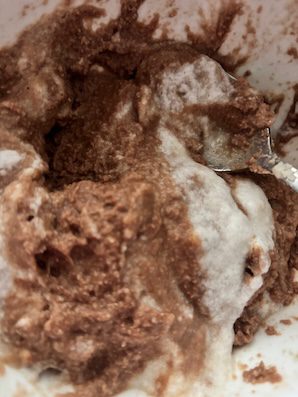
When you add the cocoa and egg white, it will look like Rocky Road soft serve ice cream. The egg white especially helps smooth the batter some.
Grease cake pans, so the cake doesn’t stick to the pans. Some options: you can use coconut oil, a Silpat, and/or baking sprayed parchment.
Then bake your cake(s) at 325°F/165°C for about 55-60 minutes. You can insert a toothpick to see if it comes out clean. It’s better to over bake this cake a little vs. under bake (where it can fall apart).
And as a summary to using all coconut flour for this fruit cake (and most cake bakes), this is a common question asked…
Question: how will healthier, gluten-free coconut flour impact the cake?
Answer: You won’t get a regular cake rise.
Tip: use a tall sided baking vessel that you can fill with cake batter if you want a taller cake, or add an additional cake pan to compromise (e.g. 2-tiered cake).
With coconut flour, you also won’t end up with the same moist cake crumb that’s in a regular cake made with gluten flours, like all-purpose, cake, or whole wheat flour.
But you will get a coconutty strong flavor that tasty pairs with healthy cocoa and fruits. And nuts if you choose.
Go cocoa-nuts!
After baked, you can see the inside crumb looks a bit dry and wet. That’s the unique characteristic of coconut flour when nicely incorporated. And it’s perfect for a fruit cake! 🥮
Line a cake pan with aluminum foil (or parchment paper) to easily pull out. Tip: Smear a little coconut oil (or brush a drop of neutral oil to the foil) on both foil sides so it doesn't stick to the pan and the cake bottom.
Mix all the other ingredients to make cake batter, except the egg whites and fruit in a bowl. This is the step where you can pulse your Magic Bullet blender (instead of using a bowl).
Whip up egg whites separately. (If you add table or granulated sugar, you will get more of an egg white rise, but none of those sugars are used in this recipe).
Add fruit to batter. Gently add/fold in egg whites.
Bake at 325°F/165°C for about 55 minutes until a toothpick comes out clean.
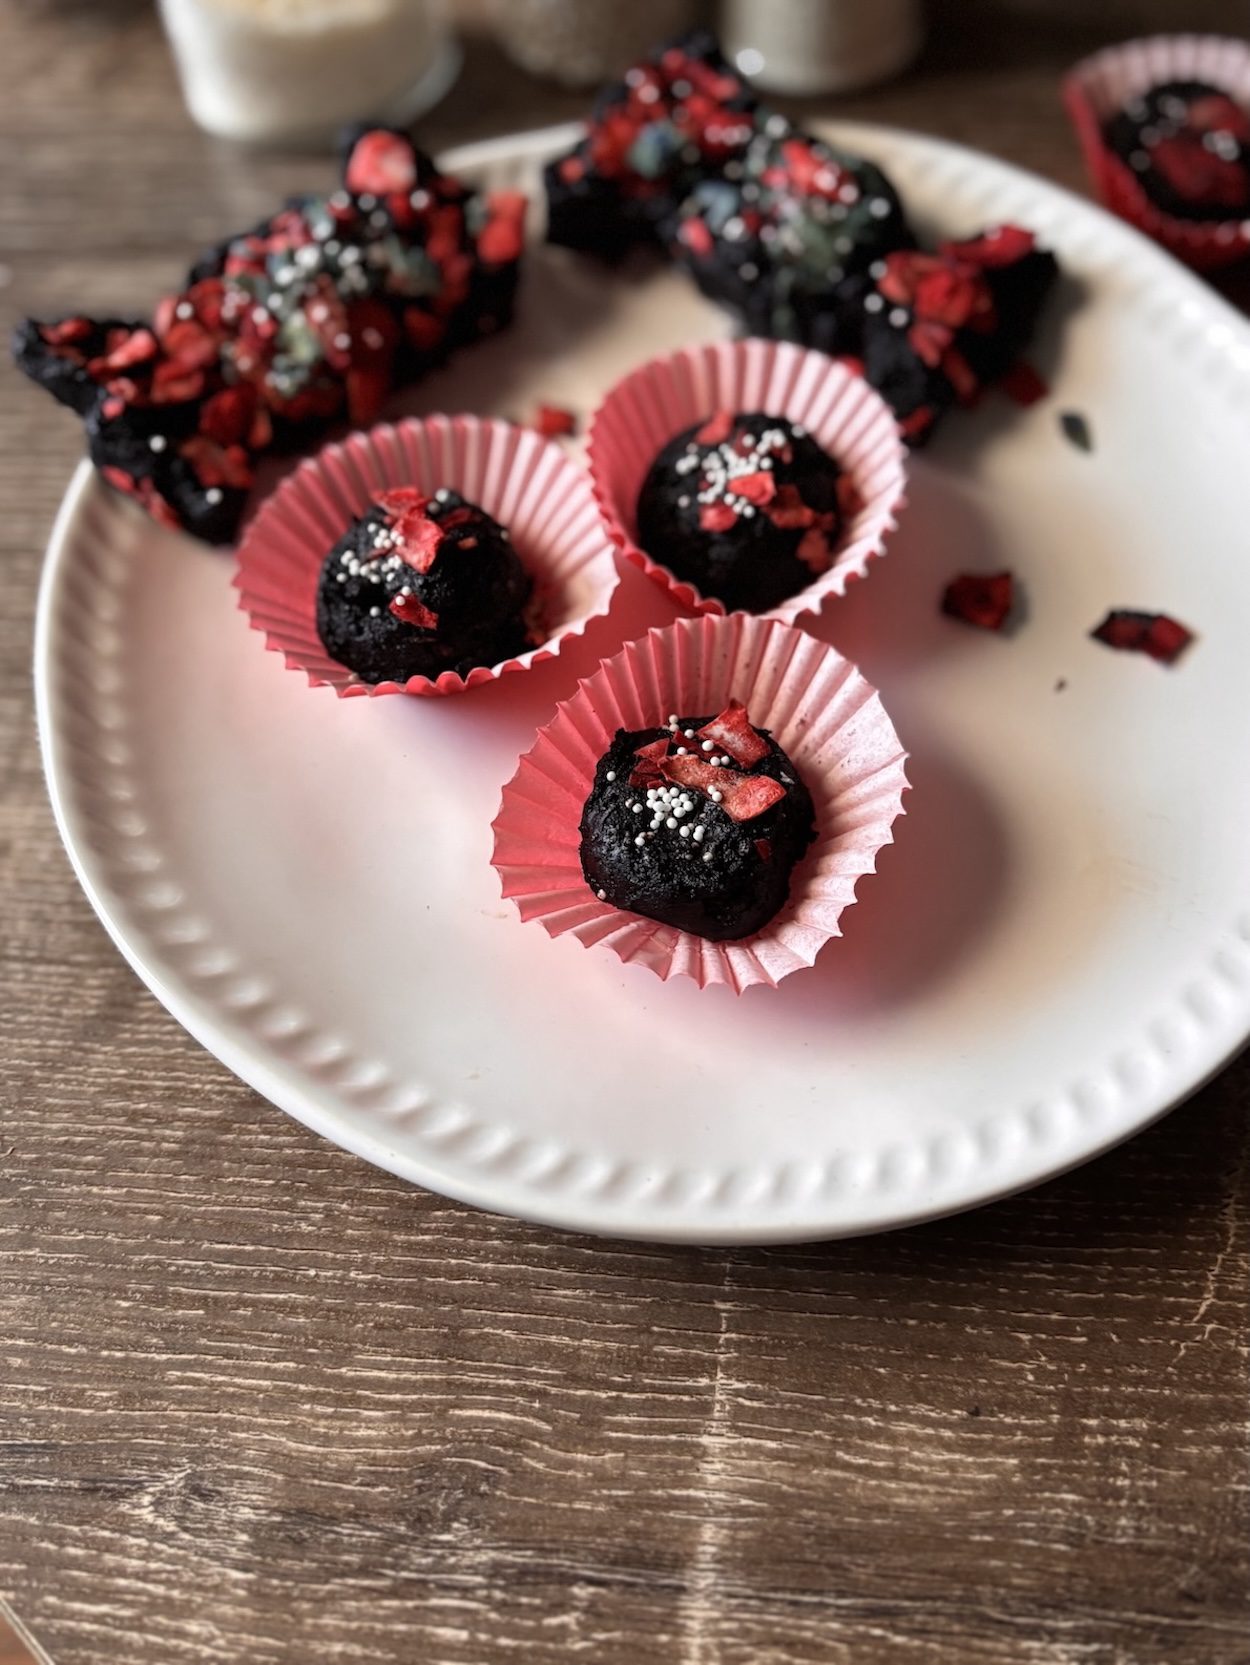
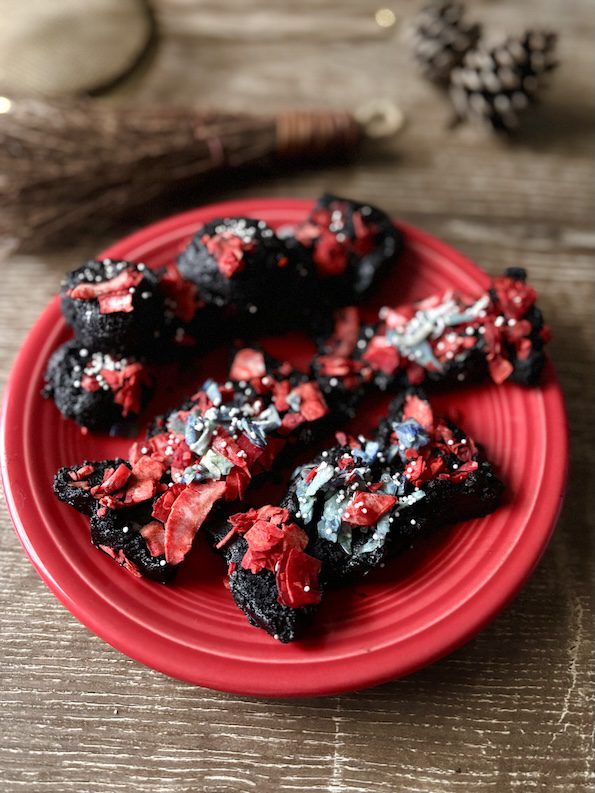
Dark cocoa cookie is festive fun when they are decked out bon bon or made into twist candy bow shapes like these just in time for holidays. And festive candy wrappers. 🍬
They remind me of the sweet treat colors in a Swiss Colony catalog.
The good news is there’s no planning needed! Work I dug my heels in for many years where I holiday planned other people’s parties in private venues.
…I know what it’s like to be on my feet for hours in heels, hiking miles in a room. That was good enough exercise where I had no additional trekking outdoors need on the weekend. 😊
And if that’s how you feel no matter what you do all week… while kicking your feet up, holiday bakers can take a break. And make a guilt-free treat.
An enjoyable plate of no-bake Christmas cookies can be the pre or post-Advent fix (along with Advent chocolates).
How does that sound?
If good, holiday party celebration festive cocoa candy bows and balls are quick and no-bake easy.
You decide what shape you make ’em.
Your delightful no-bake cookies can be a joyful respite when you’re tired of standing or doing hours of prep holiday cooking.
Good for people who work all day in kitchens too.
And then the day of the event, the enjoyment flies by. Everyone is happy. You with your prepped plate making something creatively homemade and TASTY.
Because if it’s healthy only, it’s NOT happy. 😊
No one need know that it took minutes to make.
You get to be Mary with the guests.
The reward part is spending time with people, laughing and having a good time, and not having to do any cooking work.
And these dark cocoa cookies are like a delightful break you give yourself where you don’t cook or bake.
Dark cocoa in case it doesn’t ring a bell, are the tastes from the cookie sandwiches that start with “O” and end with “O.” The cocoa tastes different than traditional hot cocoa’s cocoa.
And you can make these with the same ingredient or use regular cocoa (or healthy cacao).
Either cocoa way, the best part is they’re sweet energy snacks in disguise.
They won’t last on a plate long.
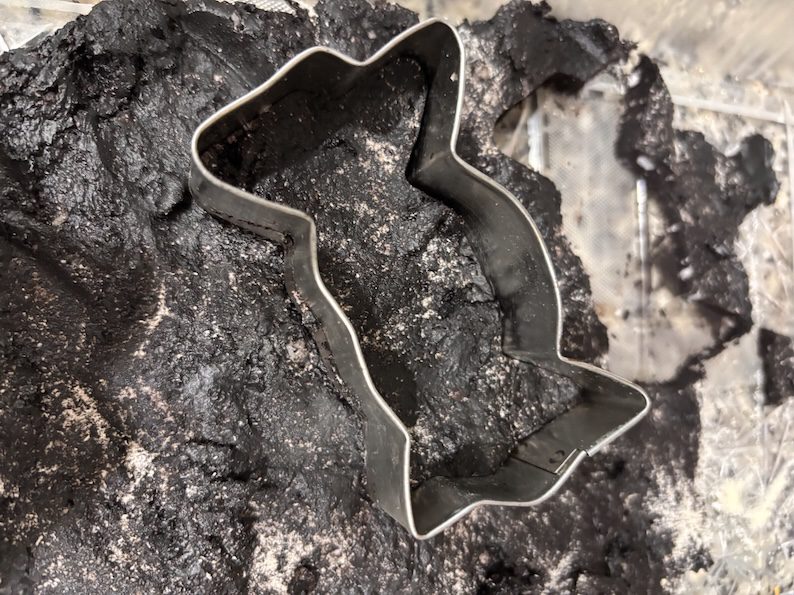
Making them is as simple as rolling out the dough…
Then refrigerating for a few minutes to let the dough rest (and dry out a little).
And finally, cutting out your shapes.
Or you can roll the dark cocoa cookie into fun balls… probably blindfolded without refrigerating.
Add your decorations while the dough is still sticky. You can zhugh with powdered gold ginger dust or more (dark) cocoa decadence.
Or use elegant uniform sprinkles and coconut flakes for confetti. 🎉
You can dye the confetti with healthy natural powders like blue spirulina, green matcha, and beet that I’m suggesting here.
With a little magical water ingredient, they will make colors like pastel watercolors.
And if you want the colors to be more vibrant colors, you can use natural liquid gels like Pandan gel that will give a deep green.
You can pair your sweets with a festive pistachio layered cacao beverage that you freeze and bring to room temps to watch the naturally sand art unfold.