UA-141369524-4

Cottage Cheese Chocolate Mousse – Easy and Light Dessert

Cottage cheese chocolate mousse is something that’s light and full of protein. How easy is this delicious dessert to make? …Easy to very easy.

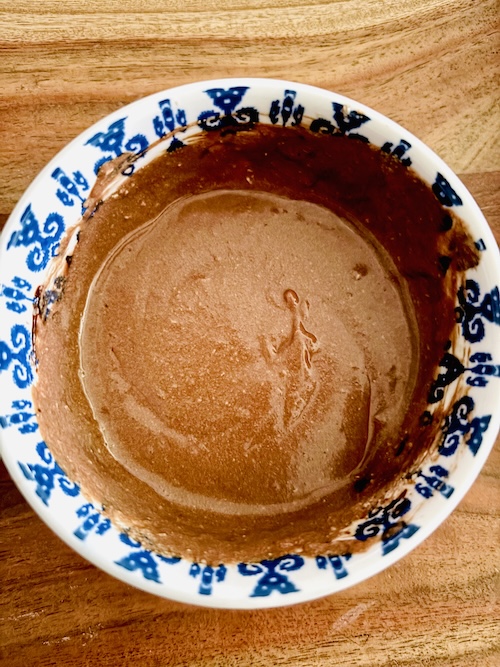
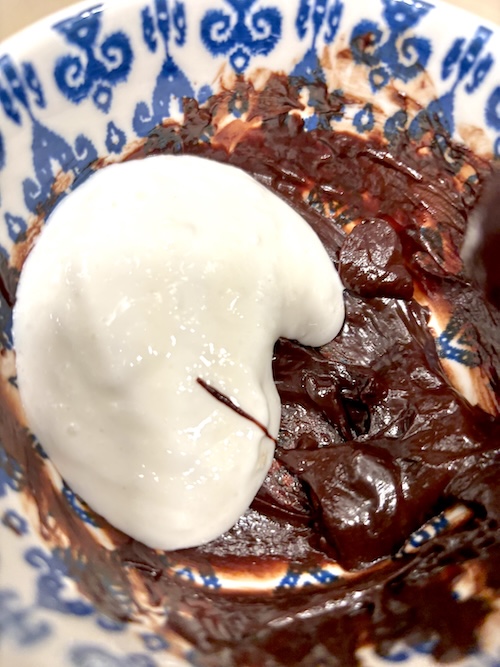
cottage cheese chocolate mousse bowl.

And these are the easy steps:

Step 1: Blend up cottage cheese (to get rid of the soft small chunks). You can use a Magic Bullet blender that’s easy. Add a little milk if needed. I added coconut milk. Water will be too thin.

Tip: For individual mousse single portions, you won’t need to add as much cottage cheese or ingredients to blend. Blending 1/2 cup of cottage cheese will work in a Magic Bullet

But to make a 6 oz. or more, maybe you’ll need to do 1 cup of cottage cheese (minimum) in a regular size larger blender.

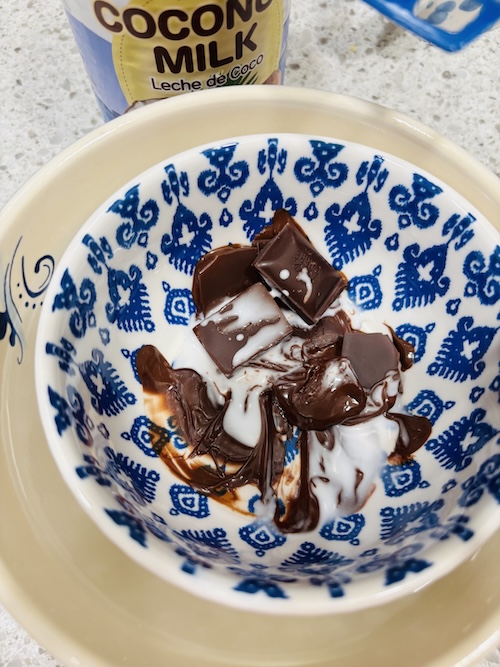
Step 2: Then take about 1 oz chocolate either from a pure chocolate bar or morsels, and place in a heat safe bowl inside a larger heat safe bowl (bain marie setup). I broke up a regular dark chocolate bar. In other words, you don’t need to go to the baking section of the grocery store for chocolate. 🍫

It all works the same for melitng chocolate.

I added in coconut milk that’s a great add to melt chocolate. it’s like a ganache finish, but without any heavy cream. You can also use your milk of choice. You do you! 😁

With a double broiler (bain marie) setup, the chocolate won’t likely burn and the milk doesn’t curdle. You can microwave or heat water in a bowl and then add a smaller heatproof bowl or mug with the chocolate.

If you use a ceramic bowl, the water shouldn’t be that hot. I usually hold the heated water bowl without oven mitts, just to let you know that it doesn’t need to be that hot. (Use heated tea in a mug as a simple comparison).

After the chocolate bowl bathes in the water bath for a few minutes, the chocolate should easily melt. You can stir with a kitchen silverware utensil to encourage the bigger bits to finally melt quicker.

I like to use polyphenol-full dark chocolate to melt so it takes slightly longer than milk chocolate, but we’re talking unnoticeable seconds longer.

Step 3: Incorporate in the cottage cheese, that should lighten up the mousse. Hand combine until the mixture is even and smooth.

You could stop there for more of a chocolate pudding texture. but for a lighter mousse, add in some of a whipped egg white. That’s extra protein too. 😊

Step 4 (optional): In a separate dry bowl, whisk an egg white for 1-2 minutes on high where it will fluff up looking like a pillow cloud.

No sugar needed (like in a meringue). Why add if you don’t need to for better taste or texture? Healthy is good. 👍

It’s easiest to use a machine hand mixer (instead of a stand mixer) as they can handle one egg whipping and quickly.

…It’s similar thinking to using a Magic Bullet instead of a full-on size blender. 💭

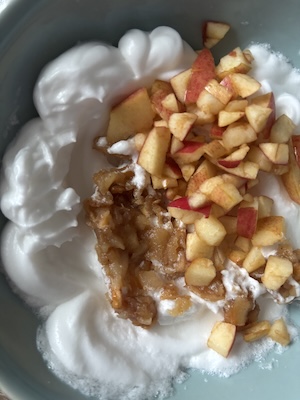
Then add a little of the  fluffy  whipped egg white (meringue) to the melted chocolate (ganache).  You will find that you can use 1/4-1/2 of the voluminous fluffy egg white. And then you can use the extra meringue egg white to layer your final cottage cheese chocolate mousse dessert if you like.

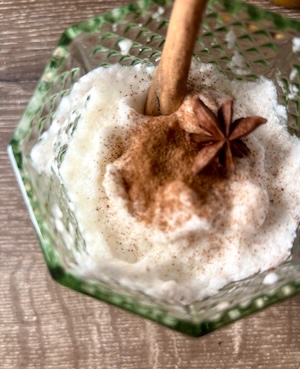
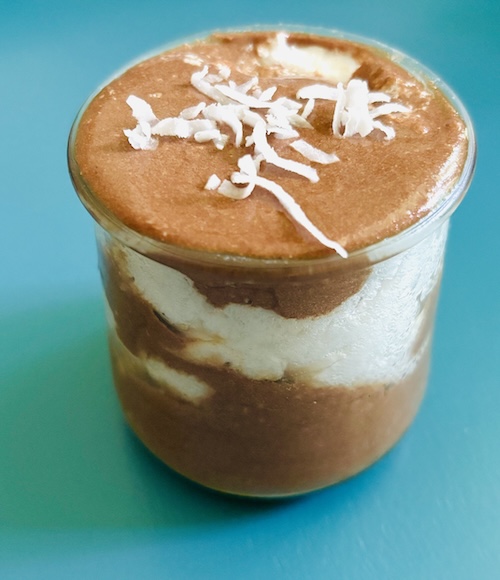
Like this…  it kinda looks like chocolate marshmallow ice cream, but we know that’s not what this is…

cottage cheese chocolate mousse.

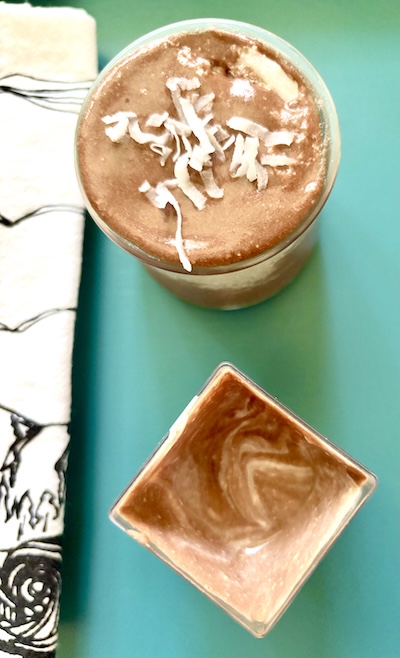
Or…

cottage cheese chocolate mousse bowl.
Print

Cottage Cheese Chocolate Mousse

This is a protein version of chocolate mousse dessert that's easy to make with cottage cheese and healthy enough for breakfast.
Course Dessert
Author Brandy @ Healthy Happy Life Secrets

Equipment

  • Magic Bullet blender or regular blender
  • handheld mixer

Ingredients

  • 1/2 cup cottage cheese
  • 1/2 Tbsp coconut milk or milk of choice
  • 1 egg white
  • 1 oz chocolate morsels or 2 Tbsp chocolate bits

Instructions

  • Make the melted chocolate. Setup a double broiler (bain marie setup) method with chocolate bowl set inside heated water bowl. Stir in the milk.
  • Blend the cottage cheese to smooth. Add milk as needed.
  • Pour cottage cheese into melted chocolate-milk mousse mixture.
  • Whip up egg white in a separate bowl for 1-2 minutes on the high setting on a handheld mixer, until light and fluffy voluminous.
  • Add some of the fluffy egg white to chocolate mousse. Add up to 1/4-1/2 of the egg white to your lightness preference.

You may also like summer light dessert recipes, and easy Magic Bullet recipes.

Cheesecake Bar – Feta Healthy and Lighter

Feta cheesecake bars are a great healthier dessert that can be a great protein starter with cheese, egg, and yogurt protein

feta cheesecake bars.

Crumbly feta is a popular cheese that you don’t expect in a cheesecake. It’s lighter (less creamy), delicious and more healthy than traditional cheesecake ingredients.

And in fact, feta cheese has more protein, calcium and probiotics, and is lower fat than most cream cheeses. It has lower lactose and is usually easier to digest.

Both the probiotics in the yogurt (or Greek yogurt) and feta supports gut health.

And the best part is… this is such a a simple cheeesecake bar recipe!

You can make this feta cheesecake in the same baking dish or cup you will be using in the oven. So it’s less than one-bowl easy!

In just a few mixing spoon strokes, and then baked in the oven… it’s made from start to finish in less than an hour.

Tip: use a white ceramic, light color, or glass baking vessel to keep it baking slower (and not as likely to burn sides).

If you have dark or metal pans, turn down the temperature and bake for a few additional minutes.

The feta cheesecake bar prep steps:

I added the egg, and whisked the egg to break it up first. You can also do this with a fork or spoon that would be just as easy.

Then I added the Greek yogurt (or plain yogurt), the feta cheese crumbles, and a drizzle of honey.

Then combined together with a few spoon strokes.

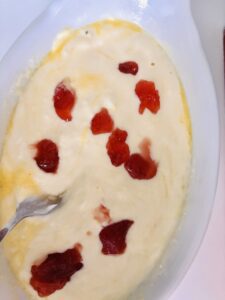
And a few dollops of strawberry (or raspberry) jam that’s a delicious pairing with the slightly salty feta and tart yogurt… oh, and the chocolate that will be added.

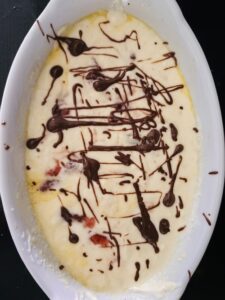
I remember when I was a teen and I worked at an Italian restaurant in the pantry, and I would take a bamboo skewer to make swirly designs with the dotted chocolate syrup in the dessert before it was carried out to the table.

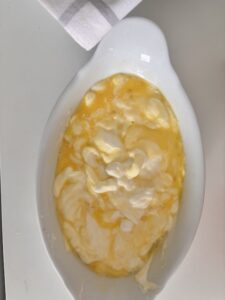
And in modern times, I did my Jackson Pollock with melted chocolate. That was the art mood I was in. And you can use your creative mood into your cheesecake masterpiece. This is the batter before it’s baked.

It was all made in this baking vessel, so it’s not one-bowl easy, it’s no bowls simple bake and clean up.

The lines will work well with a presentation of cheesecake bars that this will turn into.

…And you’re probably wondering how square bars will be made out of an oval dish?

First bake in the magical oven.

Let cool.

You could serve your cheesecake in your baking vessel with no extra effort, but the squares or bars are nice to share.

So cut out a big rectangle.

Looking at the oval dish as a clock, with a knife, draw a cut from  2 o’clock to  4 o’clock, 4 o’clock to 8 o’clock, 8 o’clock to 10 o’clock, and 10 o’clock to 2 o’clock as corners). Then cut/divide into squares.

Lift up the squares with a small spatula (palette knife).

You’ll have extra sides to nibble on. 😋

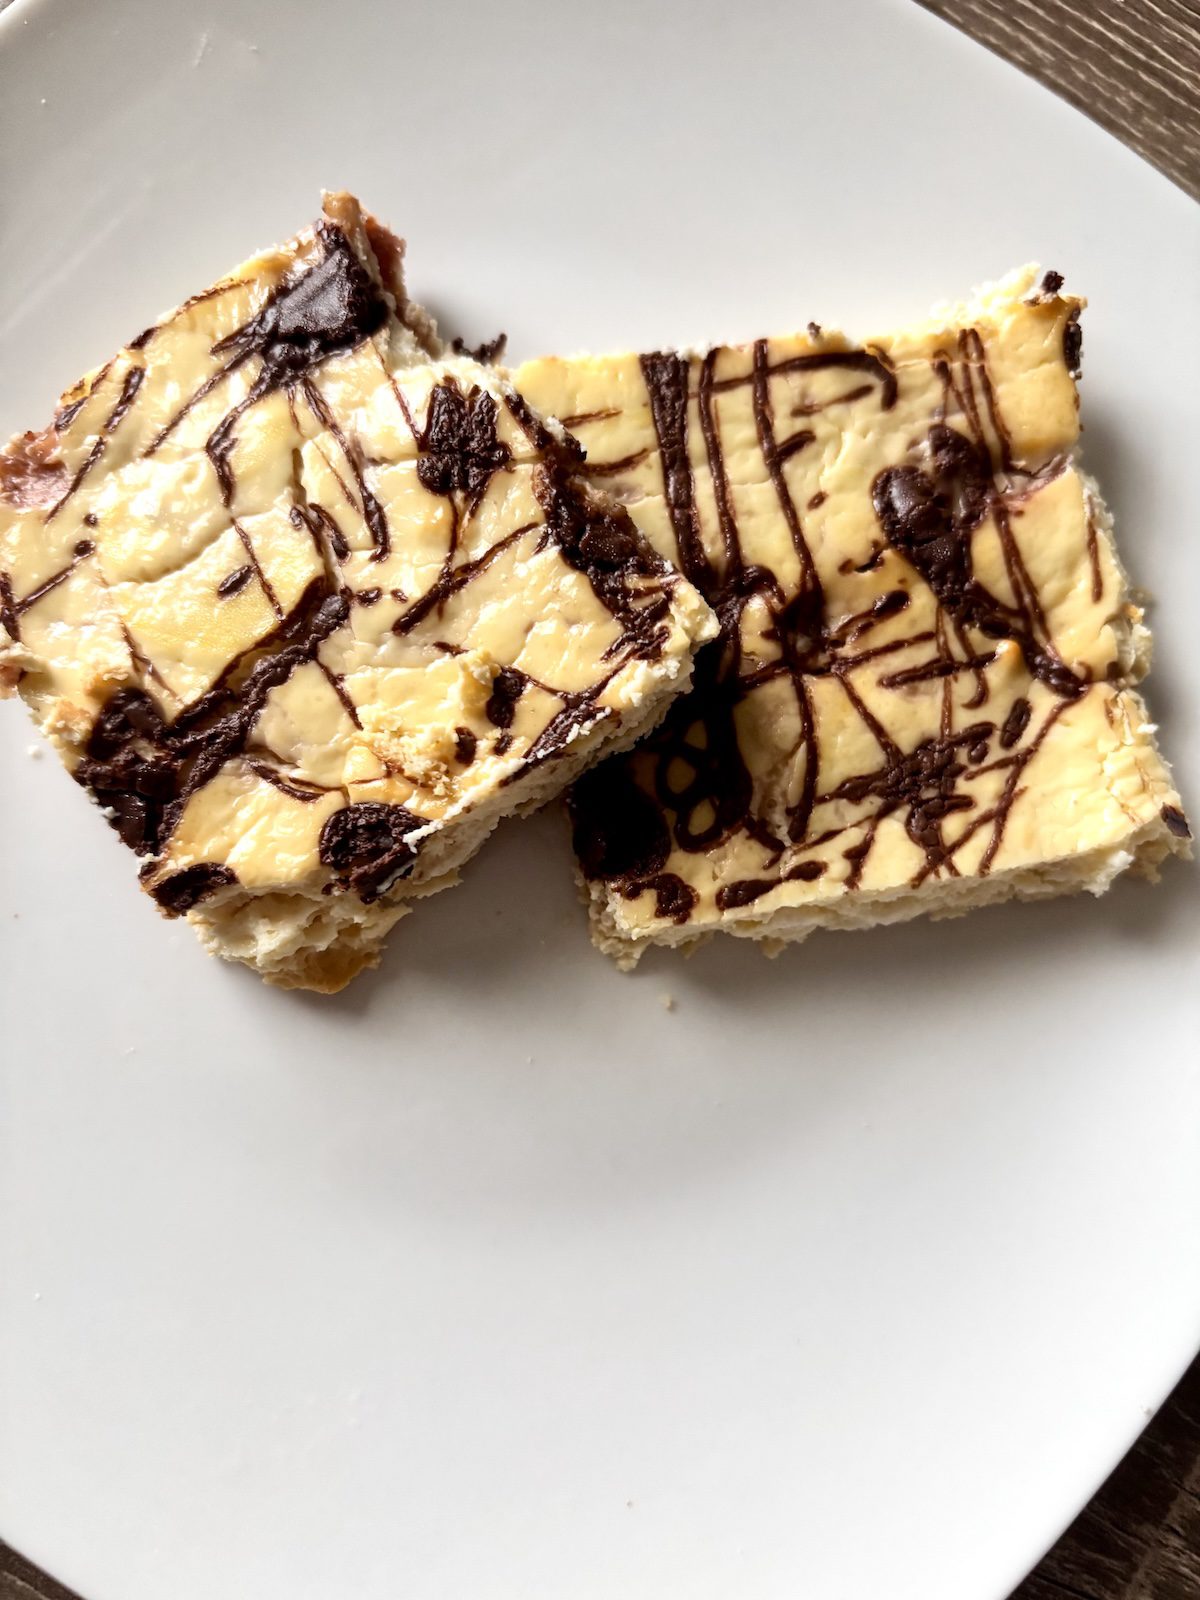
And since feta cheese is less creamy, you get cheesecake pieces that could be guiltless picked up by hand.

feta cheesecake bars.
Print

Feta Cheesecake Bars - Simple and Healthier

These are healthier cheesecake bars with feta cheese and yogurt, that you can make in the baking vessel you will oven bake with.
Course Breakfast, Dessert
Cuisine American
Author Brandy @ Healthy Happy Life Secrets

Ingredients

  • 1 large egg
  • 1/2 cup Greek yogurt (or plain yogurt), thicker
  • 1 Tbsp feta cheese
  • 1 tsp honey
  • 1 Tbsp jam (strawberry or raspberry)

Instructions

  • Break up egg in baking vessel.
  • Combine in yogurt, feta, and honey with a spoon.
  • Add small dollops of jam and spread in with a toothpick or skewer.
  • Drizzle melted chocolate (optional)
  • Bake at 350°F/180°C for 45 minutes or until a toothpick comes out clean.

Fruit Pastry Tart – Low-Sugar

Fruit pastry tart is so easy to make. And such a tasty dessert that can be made light with just a little butter. They’re pop in your mouth friendly for any occasion (and especially brunch gatherings).

You’ve probably seen fruit pastries at bakeries or French pastry shops yesteryear. They’re vintage. But not these on the plate that were just made.

These homemade ones are inspired by those past turn of the century desserts…

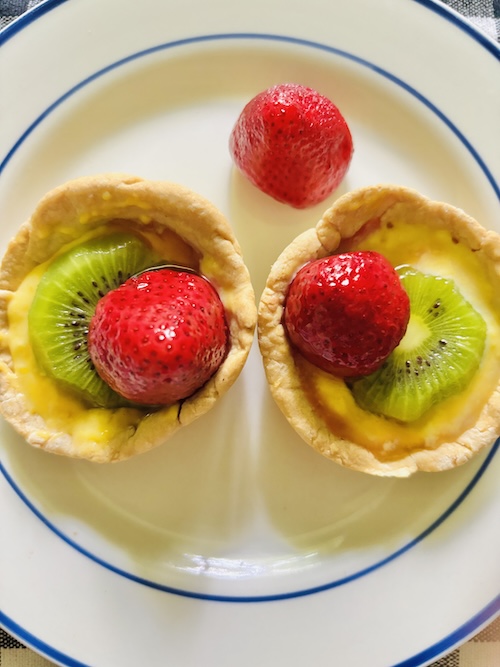
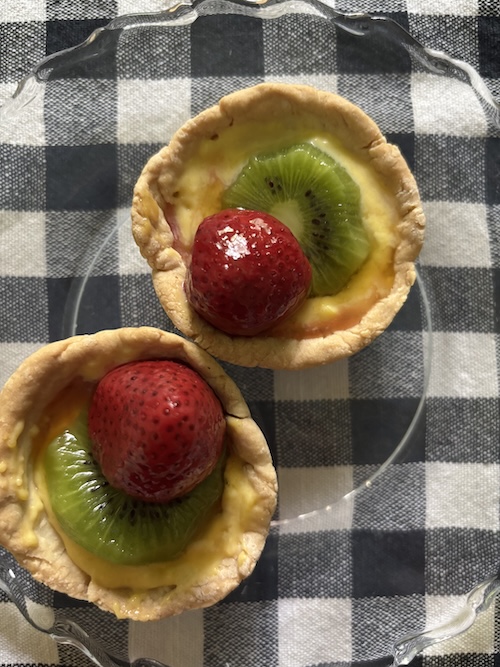
fruit pastry tart.

And I first saw them at a gourmet food market called Sutton Place Gourmet that’s now branded as Balducci’s. “Gourmet” was the word we used for foodie today.

The bakery section had the fruit desserts with strawberry, kiwi, and blueberry on a curd pastry base (that I now know how to make and you can too!).

Besides fruit colorful, they were one of the few individual desserts out there… as in, no need to share. So they stood out!

Plus, the desserts also had a shiny glaze ontop, even more than the one in my  strawberry gaze plate. 🍓🍓 They looked like shiny food magnets you’d stick to your fridge.

Those were the days that I worked in hotel catering.

And never back then did I think I would make these fruit pastries at home.

Each can get her own tart.

Also, below I’ll tell you how you can make a fruit pastry tart and keep this dessert recipe, low-sugar… with sweet and sour-tart tastes.

Basically, a tart tart. And a sweet tart (for the sweethearts 💕).

Oh, and you can also make these low-fat. I already pointed out the little butter than can be added.

…It’s a myth that you need a lot of butter to make pastry. I think we learned buttery habits from pies that are a kind of pastry.

It’s true you need a little butter (as in a pat or two, but not a whole stick). Measuring is not so important with butter in this application.

And unlike cake, neutral oil will not work well the same in taste or texture in a sweet pastry. If you’re a cake girl 🙋🏻‍♀️, see my butter vs. oil notes.

The less butter in pastry gives it a less buttery taste, but the compromise is well worth it if you want to keep it more healthy. The hint of butter tastes are definitely still there in moderation.

fruit pastry tart with strawberry, kiwi, and curd.

And you can still work with the dough to make pie and pastry shapes.

You can even make these checkered pie design (with you know the country cross hatch pastry pie-style 🥧)… or simply just place them on a checkered napkin 😊for a homemade effect.

The obvious simpler way (like the open-face fruit tart photo’d above) can be done easily with 5-10 minutes of total prep time, 35 minutes baking time, and 5 minutes or less curd (stove) making time.

There are 3 simple steps for a dozen or half-a-dozen fruit pastry tart: make the tart shells, curd, and arrange the colorful fruit (the fun-nest part!).

The prep steps are: bring out the ingredients (including the butter first to not forget like I often do) for the pastry, preparing fruit you’ll use, and separating an egg yolk from egg white for curd (easier to do when an egg is cold).

Some tips:

Save the egg white for a savory meal or a light, but protein-full dessert like cottage cheese chocolate mousse or a ricotta semi freddo dessert.

For the butter, since it’s a modified smaller amount used in this recipe, you can set it ontop of the stove while the oven is preheating. If you’ve got a standard kitchen appliance setup like mine, one or more of the stove burners turns warm when the oven is turned on (even though the stove itself is turned off).

Heat rises.

And as that happens, you can make the curd on the stove. They work great in mini fruit tarts too.

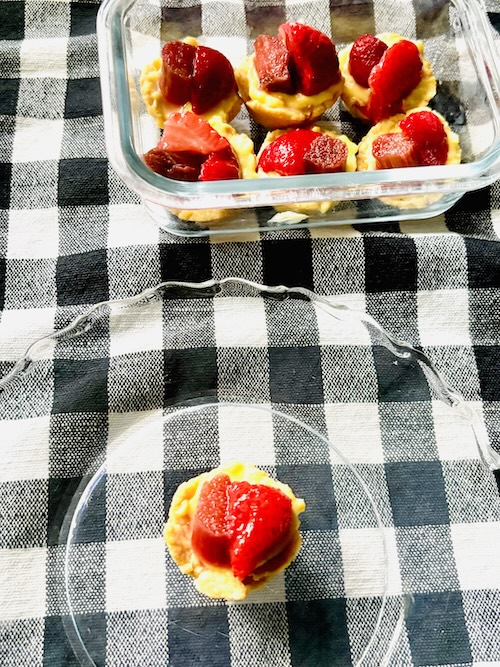
Like these (cute?) ones! I paired strawberry with tart rhubarb on a lemon curt tart that I’m taking to a picnic. Two tarts in one. 😋

They look like little dessert sushi. 🍱 And they make great catering dessert adds.

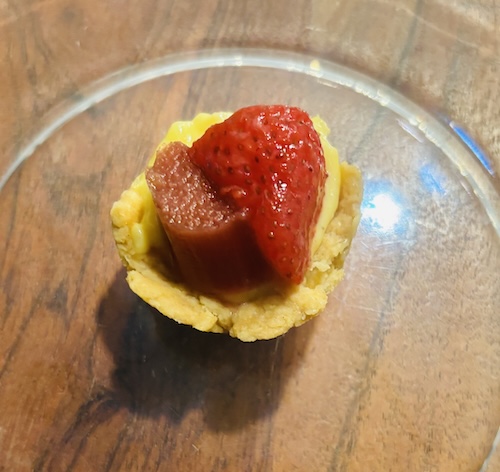
…Oh look, one extra for moi!

It looks a bit craggy, haha. Like a wheel that won’t go far!

But truth is, I never aim for perfect shapes. Good is good enough. Because I know they’ll get gobbled up in nanoseconds.

I kinda like that they’re rustic, as there’s no mistake that these are home made!

And make no mistake they are as delicious (if I may say so) when you pop them in your mouth.

…Did I already mention they have no added sugar (as a bonus)? 

I kept mine without added sugar (besides the sweetness in natural fruit).

But on that note, for a glazed look and to keep it low-sugar, you can add a healthy drizzle of honey that pairs well with the fruit flavors and especially well with pastry buttery flavors. This keeps the dessert bite sweet and in good balanced taste proportions…

The small amount of lemon curd goes exceptionally well with strawberry.

…Maybe serve with a strawberry lemon trifle parfait?

Some like raspberry, but I think straw-lemon is a heavenly balanced pairing. And butter and honey is on that same high level.

You’re in for a sweet treat (…even if it’s bite size sweet craving one!).

Ready to make this? 

fruit pastry.
Print

Fruit Pastry Tart (Low-Sugar)

This is a simple dessert that makes for a great catering table. This will make 6 mini tarts or 2 hand-size pastry tarts.
Course Dessert
Cuisine American, French
Author Brandy @ Healthy Happy Life Secrets

Ingredients

  • 1/4 cup all purpose flour
  • 1 Tbsp softened butter
  • 1 Tbsp water (plus more)
  • lemon curd (instruction below)
  • fruit of choice
  • honey (optional)

Instructions

  • Cut the softened butter into small pieces and incorporate (fully coat) into the flour. Use just enough water to bring the butter and flour together. The water will make up for the small amount of butter that will adhere to the the flour. Make a pastry disc. Cover and refrigerate for a few minutes.
  • Shape pastry in muffin tin. Bake at 350°F for about 35 minutes or until edges and bottom are golden brown. Let cool at room temperature.
  • Make the lemon curd. On low heat, combine 1/4 cup flour, 1-2 Tbsp butter, 1 egg yolk, and 1/2 tsp lemon juice or zest. Add the egg yolk last. Stir constantly so egg doesn't cook. Once the mixture comes together, remove from heat. Refrigerate for a few hours.
  • Add a small amount of curd in pastry tart shells. Add fruit of choice on top such as as seasonal berries.
  • For a glaze look you can drizzle a small amount of honey ontop.

Ricotta Dessert (No-Bake) – Semi Freddo

Ricotta dessert with meringues, that’s a (no-bake) frozen semi freddo dessert I can eat any day. Especially hot summer days!

And if you like the 2xx protein (ricotta and egg whites) combo, you’ll love this low-sugar healthy dessert.

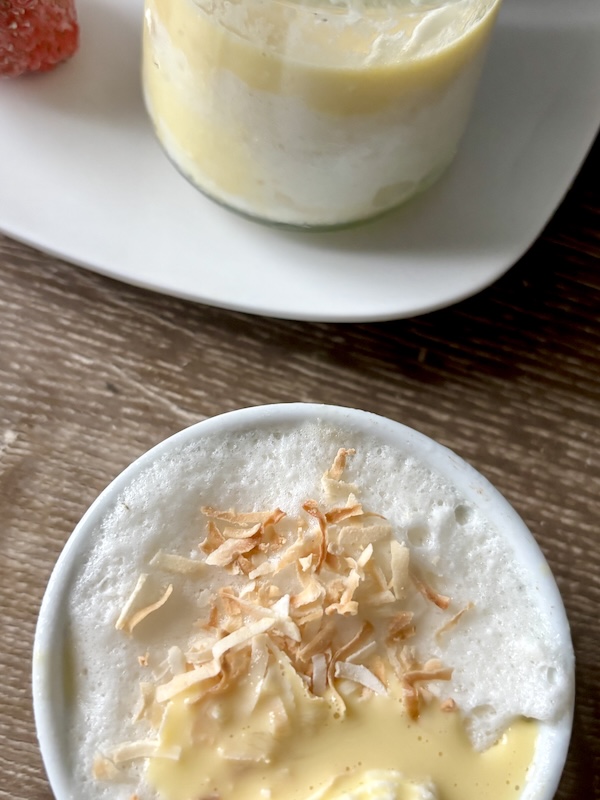
ricotta dessert that's frozen into a semi freddo.

I added a lemon custard because that’s the fruit tasty season we’re in. And some toasty coconut vibes that pairs well. It’s light. And it looks light.

The lemony color and egg white color is so pretty.

Btw, lemons are citrus and are actually a winter fruit. 🍋

But they are enjoyed in desserts in summery, so you can enjoy lemons year round like you can bananas.

And if none are at hand, this would be delicious with simply raw honey or a vanilla extract. Or your blue or red berries. You decide!

And you can make this dessert so easy, and as easy as you can put together food layers in a breakfast parfait.

Here, with a dollop of smooth ricotta and pillowy light egg whites combined, you’ve got a summery low-fat dessert to enjoy!

And when you freeze your dessert, then you can a delightful frozen (semi freddo) dessert good for balmy hot days when you want to peel off layers and jump in the water. 

I first heard about the half cold dessert when I was consulting with an Italian restaurant in Capitol Hill where the food was freshly prepared daily by a Tuscan chef.

And I had seen half spoon decorative (and tasty) smears on dessert plates… in lieu of ice cream. The semi freddo held up better (after all it’s half cold!) and didn’t slide off of a plate like ice cream does, when the melty temperature hits.

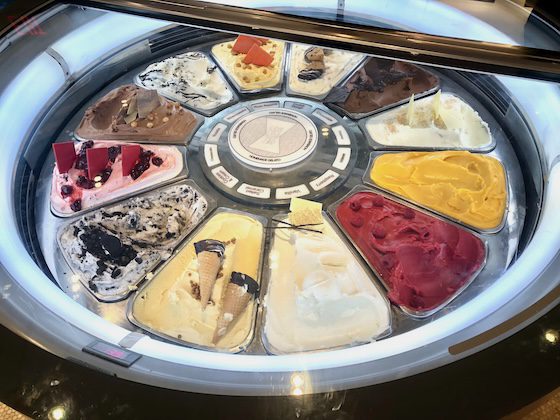
But if you’re not near authentic Italian eats, then making this frozen dessert can become your new home gelato flavor wheel of choice.

This is a gelato wheel I saw out and about..

And using a wheel as inspiration, the best part of this ricotta semi freddo recipe is you don’t need an ice cream machine or special gelato maker to make this semi freddo ricotta dessert! You just need a freezer and some basic kitchen tools.

Gotta love that this is one freddo you don’t need to be ‘fraidy of!

Also check out these lighter (great for summer!) desserts, that are restaurant delicious!

Print

Ricotta Dessert - Semi Freddo (Low-Sugar)

This is a delightful healthy protein dessert.
Course Breakfast
Cuisine American, Italian
Author Brandy @ Healthy Happy Life Secrets

Equipment

  • mixer

Ingredients

  • 2 egg whites
  • 2 Tbsp ricotta
  • curd or sweet (honey) drizzle

Instructions

  • Beat the egg whites on a mixer into a fluffy meringue about 3-4 minutes on medium-high setting. This is a low-sugar recipe so there is no sugar add to the egg whites (if you choose). You won't get peaks but you will get a fluffy meringue cloud that will work well in this meringue dessert.
  • Add ricotta by hand and combine fully. Add to a freezer safe bowl or glass.
  • Freeze for at least 30 minutes and then add curd if adding. Freeze again for a cold elevated dessert experience or enjoy!

Pavlova Fruit – No Flour Dessert

Pavlova fruit dessert is a delicious meringue based dessert with fruit. You usually see Pavolovas piled high with berries. But a hot tropical twist to that can be with fruits like Vitamin-C rich pineapple, kiwi, guava, bananas, mango, and cherries to make a rainbow effect as in eat-from-the-rainbow anti-inflammatory healthy. Recipe below.

Rainbow pavlova fruit dessert grits based pie.


You can also omit the sugar in your egg-white meringue base for a no-added sugar dessert that’s just full of juicy fruit sweetness.

If you’re feeling the dry air, then this is a good way to hydrate with food-as-medicine.

And instead of a traditional egg meringue base altogether, you can add a grit or oat pie base bottom. Save your egg yolks for pasta, curds, and ice cream.

Either way is a way to enjoy the tropics from home, and the healthy benefits of tropical fruits.

Loaded with Vitamin C and fiber, fruit also have minerals and  are high in antioxidants and anti-inflammatory ingredients. Most tropical fruits are also very juicy to quench your thirst and cooling. Instead of reaching for a beverage with calories, eat healthy tropical fruits.

What’s fun about a Pavlova fruit dessert is you can make it your own swirls and patterns.

Like I did with this one leaning into dark color fruits like pomegranates that are fall fruits usually available around September.

Pavlova fruit with fall color fruits.

…Or a spring fresh fruit sweet-tart one. This is such an easy and great dessert way to celebrate seasonal fruits and zhugh up a breakfast or brunch.

berry pavlova fruit with fresh late spring or early summer fruits.

This one has a no-sugar meringue base (egg whites only). And believe me the sugar was not missed… with strawberries and rhubarb that are fresh around May months. And added blueberries and Greek yogurt to lean into the healthy ingredients.

The dreamy meringue colors were made from plant-based natural food colors that contrasts well with red fruits.

Whatever you’re color-vibing on, you can make eat-from-the-rainbow healthy colors from natural foods (that I’m all about)! 🎉

What’s not to love about a Pav-love-a?

Rainbow meringue pie recipe.
Print

Pavlova Tropical Fruit Meringue Pie

This will make a 6-8" meringue base depending on how much you spread out. You can add a lighter pie bottom and add tropical fruits ontop that are high in Vitamin C. You can make this in under 2 hours.
Course Dessert
Cuisine American
Prep Time 5 minutes
Cook Time 1 hour 15 minutes
Total Time 1 hour 50 minutes
Author Brandy @ Healthy Happy Life Secrets

Equipment

  • silicone mat
  • baking pan (optional)

Ingredients

  • Tropical fruits, chopped
  • 2 egg whites
  • cream of coconut or Greek yogurt

Instructions

  • For Pavolva, whip at least 2 egg whites to medium peaks to make the meringue base. Usually 5-7 minutes with a mixer on medium to med-high speed. Add meringue shape you desire to a baking pan with a Silpat mat for easy intact meringue lift.
  • Bake in 200°F oven on lower oven rack until the meringue feels solid and formed (like packed snow) or edges begin to lightly toast, usually about 1 hour and 15 minutes. Let meringue cool in refrigerator for about 30 minutes.
  • You can use the meringue as a base or you can separately make a grits pie base that's quicker to bake, with grits, egg, coconut oil, and a little water or liquid that complements tropical fruit flavors. Add enough grits until the base sticks together. You can substitute grits for oats. Bake in slightly higher temperatures (e.g. 325°F) until pie base comes out clean with a toothpick. You can add to upper oven rack with meringue at 200°F and after you pull out the meringue, turn the heat up and leave the pie in the oven. Let cool. And then add meringue ontop.
  • Ontop of meringue, add fruits of choice or on-hand and make a pattern design or pile ontop. Layer or dollops of Greek yogurt if you like or pipe coconut cream (solid flesh of coconut).
  • Tropical fruits are great decorations as you can cut out shapes with cookie cutters. (e.g. dragonfruit, pineapple, passion fruit, and guava). If you want to keep it less fruit sugar, use berries and green bananas.

Notes

Do not add any fat (e.g. butter or oils) to the pan. I recommend using a Silpat or silicone mat (not parchment paper or foil) for easy meringue peel off. If you don't have a pan that it fits in, just use the silicone mat with the meringue ontop in the oven.