Ricotta cheese cake is a protein dense dessert that is delicious with curd in a bowl, plus egg protein. So that’s 2xx protein. Then bake, twice (also 2x) with steps below for an elevated dessert taste experience.
…Where this can also be a protein breakfast (or weekend brunch) dessert that’s healthy and fairly easy to make and simple to bake twice.
First, you make the curd in a small bowl (or you can even use a mug). You make the curd a few hours or day ahead.
You can make this with or without butter if you like. With fat or butter (for taste), you’ll want to add a plastic cover so it doesn’t form a fat layer at the top. For more step instruction on curd, you can see the inspired canele pastry muffin recipe. 🥮
You can make a curd in any flavor you like, such as vanilla and lemon are delicious pairings. And then added berries give another layer of healthy flavors. Let it rest in the fridge.
Then for the ricotta cheese cake, whisk or break up the egg, and add your preferred flavorings/extract and honey, if using. Add a little milk or not (if you want a denser cheesecake).
Mix with ricotta. Add to a baking vessel that can withstand hotter (broil) temperatures. This can be a heat-safe ceramic vessel or a springform pan. Usually the packaging on your tools indicate whether it’s meant for 500°F or higher temps.
Start by baking the ricotta cheese cake on the bottom rack at 350°Ff/180°C for about 15 minutes until cheesecake is set (or solid at the top).
And then step two in the oven: move the cheesecake to the top or near top oven rack (about 5-6 inches from the top of the oven). Close the oven door, and turn the broil setting on for 3-4 minutes until browning occurs.
Turn the oven off and let it cool down for 30 seconds or so.
Use your oven safe gear and pull the cheese cake out of the oven.
Let it cool on the oven counter top or a heat-safe plate, and remove after it’s cooled. You can also more quickly cool it in the refrigerator.
This is a soft and firm cheesecake that is baked twice.
Course Breakfast, Dessert
Cuisine American
Author Brandy @ Healthy Happy Life Secrets
Equipment
Broil-heat safe baking vessel
Ingredients
Ricotta cheese
Curd (milk, egg yolk, flavor and butter optional)
2tspraw honey (optional)
Instructions
Combine ingredients and bake at 350°F/180°C for 15 minutes (or until set and cheesecake is solid at the top).
Set baking vessel on top rack (about 5-6 inches from the top of oven). Close oven door and turn on oven broil setting for 3-5 minutes watching the entire time until browned to desired. Tip: Broiling is heating that comes from the top of the oven that's about 525°F in a regular oven.
Turn broil setting off. Let cool for about a minute and pull the cheesecake out of the oven.
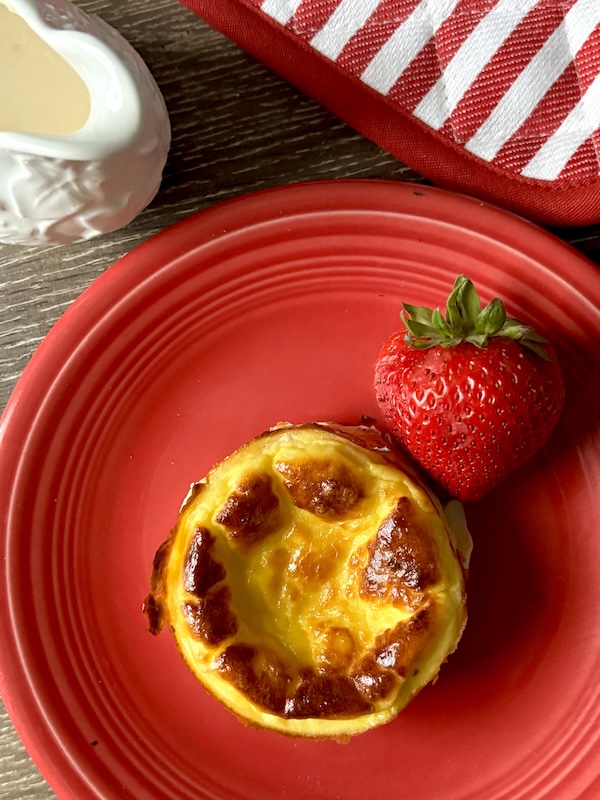
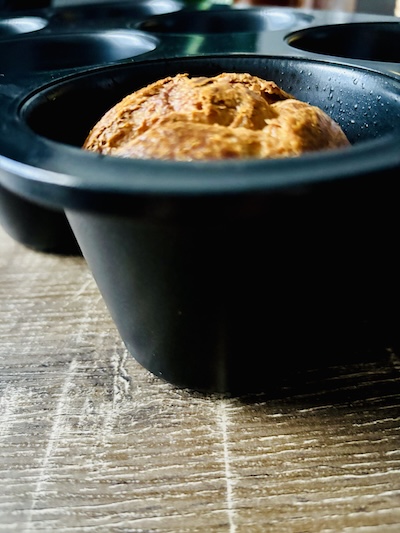
Canele pastry is something I love to make in muffins, because that’s the tin pan I have, and there’s no tasty substitute for this special pastry. It’s like all pastry, that starts with a little pat of butter, but ends with a dark crust.
…And an optional simple, but decadent custard you can pour on top with the healthier baked-in method below… for this unmistakably happy food.
…Which btw, like a baking alchemist, I think I cracked the code to how to make this delightful elevated pastry muffin (that anyone would love), but with healthier amounts so that this can belong on a weekly home menu.
This has the pastry ingredient touch, bread rise texture, and muffin cake tastes. Oh, plus added-back vanilla custard that adds flavor and wins smiles.
I was inspired to make this from caneles, that if you’re not familiar, are pastries from the southwestern region of France, and specifically Bordeaux. I think they’re even better or as good as a croissant (with less prep work) 🥐
…So that’s saying something!
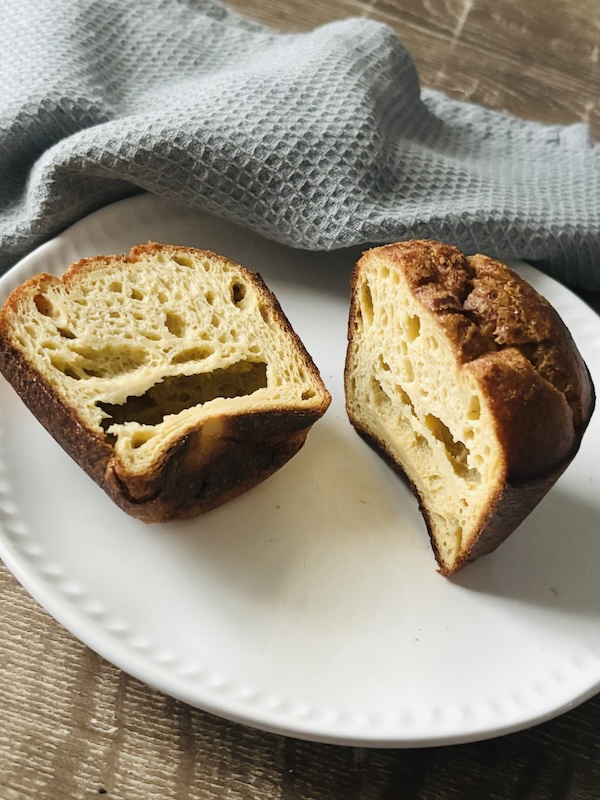
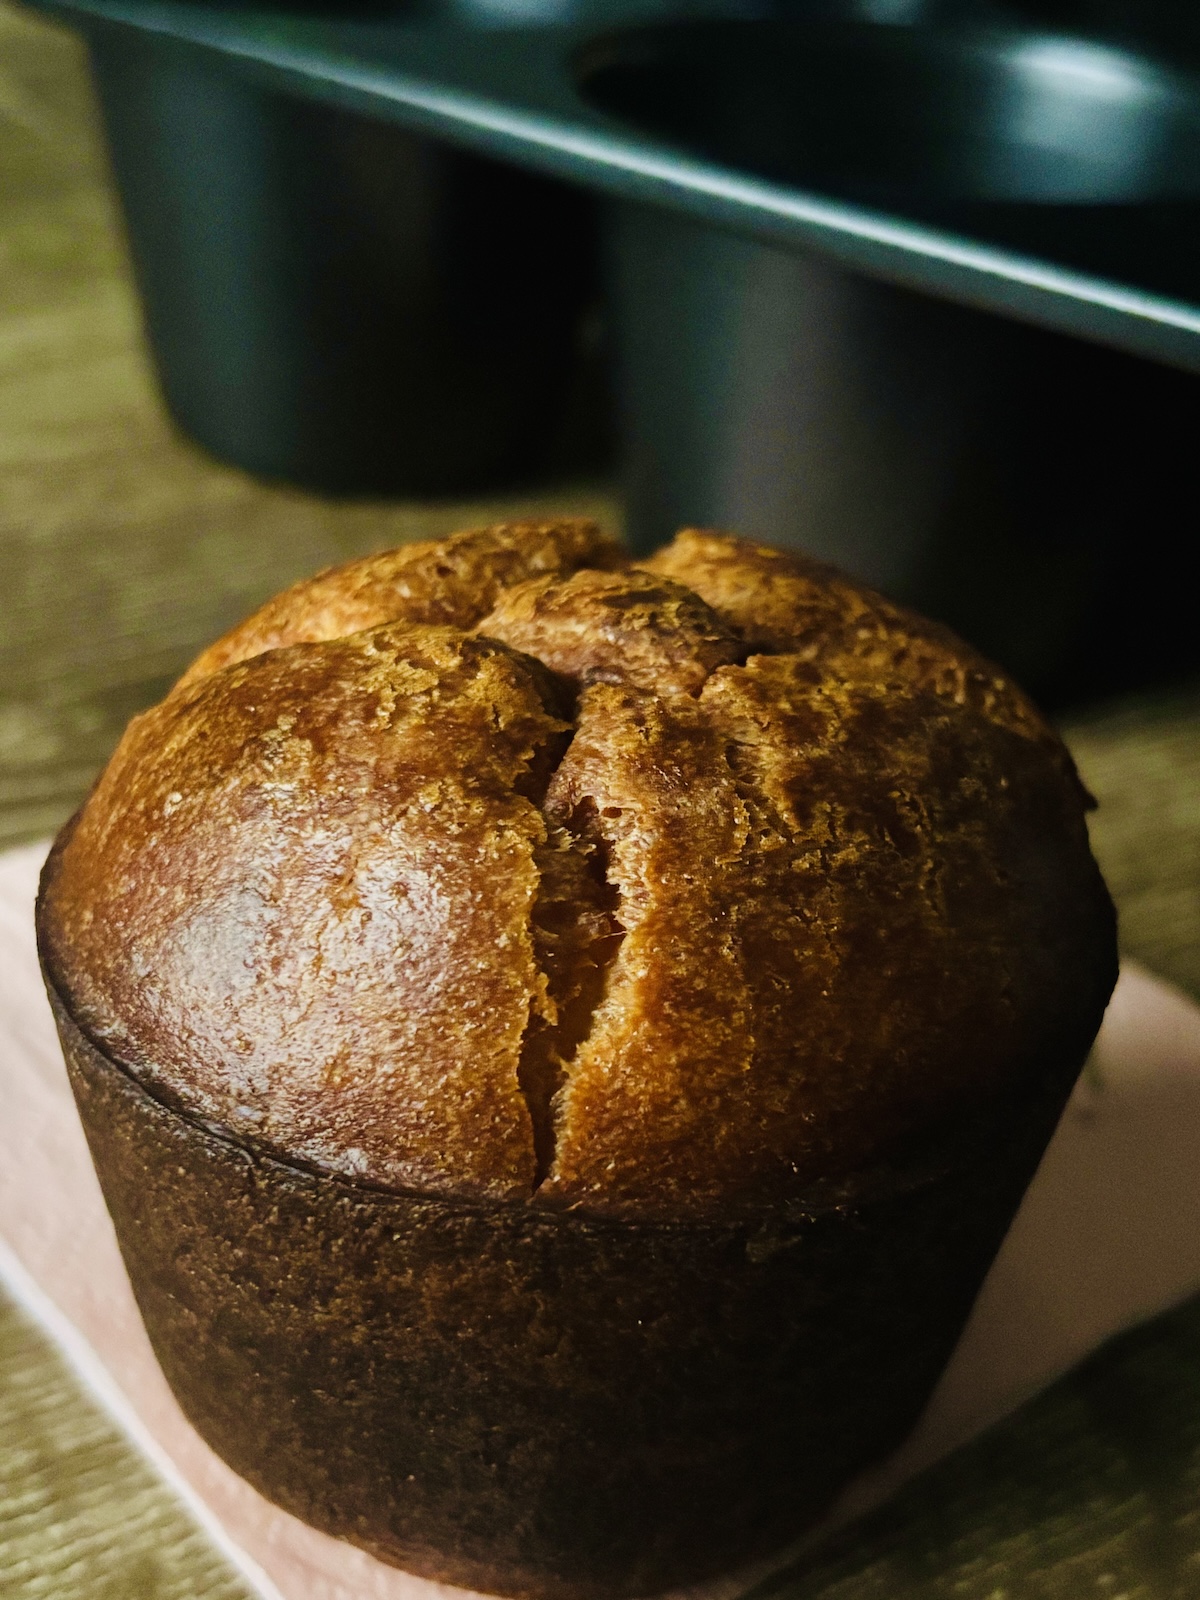
And canele pastry is unique by its shape (that’s closer to an upside down bell pepper shape with scalloped or fluted edges, if I had to describe).
…But more unique than shape is its dark and almost shockingly blackish exterior color.
…And what you would deem other pastry and bakes this color, as burnt.
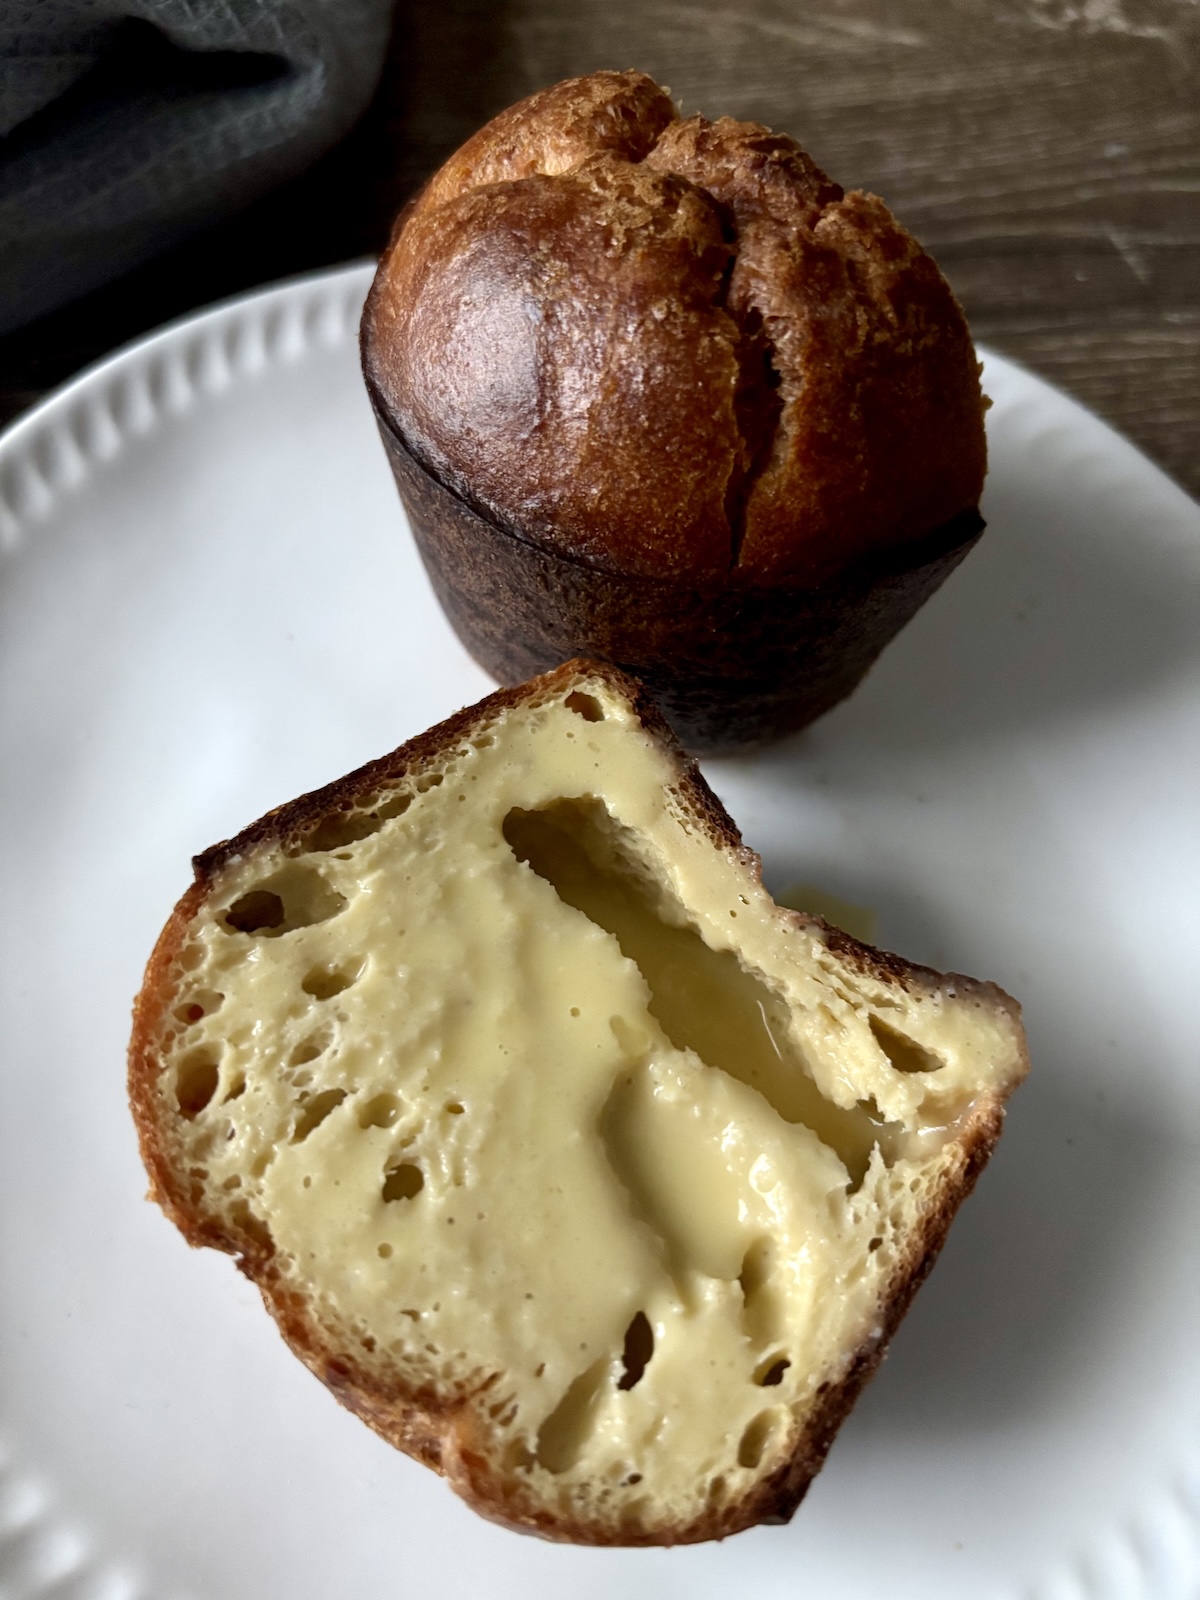
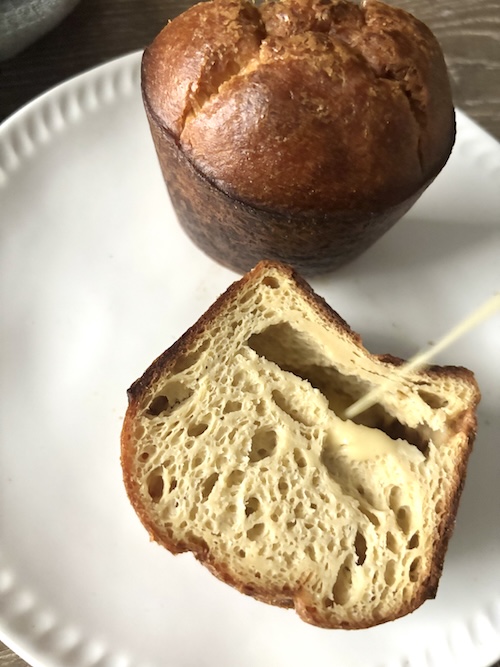
But then, the interior is a contrasting creamy pale color.
That makes a canele pastry one-in-a-kind. It’s dark crispy chic, and light and soft. It’s like us peeps: tough and tender.
And this nice effect can be done and baked in a regular kitchen oven, like I did.
While oven baking, the kitchen smells like a buttery pastry shop. And this comes from the butter and eggs, where even a little bit of butter to coat the pan will achieve…
Because there are 3 ingredients that I keep healthy reduced here: sugar (that’s not white or granulated), butter, and flour.
And with those modifications, then this is something that can be made regularly or weekly. For me, as often as bread baking.
But with the healthy tweaks, that changes the bake from a traditional canele to more of a soft bread texture (and less custardy interior). But so delicious and enjoyable in the end.
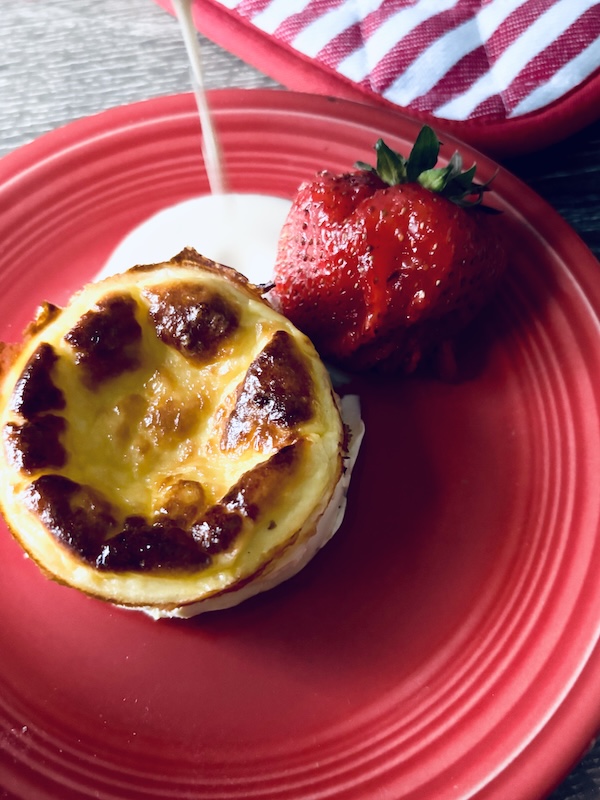
You get to decide if you want to add back a little side custard ontop as the zhugh… or let your sharing guests decide the individual amount with a start and stop of a drizzle. Easy custard can be the new maple syrup.
And this is how this recipe turns out to be similar to an enriched and soft bread dough interior like a brioche, with delicious pastry tastes.
I made this with a large muffin tin that was easier to find than canele molds.
If you want to make a classic canele shape, there are fluted, deeper molds available in the world. They’re often sold individual, and the copper ones would need to be seasoned.
But for practical making, it’s much easier to use an everyday larger muffin pan or something like that.
You can even use your cupcake tins to make a pseudo-canele pastry version that will be brunch breakfast-loved. 🥰
And a dark muffin like this on a table adds enjoyable bite-into flavor moments.
It’s as easy to make the batter and bake the muffin, as a regular muffin or French Toast (for that matter) for a nice weekend brunch.
And similarly with the French-y bread, there’s no kneading needed for this baked pastry which saves time and an extra bowl needed to be cleaned.
So this nice pastry can be your new simple French Toast routine…
And when you add a custard drizzle on the side (that can be vanilla, lemon, or your fave flavor of the season), this will be an experience! Custard starts with the similar ingredients that’s in pastry (egg yolks, milk, and vanilla at a minimum). The holes will drink up the custard, and you get to eat the thirsty holes and this big pastry (pie?) hole. 😋
To make a smooth vanilla custard drizzle: I used warmed almond milk to temper egg yolks, and incorporate a pat of butter (…yes, a pat!), vanilla extract, and cornstarch.
Pastry is one of the few bakes where I never substitute butter. It’s the star ingredient for taste and texture. But just a little will do ya!
You can getaway with 1/2 Tbsp of butter if keeping it low fat-calorie matters to you. It will do the trick, and give the beautiful taste in your mouth, and the aroma of a pastry shop.
…So with less butter, you’re not missing out. And that makes my former hotel catering self happy being around butter.
To make a thicker custard sauce (if you like): add more egg yolks and corn starch, and use whole milk.
Then refrigerate the custard to set. But before doing that, what’s easier than adding a messy plastic film wrap ontop, that you’d have to figure out what to do with after you’re done… is to instead find a round plastic piece laying around, maybe ready for recycle, like a yogurt container top (and re-use).
Cut that piece so it fits just inside the size of the vessel you’ll add your custard to. Pour the custard in first, and then place the cut plastic piece ontop, that should float nicely on the custard surface.
Voila!… no film at the top. It’s invisible.
With similar ingredients to the custard, you can also prepare your special canele or muffin pastry batter, back-to-back using the same cooking and baking tools.
For the canele pastry batter:
You want to temper-cook the egg yolks without scrambling them, so it’s easiest to do that all-in-one with warm-hot milk, while melting the butter in one mixture…
This way you don’t need to remember to plan ahead and take the butter out in advance! So that save-a-step can easily beat a recipe that calls for easily-forgotten softened butter.
For the sweetness, add a smidge (about 1/2 tsp) of honey that sweetly brings out the buttery tastes in food pairing harmony… and you’ll be reminded when baking and your oven has scents like you’re in a. pastry shop!
Honey doesn’t need to be melted, but if you were to use traditional granulated sugar, then adding that into your heated milk medium to incorporate, would be good.
You then add your warm and melted ingredients to the broken up egg yolk and flour mixture bowl, making sure to whisk or stir vigorously and quickly so the egg doesn’t scramble.
I switch to an easy silverware spoon at this point, as I find it less sticky than a whisk.
And if coordinating both hands at the same time is tricky: with one hand, it’s easiest if you pour a little of the hot milk in the beginning, so the egg yolk isn’t heat shocked. Stir vigorously and then add more of the milk until it’s all smoothly incorporated into a liquid. This will be a liquid-y batter (that’ll look like a crepe or thin pancake batter).
Btw, this combining heated milk method to eggs is the same way you would temper in making home ice cream or frozen desserts with eggs, minus some ingredients (no flour). So it’s a good ‘lil technique to learn if you don’t already know it!
…And if you want to practice more, then you’ll love making vanilla or chocolate soft serve ice cream with eggs, that makes a great amuse bouche.
This also would be amazing food pairing to go with your pastry. 💭
This is a delightful pastry that looks like enriched dough and muffin, and tastes like pastry.
Course Breakfast, brunch, Dessert
Cuisine American, French
Author Brandy @ Healthy Happy Life Secrets
Ingredients
2egg yolks, whisked
1/4cupmilk
1Tbspbutter (1/2 Tbsp butter will work too)
1/2cupall purpose flour
1/2tspraw honey
1/8tspsalt
1/4tspmolasses (optional)
1/2tspraw honey
Instructions
Butter your baking pan.
Cook or heat milk with butter to melt, just below boil.
Add flour, honey, salt, and whisked egg yolks to a bowl. Combine with a spoon. (An easy way is to whisk the eggs first in the bowl, switch to a spoon, and then add the flour and other ingredients.)
Pour heated milk-butter over the flour-egg bowl while stirring with a silverware spoon (recommended) constantly to prevent eggs from scrambling. You can pour a little of the hot milk at a time in the beginning, mix/stir a liitle, if you can't stir with one hand and pour constantly with the other hand.
Refrigerate batter for a few hours or overnight, for better bake rise results. You can also bake after you make the batter if you want. The taste will stay about the same.
Pour batter into baking pan at 450°F for 15 minutes in a regular oven. Then turn the oven down to 350°F for at least 45 minutes or until color desired. Caneles are dark color.
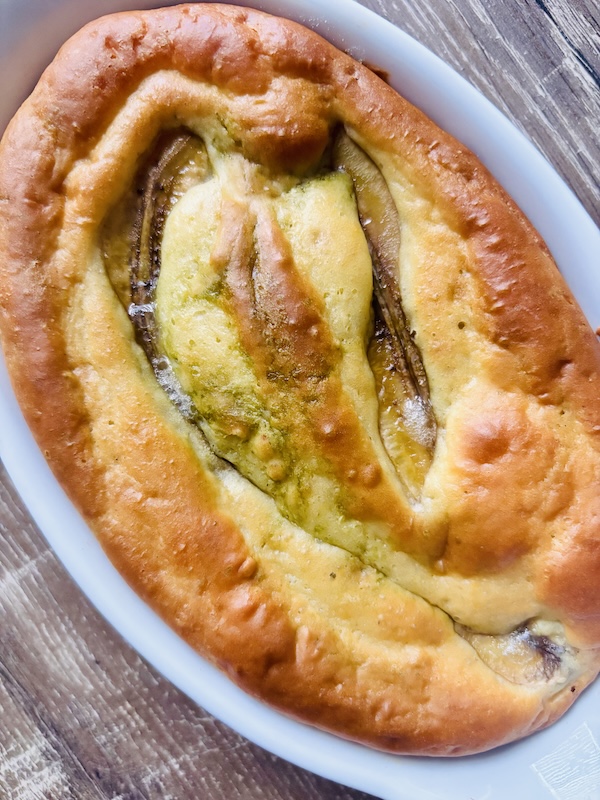
Banana bread is an easy bread you can make for brunch.
And this one is a mixed batter (and not a proofing bread dough) before it’s in the oven, so you’ll save hours! Think of it like a quick pancake batter.
…And you can make this simple, where all you need is a pancake mix and a banana.
It has added matcha too.
…Oh, and then add a little milk and/or yogurt for moistness. You can also make your own easy banana bread mix with flour (gluten and gluten-free), baking powder, and choice of sweetness (such as maple syrup or honey that are good for breakfast and lower sugar than sugar).
You can also get your healthy ingredient adds in like matcha tea in banana bread.
Matcha is a healthy anti-inflammatory green tea, good for calming that also supports weight loss. 🍵
…Where less sugar is also going to support those efforts.
I also added in healthy gluten-freebuckwheatflour to the mix, that’s high in protein and fiber… and good in healthier pancakes and a recipe like this.
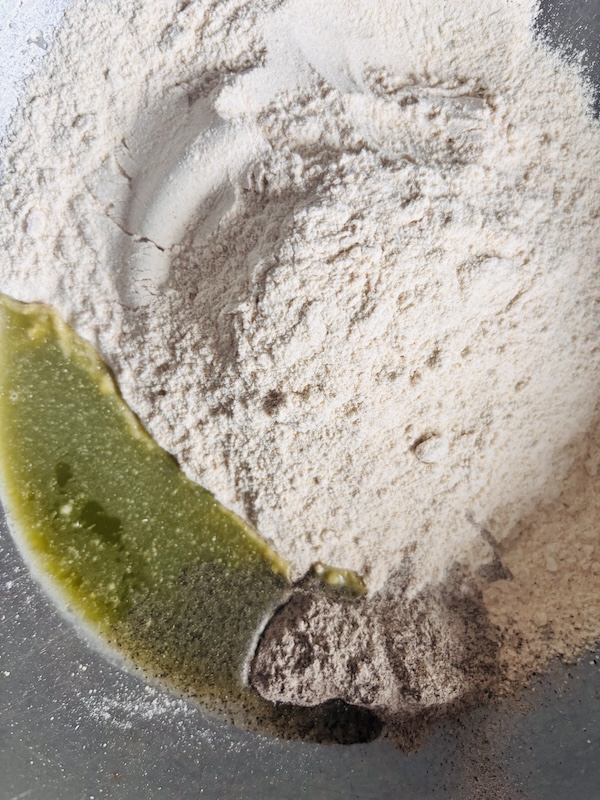
You can hide the healthy ingredients after you combine the ingredients.
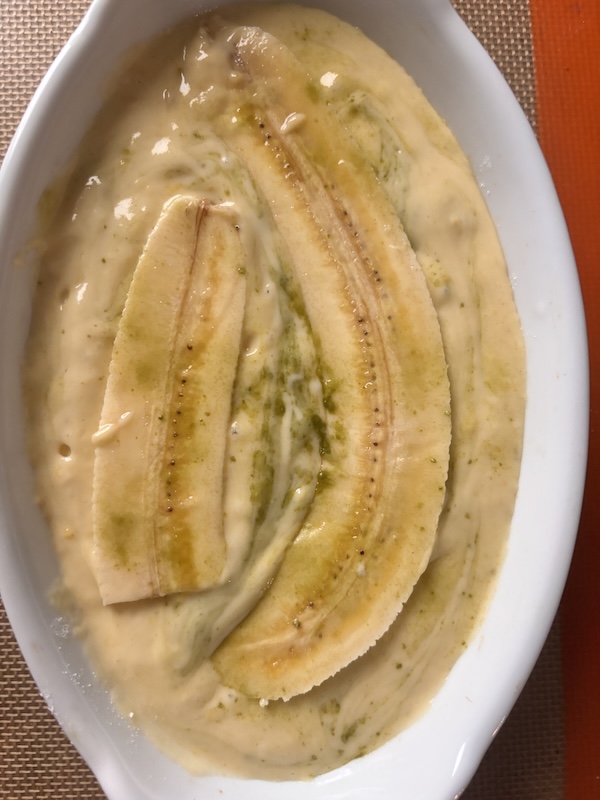
But I left a small trail of spring green matcha on the top of the batter, so you can see it’s there. The color will also blend in more after baked. 🌱
Only the banana bread will stand out in the end.
And that’s a good way to hide healthy ingredients for those who are picky eaters!
…But that you’ll feel better about it in there and anyone you’re sharing with!
The best part is: you can make healthier breakfast sweets like this matcha banana bread without compromising any tastes.
Cannoli shell with a waffle iron machine makes life easy and delicious for brunch or a dessert. This is a low-sugar recipe where you won’t even miss the sugar. And you can skip any frying, even though the shell is sizzling!
It tastes like it was fried. But since it’s not, it’s healthier.
You can also more-healthy bake your cannoli shell if you don’t have a waffle iron maker… that you could even further roll up into an ice cream cone if that’s what you’re after.
But a waffle iron maker makes a cannoli shell with the bubbly look in easy minutes, a lot like a copycat fried street food cannoli shell dessert you would buy!
So to make this treat, this is what you will need…
Tools:
Waffle Iron Machine
Piece of aluminum foil
Magic Bullet blender (optional)
And if you’re wondering how you’ll make your cannoli shell on your waffle iron without waffle iron marks, I explain below how to make your easy flat irons with your waffl-y iron! 🧇
This reminds me of the wavy hair vs. flat iron… and if you like playing with your hair, you’ll love playing with your food iron this way. I do with mine!
Another easy way is using a Magic Bullet blender that will make this a 2-minute prep for a smooth cannoli shell batter. And a 30 second clean rinse if you’re short on time.
But first you gotta make the batter…
So start by frothing the egg white in a Magic Bullet or easy blender by pulsing a few times. If you don’t have a blender, you can use a whisk to whisk up the egg white(s). One egg white per cannoli shell.
Light fluffy egg white(s) are crucial for this recipe where you don’t need any granulated sugar! Whaaat?
So often sugar is used to help emulsify ingredients, and in most cannoli recipes you’ll find quite a bit of sugar, but this one you can use a little healthy honey only for the sweet taste (or substitute for maple syrup).
Honey, btw is a beautiful tasty-pairing duo with butter. Where you will add just a small pat of butter for each cannoli shell you will make. About 1 Tbsp per cannoli shell. A lot of butter isn’t essential (e.g. if you’re counting fat/calories or trying to be healthy). I used 1/2 Tbsp butter per shell and it worked just fine!
And if you prefer oil already in liquid form, or want to do this quicker or dairy-free, use 1 or 1.5 tsp of neutral olive oil (or oil of choice) instead. And then add about 1/4 tsp of water for a little steam like butter does when cooking (and add back a little more flour as needed to keep a thicker batter that won’t run off the waffle maker sides).
And if healthy are your desires for this cannoli shell, the final cannoli cream for your cannoli shell can be healthy Greek yogurt like what I use.
…Where you’ll want to find a thicker Greek yogurt you like, and you can check on the label if there’s no added sugar. The lactose in yogurt already has natural sugar. You can use plant-based (no dairy) yogurts too.
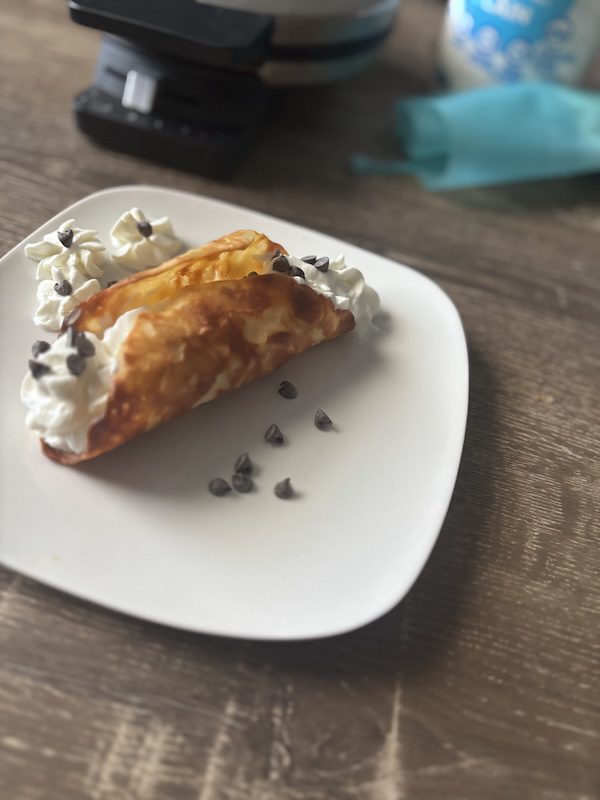
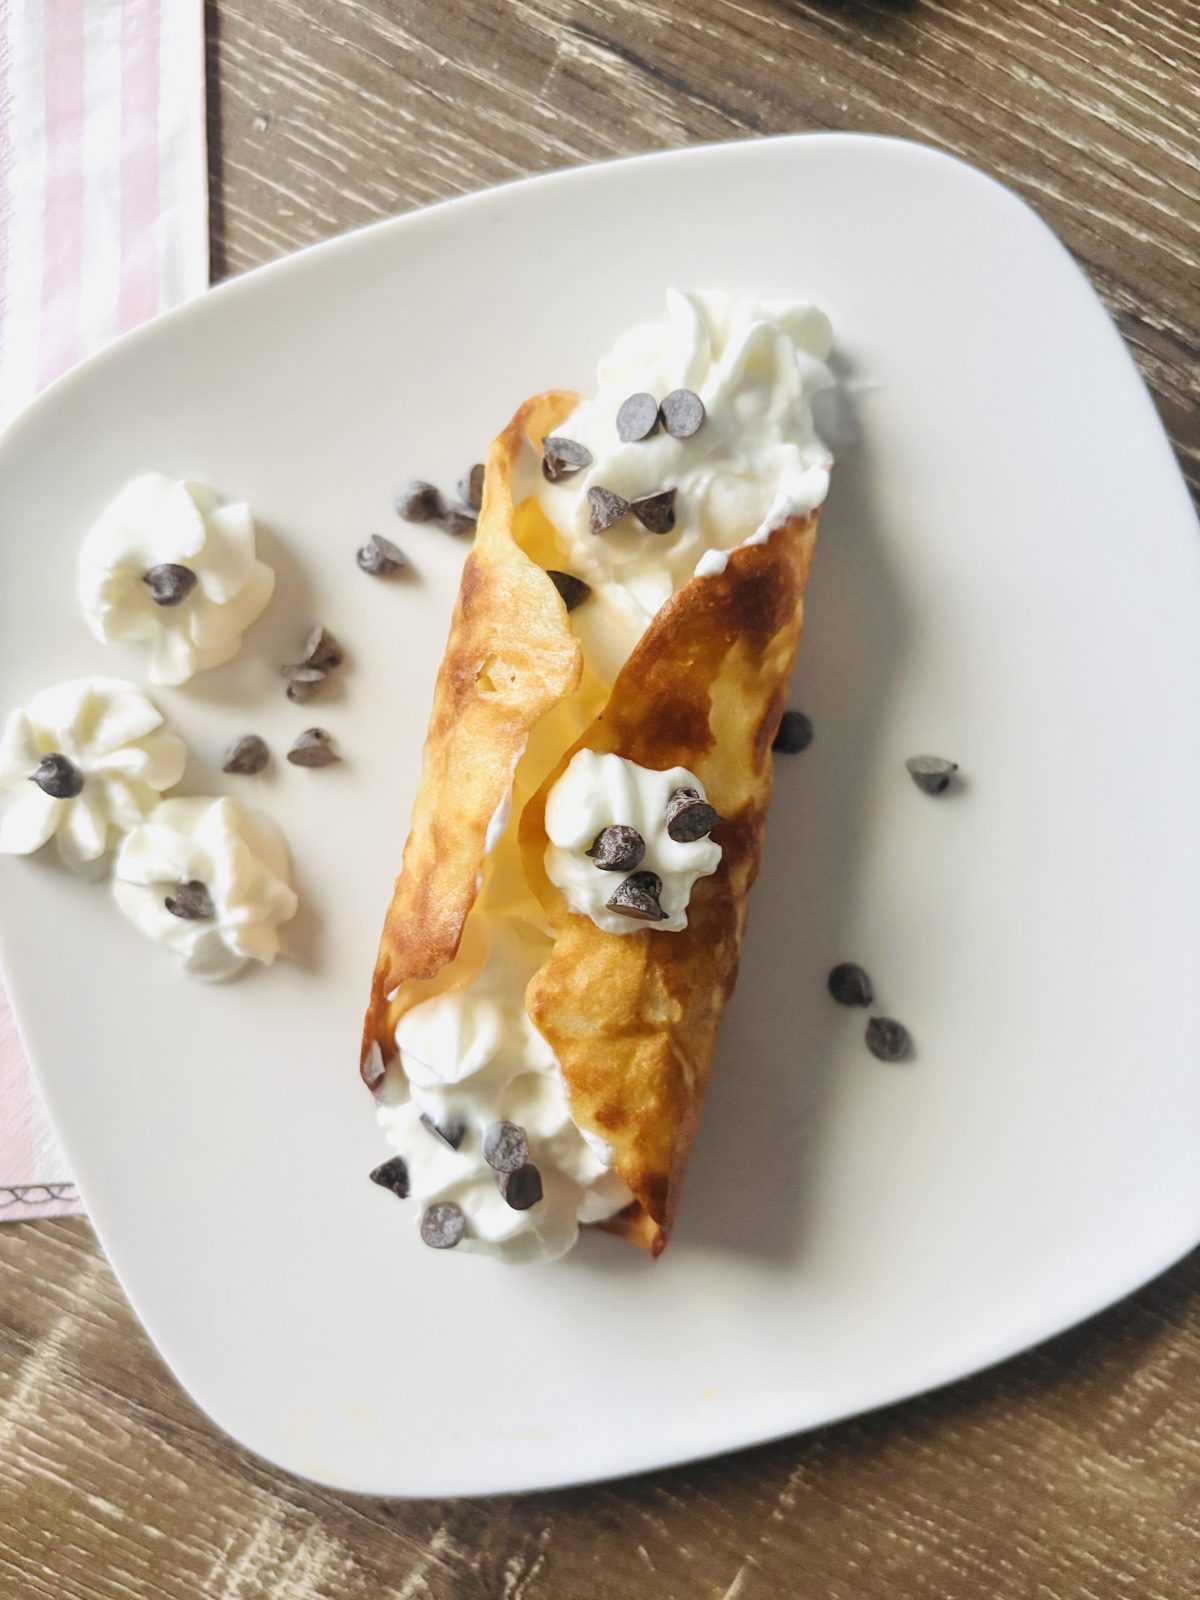
Then you can pipe into your cannoli shell. How fun!
Add a few sweet mini chocolate chips for a classic cannoli. This is a delicious bite, and probably even better than it looks! You can also drizzle ontop a little honey if you like, or pair with your favorite sweet breakfast foods.
So – ready to make this?
Make the cannoli batter (recipe and step-by-step waffle iron instruction below).
Make cannoli shell batter and add onto foil on waffle iron.
This low-sugar recipe is for one cannoli shell so multiply the ingredients by how many cannolis you want to make that are regular size 4" long cannoli size.
Course brunch, Dessert
Cuisine American, Italian
Total Time 10 minutesminutes
Author Brandy @ Healthy Happy Life Secrets
Equipment
waffle iron machine
Magic Bullet (optional)
Ingredients
1eggwhite
1/2tspraw honey
1Tbspmelted butter
1/4cupflour
1/8tsppinch of salt (optional)
1/4tspvanilla extract (optional)
Instructions
Melt butter in heat of choice, and set aside at room temperature.
Froth egg white with Magic Bullet blender or whisk in a bowl.
Make the batter: if using a blender, add the remaining ingredients and pulse a few times until fully combined. You can shake or use a spoon to ensure all the flour is added. Or combine in your mixing bowl.
Cook the cannoli: if you have a waffle iron with waffle grids (most do), cut two pieces of square aluminum foil that will cover the bottom and top waffle irons. Add one oil piece to the bottom iron and add the cannoli batter to the foil sitting on the iron. The batter should be slightly thicker (closer to a pancake batter) to hold a circle shape that does not run off the iron. Use a spoon to make a thin layer batter circle shape (it does not need to be perfect). Add the other piece of aluminum foil ontop of the circle and lightly close the waffle iron to not make waffle marks. Turn the iron on to medium heat (e.g. middle setting). Cook for about 3-5 minutes until browned all around after iron is heated (e.g. light turns green) and depending on your waffle iron. You can peek from time to time to lift up the aluminum foil.
Shape the cannoli shell while still hot (for best results): turn off waffle iron. While still hot, with a safe kitchen glove in hand, roll up the hot cannoli shell (like a burrito) in the one piece of aluminum foil it's sticking to. Let cool completely.
Reveal the cannoli: after cooled, slowly peel out the cannoli shell out of the foil. It should come out pretty easily after cooled. Be sure any small foil pieces sticking are discarded.
Notes
All-purpose flour works best but you can substitute with gluten-free all purpose blends (like a tsp of buckwheat flour will change the color). If your batter is too liquid runny, add a little more flour for a consistent smooth batter that won't run off the sides of the iron.
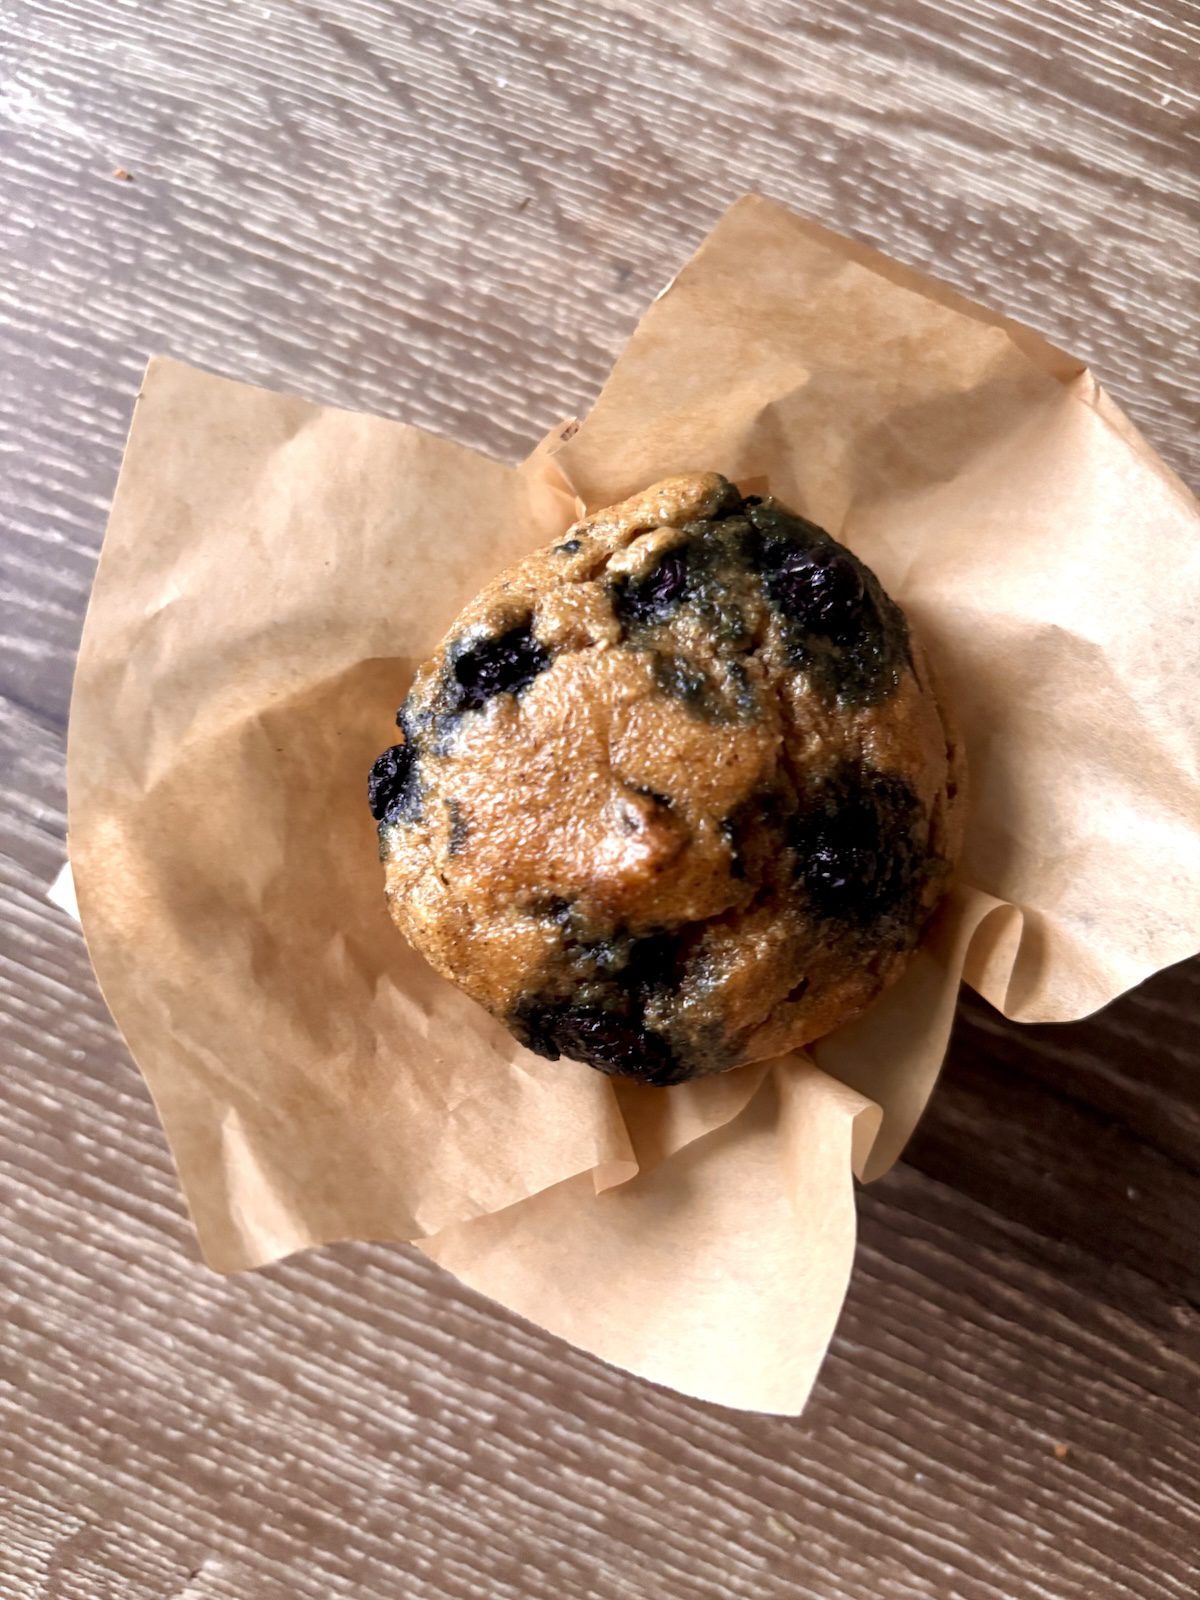
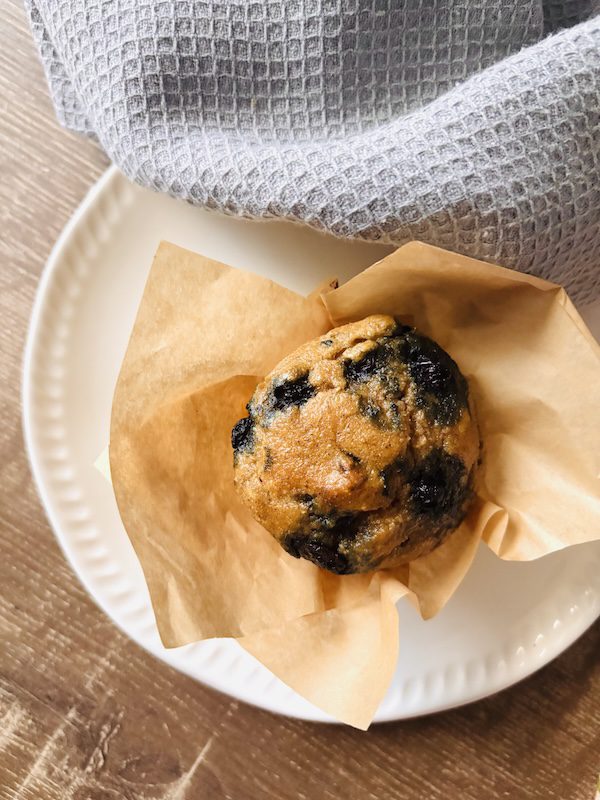
Blueberry muffin is one of my favorite breakfast morning starts. I remember when I was a tween who made blueberry muffins from a box and they were a hit. It’s hard to mess up a mix! Blueberries in a can came in the mix and I remember enjoying draining them as part of the experience.
Little did I know that a blueberry muffin is so simple to make with a few ingredients you probably already have in your kitchen pantry! This wild blueberry muffin recipe is a delicious, low-sugar and healthy-ingredient one. I think you’ll go wild over it if you give it a try! 🫐
With flour, milk, and blueberries, you can bake muffins. And below I tell you how to get the most out of what you have in your kitchen or pantry already, and use healthier ingredients than what you find in a mix/box.
Of course… organic wild blueberries are the super star anti-inflammatory healthy ingredient. Frozen blueberries work great and also go well with a blueberry smoothie with peachy cheesecake tastes.
For the muffins, to improve the muffin texture, an egg yolk and rising agent (baking powder and baking soda) with do the trick. A box of baking soda is usually in your fridge already to prevent odors.
Then add in a little lemon juice or vinegar to activate. And if you don’t have those ingredients, you can also add honey. Yes, honey! Or maple syrup that’s in this recipe for sweetness (to go with the blueberry muffin morning theme). How sweet! 💕
And if you don’t have milk available, you can make your own oat milk from oatmeal or nut milk from nuts and even a pecan latte to go with your blueberry muffin in the process. So you don’t have to keep shelf-stable milks in your home anymore. And coconut milk too is an option on the table!
How nuts… that milking (a plant) is so easy with ingredients you may already have at home! 🥛
Oh, and this easy blueberry muffin recipe starting from the time you gather home ingredients, combine, and bake in your oven… all-in, is 30 minutes!