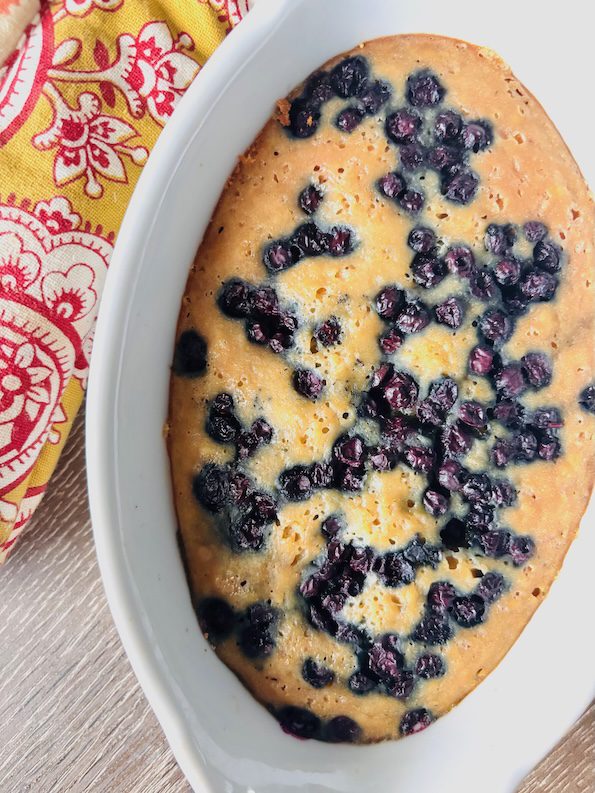
Peach cobbler is a fun dessert especially when peaches are in season. And this one is made with whole wheat so it’s darker color that work for cobblestones! And this one is low-sugar.

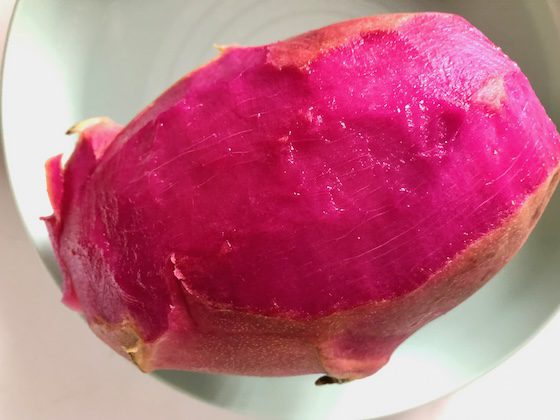
There are so many peaches to choose from. Eastern peaches are common and Georgia is a the Peach State and prime producer.
Peaches stand out as the star ingredient.
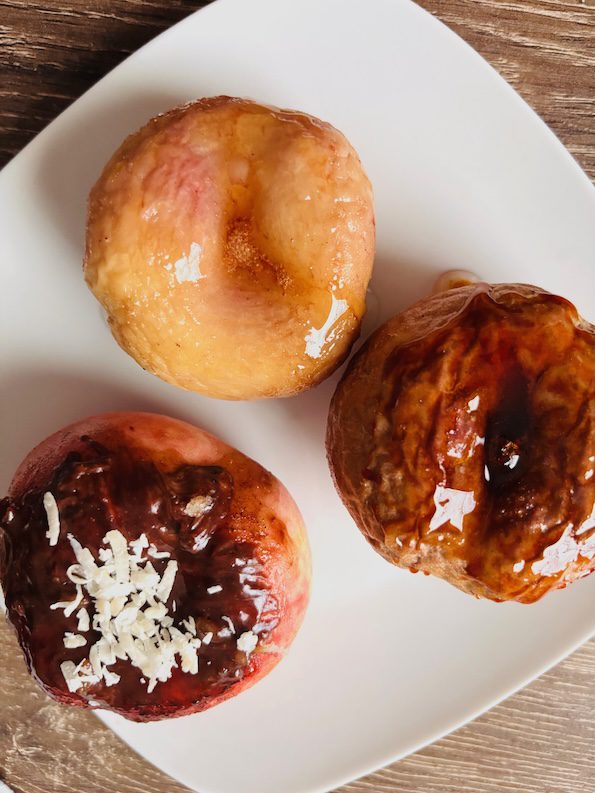
And adding a peach cobbler is all the more fun as they look like cobblestone taking us back to Southern places like Charleston. South Carolina is another state that’s known for being the Peach Capital.
And it can be made as a healthy peach cobbler dessert and a light one without any fat… no butter, no oil, nothin’…
So in staying on the healthy theme cobblestone path, whole wheat flour is used instead of all purpose flour.
Whole wheat flour also has more fiber and protein if that matters to your healthy tastes.
And by adding a low sugar (or a fraction of a cup of sugar), that’s always more healthy. Because the sweet comes from the baked peach slices and dripping juices.
If you don’t add white sugar, then you appreciate whole peach fruit sweetness that peaks abundant in hot summer months. 🍑
I added only 1/2 tsp brown sugar which is about 1/2 a turbinado (Sugar in the Raw) brown sugar packet ontop to zhugh up the cobblestones… and to give them a crunchy sweet bite, as ontop the sugar won’t melt in the oven and will stick to the cobblestones in the baking process.
To make the peach cobbler:
First off, cake pans works great as they are round and fit the semi-circle peach slices. You can use a rectangular pan also that would make a neat design when you partially stack the peach slices.
I like to make the peach design first because then I get a waff of the sweet juicy peaches. Then I make the dough. But that’s up to you in what order you prefer!
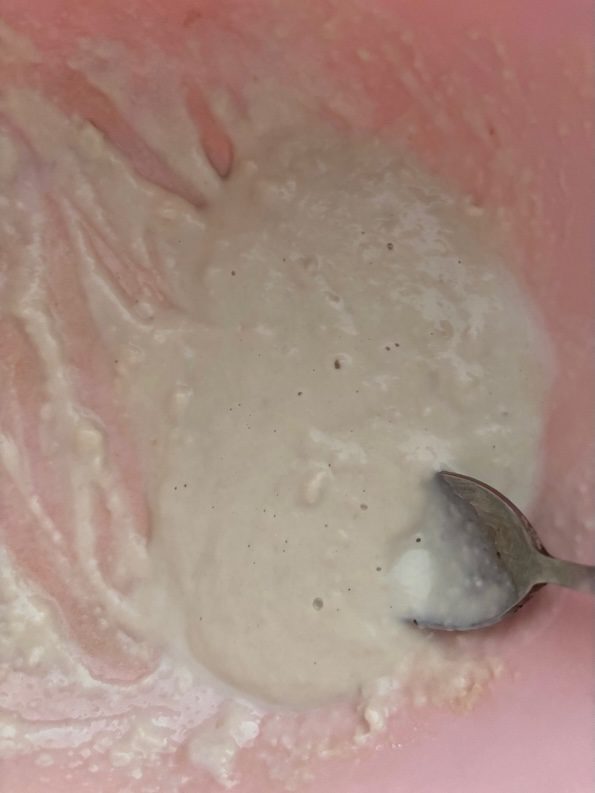
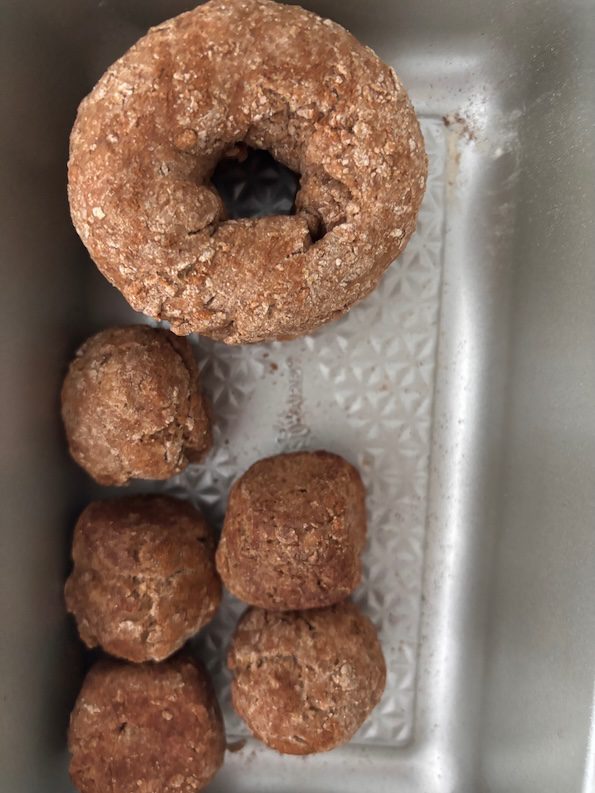
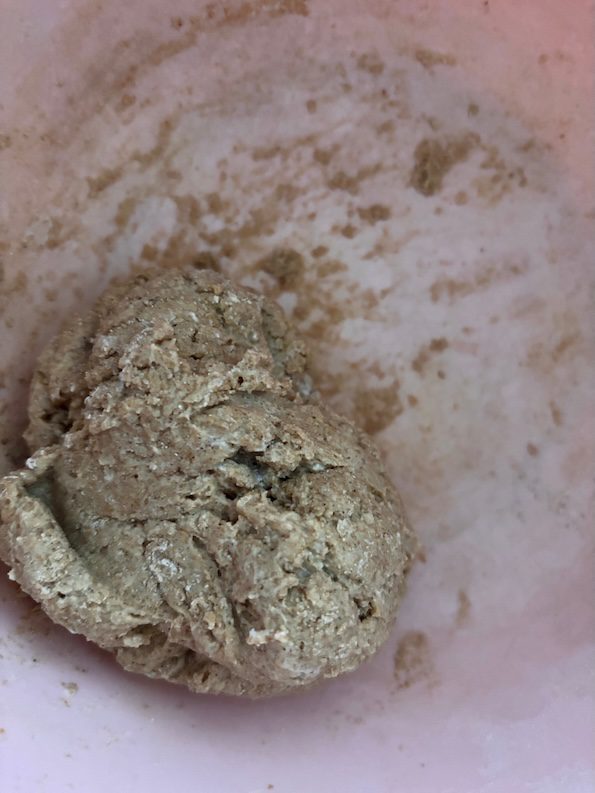
The dough will be a little sticky and easy to make into a ball.
Then use a scooper or spoon out scoops onto peaches. Since they’re cobblestone shaped, they don’t have to be exactly all the same size or shapes. Oblong or round will work!
Then bake and enjoy!
Whole Wheat Peach Cobbler - Low-Sugar Healthy
Ingredients
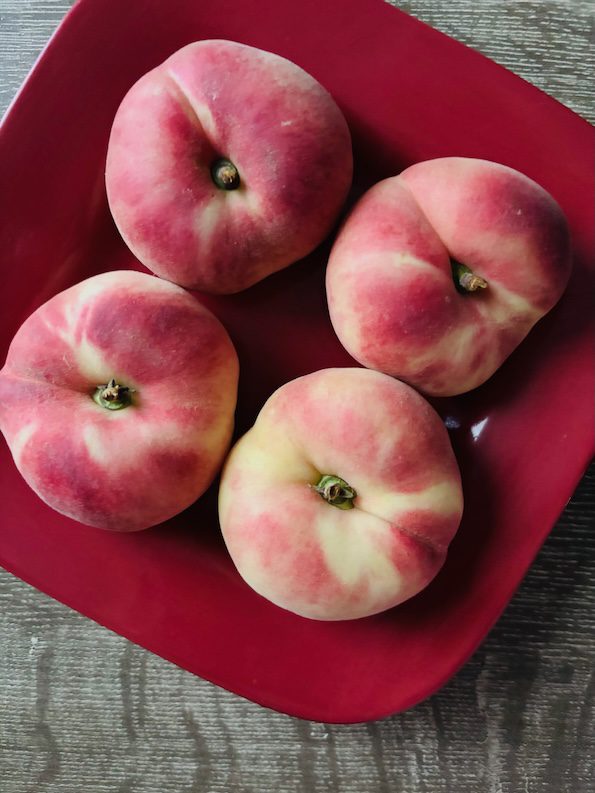
- 3 peaches, whole and then sliced
- 1/2 lemon's juice
- 1 egg
- 1 tbsp almond flour
- 1 cup whole wheat flour
- 1/2 cup Greek yogurt, thick part (strained)
- 1 tsp cinnamon
- 1 tbsp maple syrup
- 1 tsp turbinado sugar (optional)
- 1 tsp baking soda
- pinch of salt
Instructions
- Cut up peaches with skin into thin slices semi-circles. Arrange in a pattern around your baking pan. Evenly add the lemon juice and a few sprinkles of almond flour to the peaches to absorb some of the juices. You can also use tapioca flour for the same healthy effects.
- Make your cobbler scoops. Add whole wheat flour to a bowl. Evenly whisk in baking soda.
- In a separate bowl: beat up egg with a whisk and then add yogurt and maple syrup.
- Combine wet ingredients to dry ingredients with a spoon or whisk, and add the salt. This will be a sticky wet dough that's easy to make a dough ball.
- Add scoops ontop of peaches.
- Bake at 350°F for about 25-30 minutes.