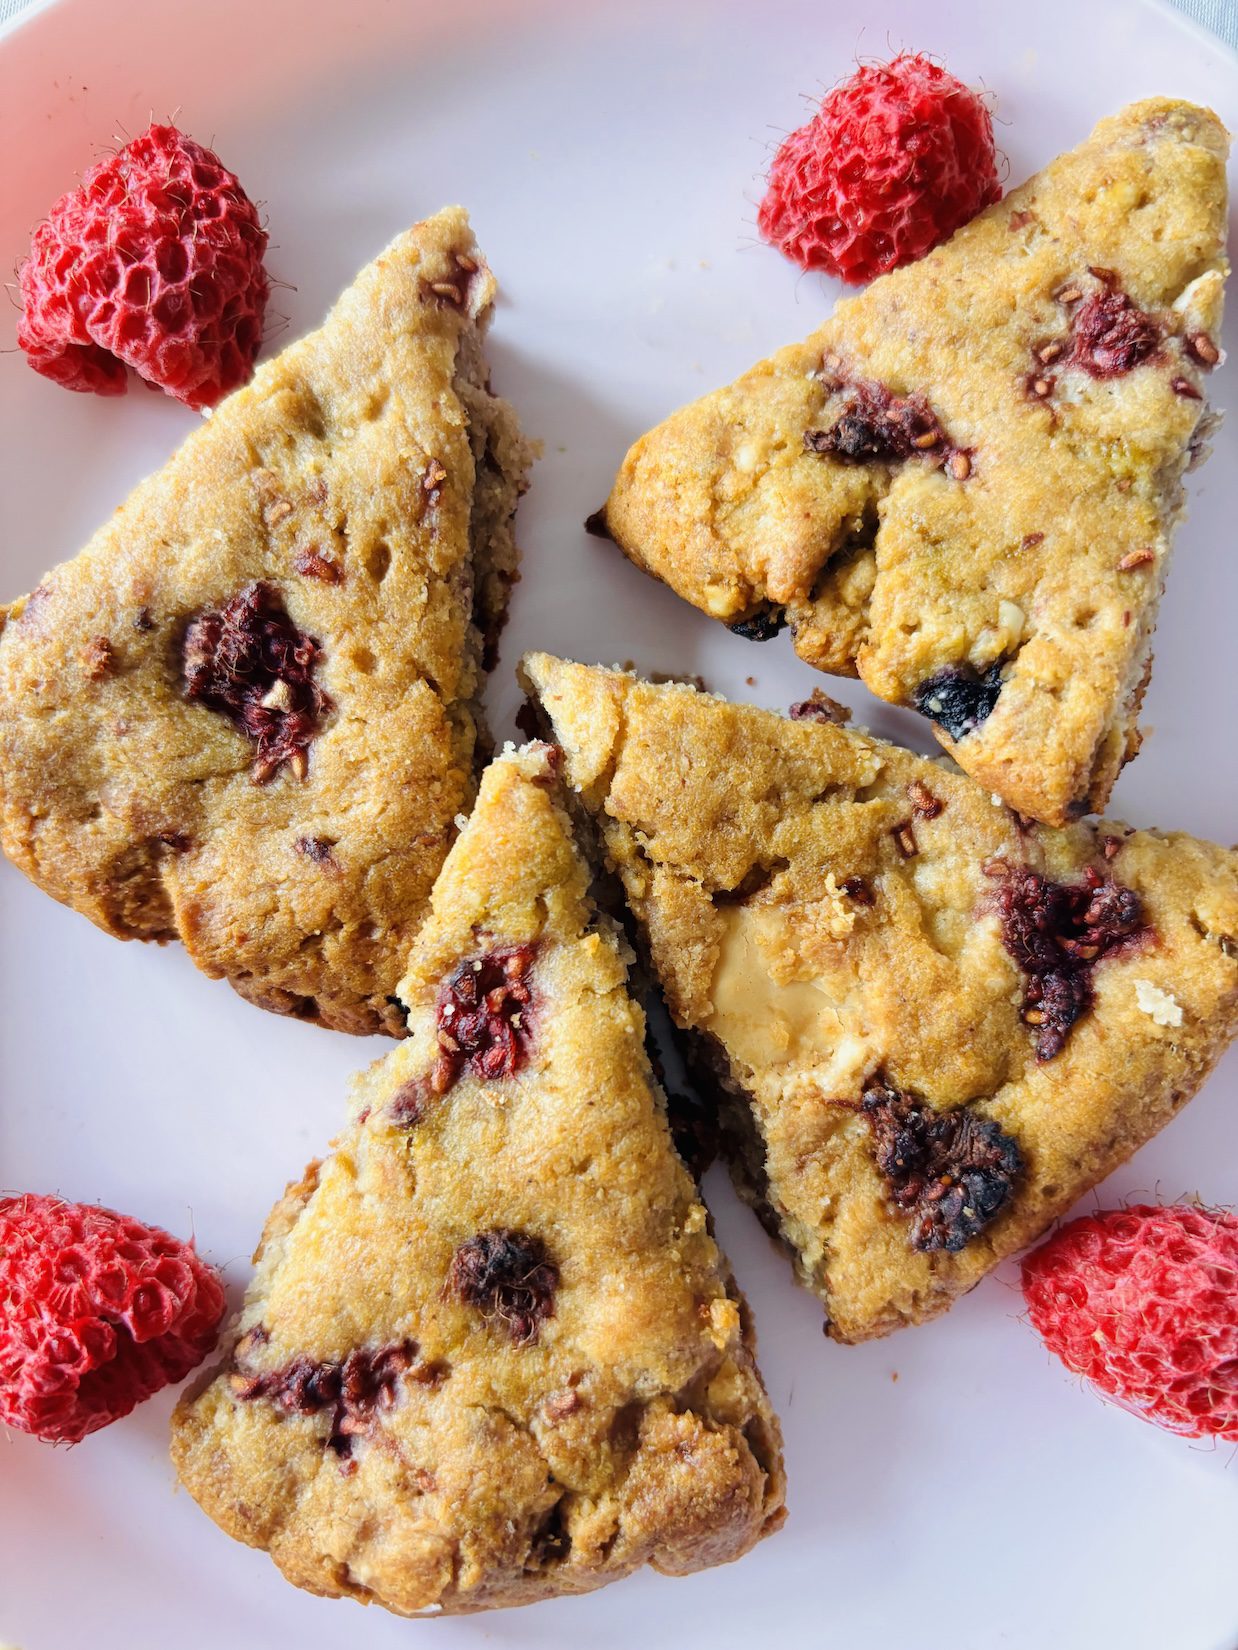
Goat’s cheesecake is one that’s so easy to make! And you win body points with a more gut healthy cheesecake, using goat cheese. Oh, plus the healthy probiotic piped topping. See the full notes and recipe below…
…And I’d be remiss if I didn’t share the skinny on the healthy ingredients that make a healthy cheesecake difference.
…That’ll benefit your body and also help you be happy, feeding healthy vibes to your gut (where most happy hormones are made) and mouth (stirring up glee). 😋
With this cheesecake recipe, it starts with the ingredient choice of chevre or goat cheese, that’s higher in protein, calcium, and lower calories (about 25% less than regular cream cheese). Plus, healthy prebiotic notes as fermented cheese.
Despite a French name, chèvre is not to be confused with cheval that means horse in French. 🐐 Fun fact: Horses make milk too. 🐎
And goat cheese has a texture closer to cream cheese so it works great in a cheesecake.
Its calories and fat content is more like a Neufchâtel cheese, a reduced cream cheese, which is what I used to use for cheesecakes before I knew better. It’s French named after the town it comes from in Normandy…
But today, we have other available healthier options, like goat cheese…
And the Mediterranean region was one area of the world that put healthier (the real-deal) prebiotic goat cheese on the map 🗺️ straight from the farms, while cow’s cheese is still what dominates cheeses.
And we benefit with the arrival of goat cheese makers. Montchèvre is one organic brand made in the USA. Specific to Wisconsin, that’s also home to the Cheese Heads (America’s Dairyland).
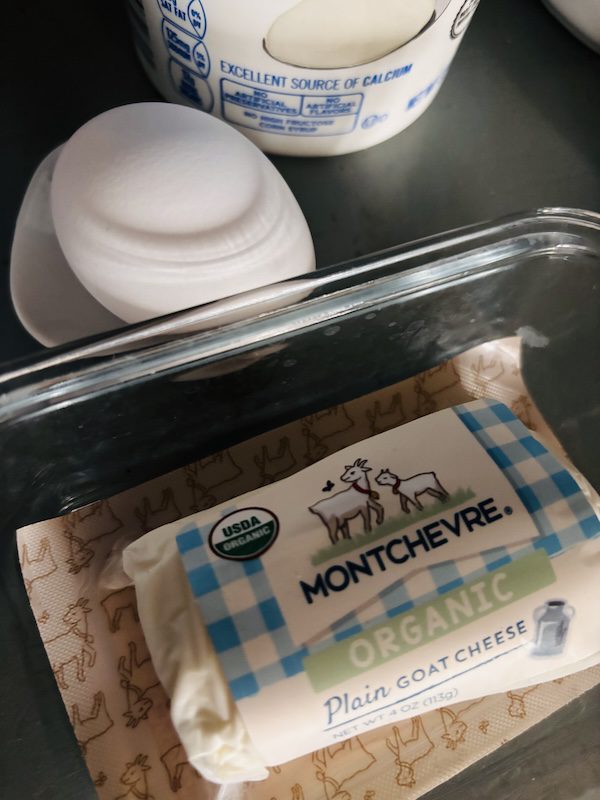
Montchevre is the organic goat cheese used in this cheesecake recipe. It looks like a packaged small cheese log.
You can find it in many grocery stores that has a premium or specialty cheese section, like Harris Teeter or Trader Joe’s. So it’s easier to source.
…And even easier to find is a thick Greek yogurt for additional healthy probiotics (gut health), protein and B12 vitamins (good for energy), to name a few healthy body benefits.
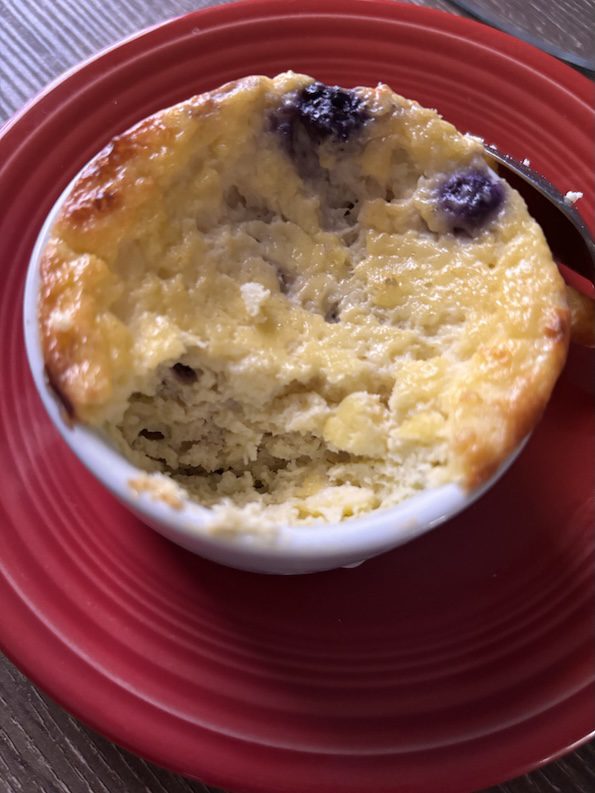
All for the sake of being healthy (that’s a good cause)… and a tasty, nice textured smooth cheesecake.
Sheep’s cheese is another type of healthy protein cheese, like goat cheese, that is growing in common availability, thanks to places like Sardinia, Italy. The rural green pastures are known for the rustic and healthy cheese tradition.
And for cheesecakes, you can also make a delicious, high protein Basque-style sheep’s cheesecake. Keep in mind: sheep’s cheese 🐑 is generally more firm than goat’s cheese 🐐, so the sheep’s way makes a better rustic cheesecake shape.
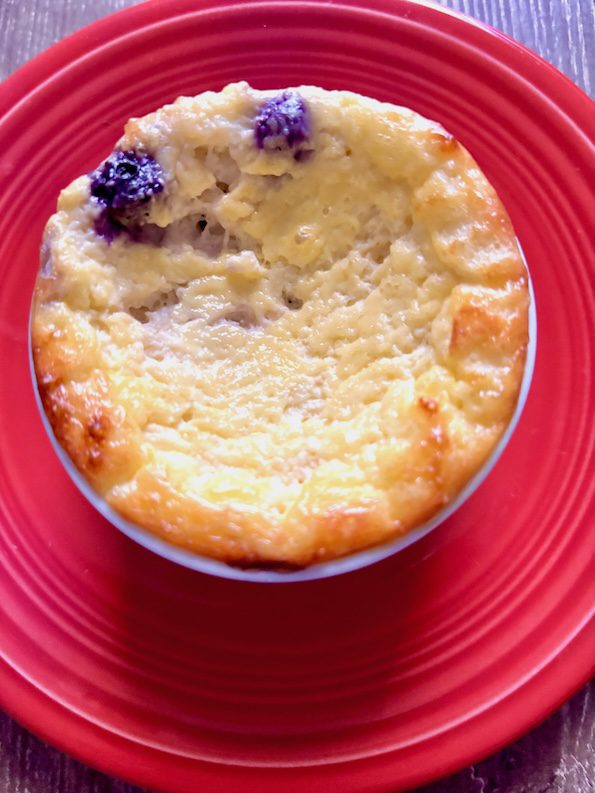
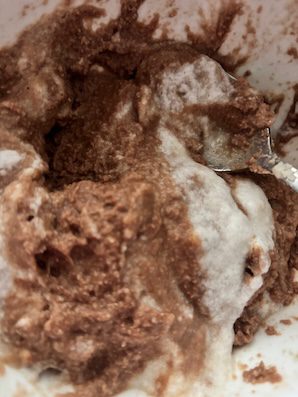
But with Montchevre goat cheese in this recipe, you should get a smooth batter like mousse that makes a rounder shape. And this means you can use one piece of baking paper effectively (instead of cutting scrapbook strips like I did with sheep’s cheese in a cheesecake).


💡An idea for if you don’t have baking paper: if you use a small half-size 4″ springform pan where the cake pan sides pop off, then you can use one cupcake paper holder and it will fit perfectly at the bottom.🧁Flatten it out and that can be the baking paper you use.
And then to complete the goat’s cheesecake batter to pour into the cake pan:
Bring in the egg yolk that helps the structure in the recipe, and will add more protein/B12 healthy notes. But instead of probiotics (like in yogurt), it’s prebiotic to feed the healthy bacteria probiotics.
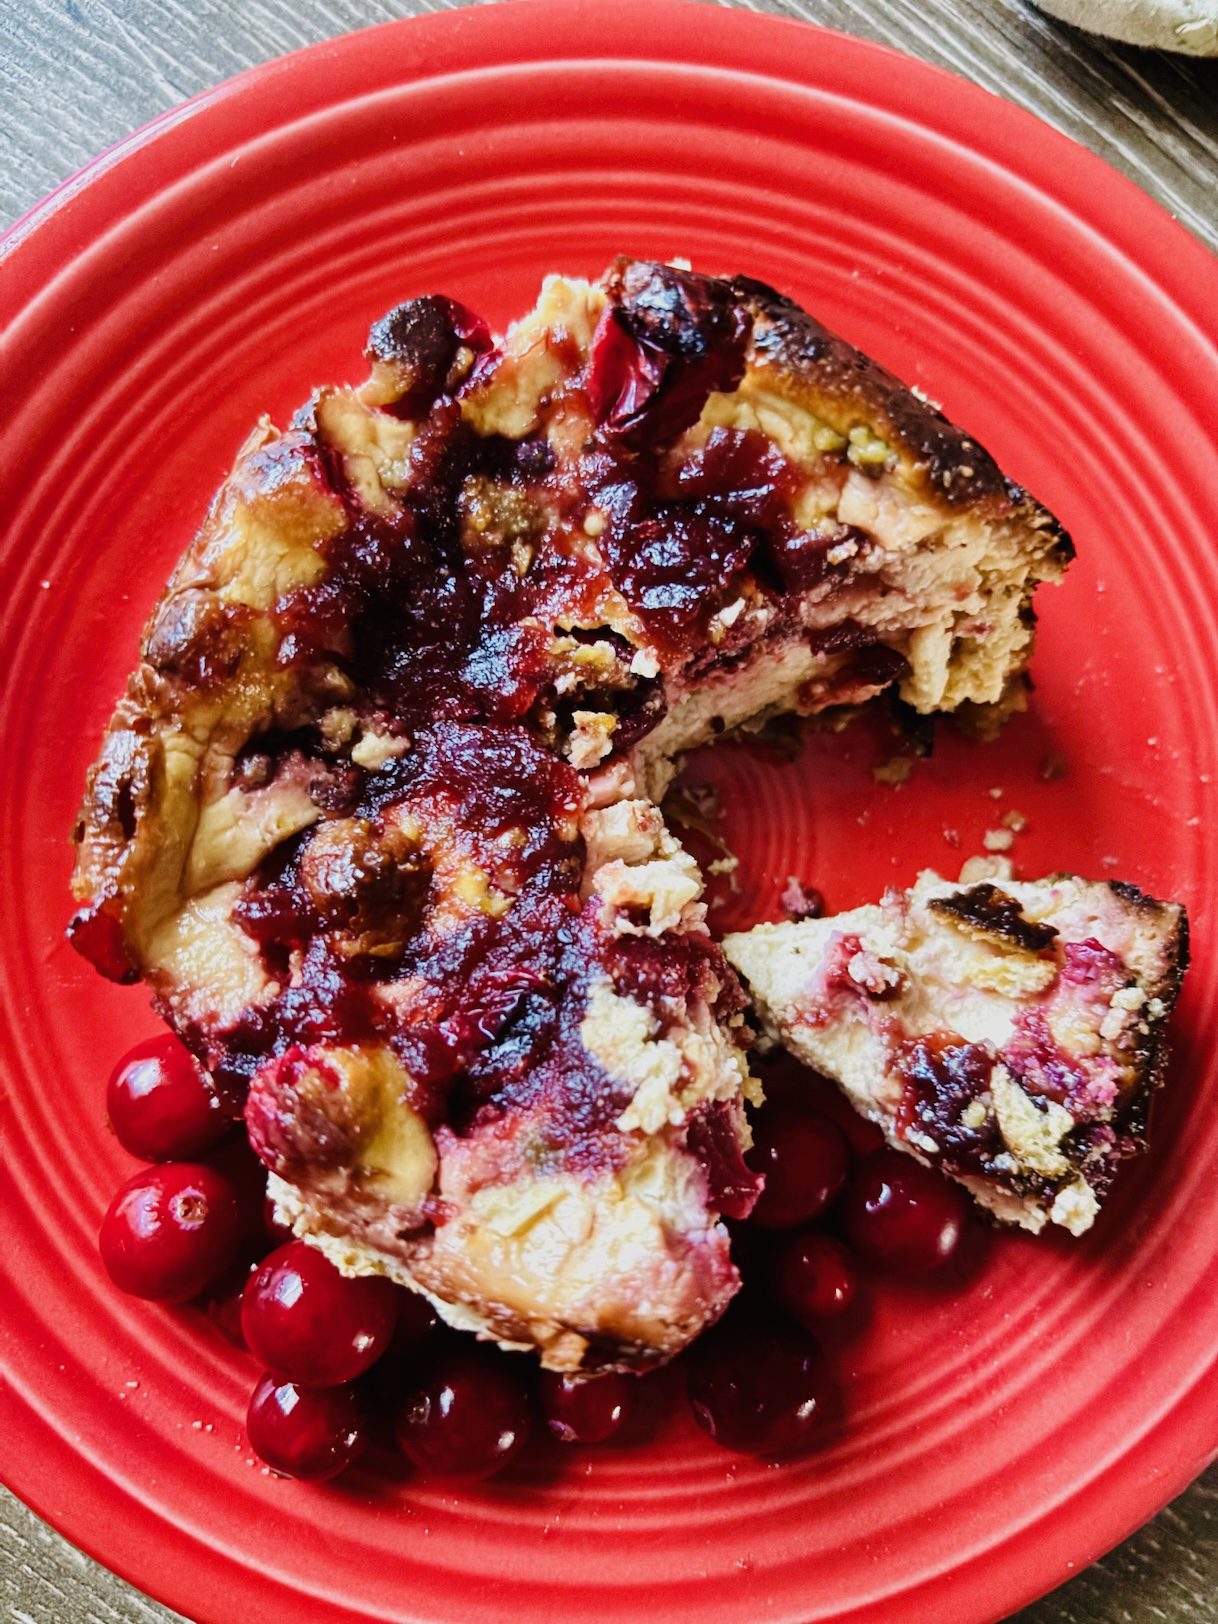
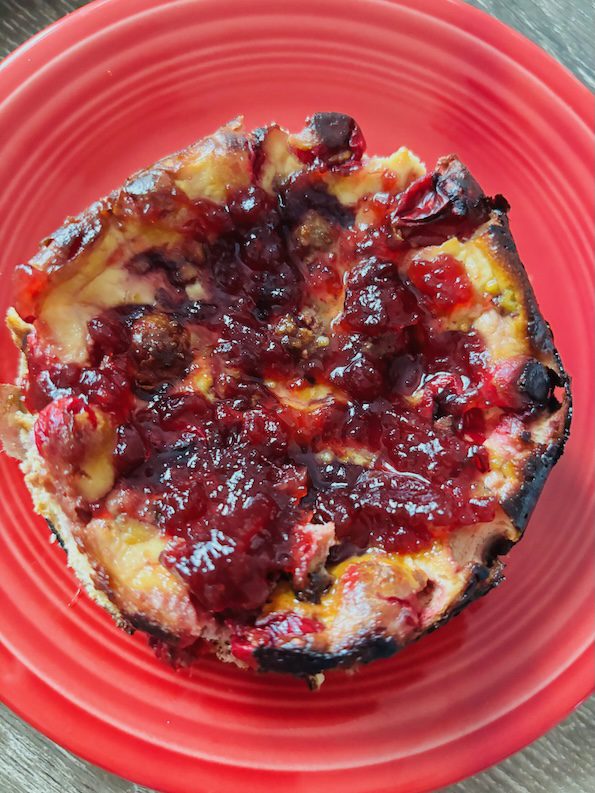
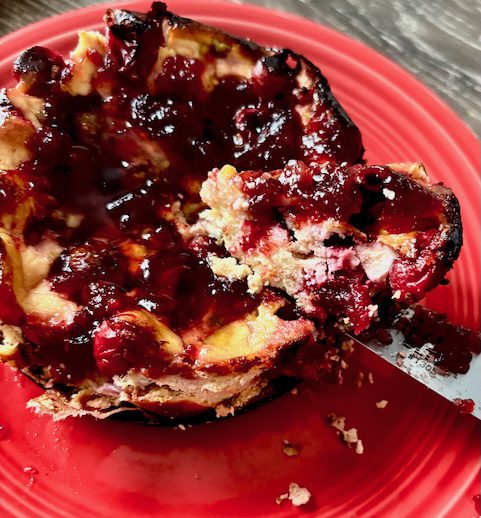
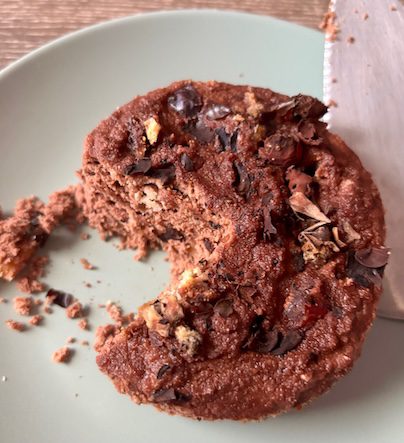
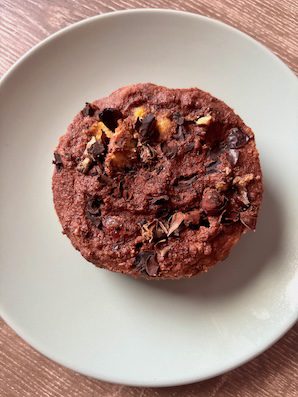
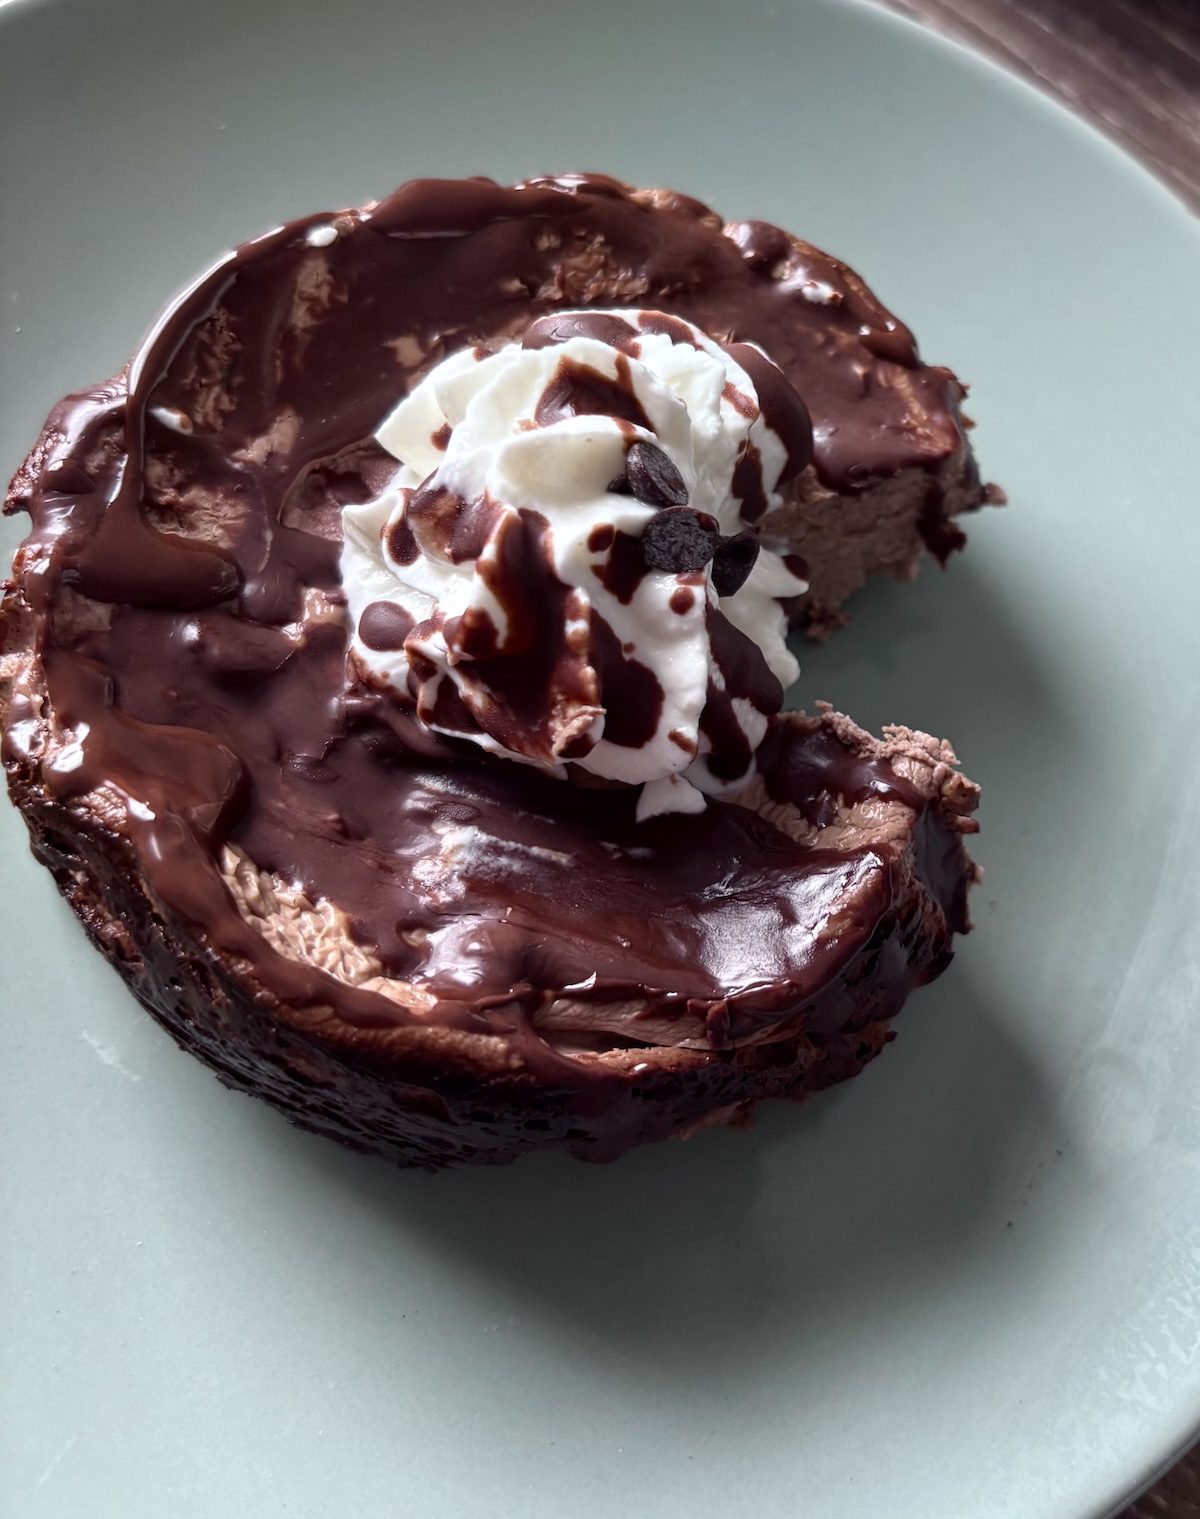
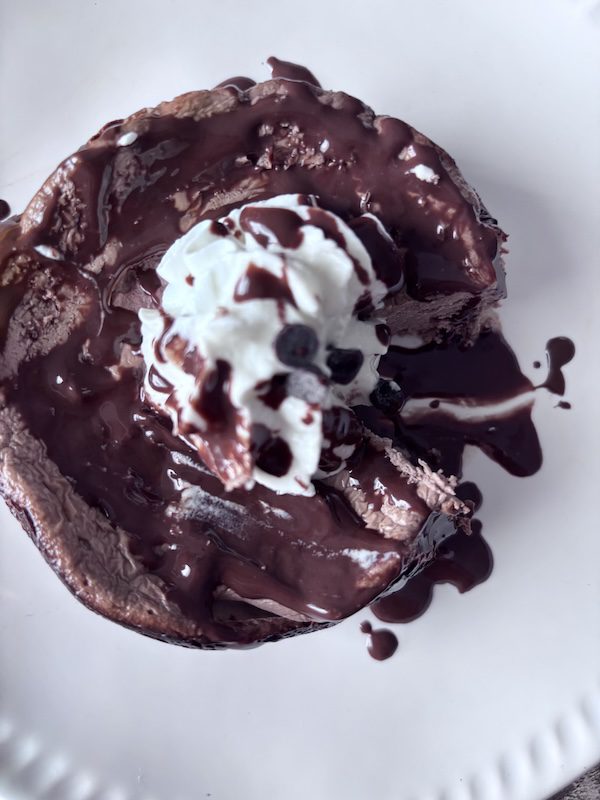
And for some FUN batter flavor variety, you can add easy flavors to your goat’s cheesecake like chocolate (via cacao powder).
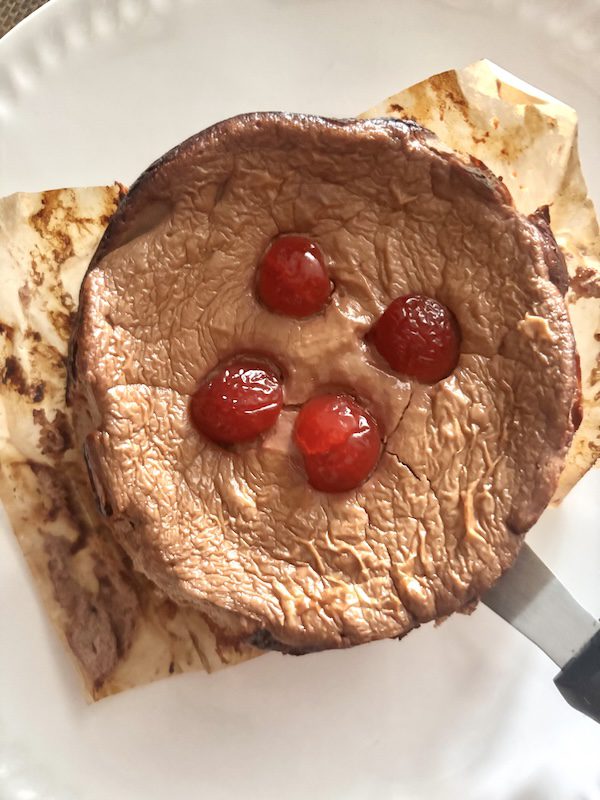
…Or cherries and chocolate for a delightful pairing. That’s where the HAPPY dials up for me, but your flavors are up to you. You can also add in chocolate chip morsel bits for a little added crunch.
Then when you’re good with your batter in your pan, bake your cheesecake in the oven. It’s a timed event (and not one where you have to keep checking the oven).
After it’s well-baked, the goat’s cheesecake should come out of the cake pan pretty easily in one cake piece, after it’s cooled. The sides will shrink a little to help that effort, because a cheesecake usually sticks to the sides.
Tip: I have tested butter and oil directly on the bottom and sides of the pan before, and nothing seems to have worked better than baking paper and oil. Since this will be a smoother, less dense, and almost pudding-like batter you pour into the circle pan, you can use one piece of baking paper instead of little strips and pieces, and the shape of the cheese cake will remain close to a circle (without weird geometric angles for a rustic look).
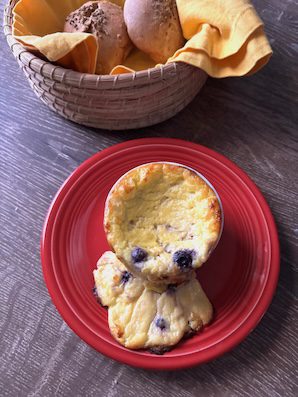
And then for the final zhugh and topping (fun), I saved the best for last… where it’s thick Greek yogurt again!
Pipe away guilt-free. 💕 And add coconut oil melted chocolate on to your adult delight.
This chocolate cheesecake won’t last!
Easy Goat's Cheesecake - Protein and Low-Sugar Cacao Healthy
Equipment
- springform or cake pan
- baking paper
Ingredients
- 3/4 cup Greek yogurt, thicker portions (2% or higher/reduced fat milk)
- 1/4 cup chevre goat cheese
- 1 large egg yolk
- 1 Tbsp cacao, unsweetened or cocoa powder (for chocolate cheesecake)
- 1 Tbsp cherries, halves (optional)
- 1-2 tsp mini chocolate chips (optional)
- 1 Tbsp additional Greek yogurt (for piping on top)
- 1 Tbsp melted chocolate (optional)
Instructions
- Make the cheesecake batter: combine goat cheese, yogurt, and egg yolk ingredients in a bowl. Add in any flavors like cacao powder.
- Coat neutral oil to the bottom and sides of a springform pan. Add a rectangular cut piece of baking paper to the middle. Two opposing sides should reach the top. Tip: if you don't have baking paper, an easy trick is you can use paper cupcake holders. Flatten out and add to the bottom of your springform cake pan.
- Pour-spoon cheesecake batter to the pan.
- Bake at 350°F/180°C in the bottom oven rack for 55-60 minutes. The cheesecake sides should be a little darker and slightly pull away from the pan that will help you to pull out of the pan.
- Let the cheesecake fully cool (and firm up) before removing from pan.
- Pipe Greek yogurt and melted chocolate if desired. Rounded star tips work best to make a "diner whipped cream" topping look.