UA-141369524-4

Anti-Inflammatory Recipes – Get FREE Guide

Anti-inflammatory recipes help you practice daily meal prep and healthy eating habits, that pay off in your long run toward longevity. Below are  recipe links from this blog to inspire your year, no matter what season you’re in. To your anti-inflammatory life! 🎉

anti-inflammatory recipes.

Because an anti-inflammatory diet helps protect against inflammation in the body (skin, joints, teeth, vital organs) that are health warning signs.

And preventing inflammation flare-ups help protect against and prevent chronic diseases, such as cardiovascular diseases that are still among the highest causes of mortality.

Chronic inflammation is linked to tell-tale body signs that can also lead toward certain cancers and cognitive decline.

And type 2 diabetes (or lifestyle diabetes) is the one of the fastest growing diseases on our planet. No matter what genes you were bestowed, anti-inflammatory habits help fight against what’s stacked up against you in the  environment that you don’t have control over.

You can read about my inflammatory journey signs and preventative anti-inflammatory lifestyle ways that dodged flareups.

Anti-inflammatory foods were and are a leading source of prevention, where anti-inflammatory spices are a big deal. Adding more spice in your life and to your diet helps support better health and longevity.

And sticking to an anti-inflammatory diet is also a remedy from following Diet Culture of some kind. It’s a long-term healthy eating strategy.

Where whole and minimally processed healthy food and ingredients in meals and bakes you eat are at the core of anti-inflammatory foods and your health eating. Anti-inflammatory foods are real (nutritious) foods that the body recognizes as healthy

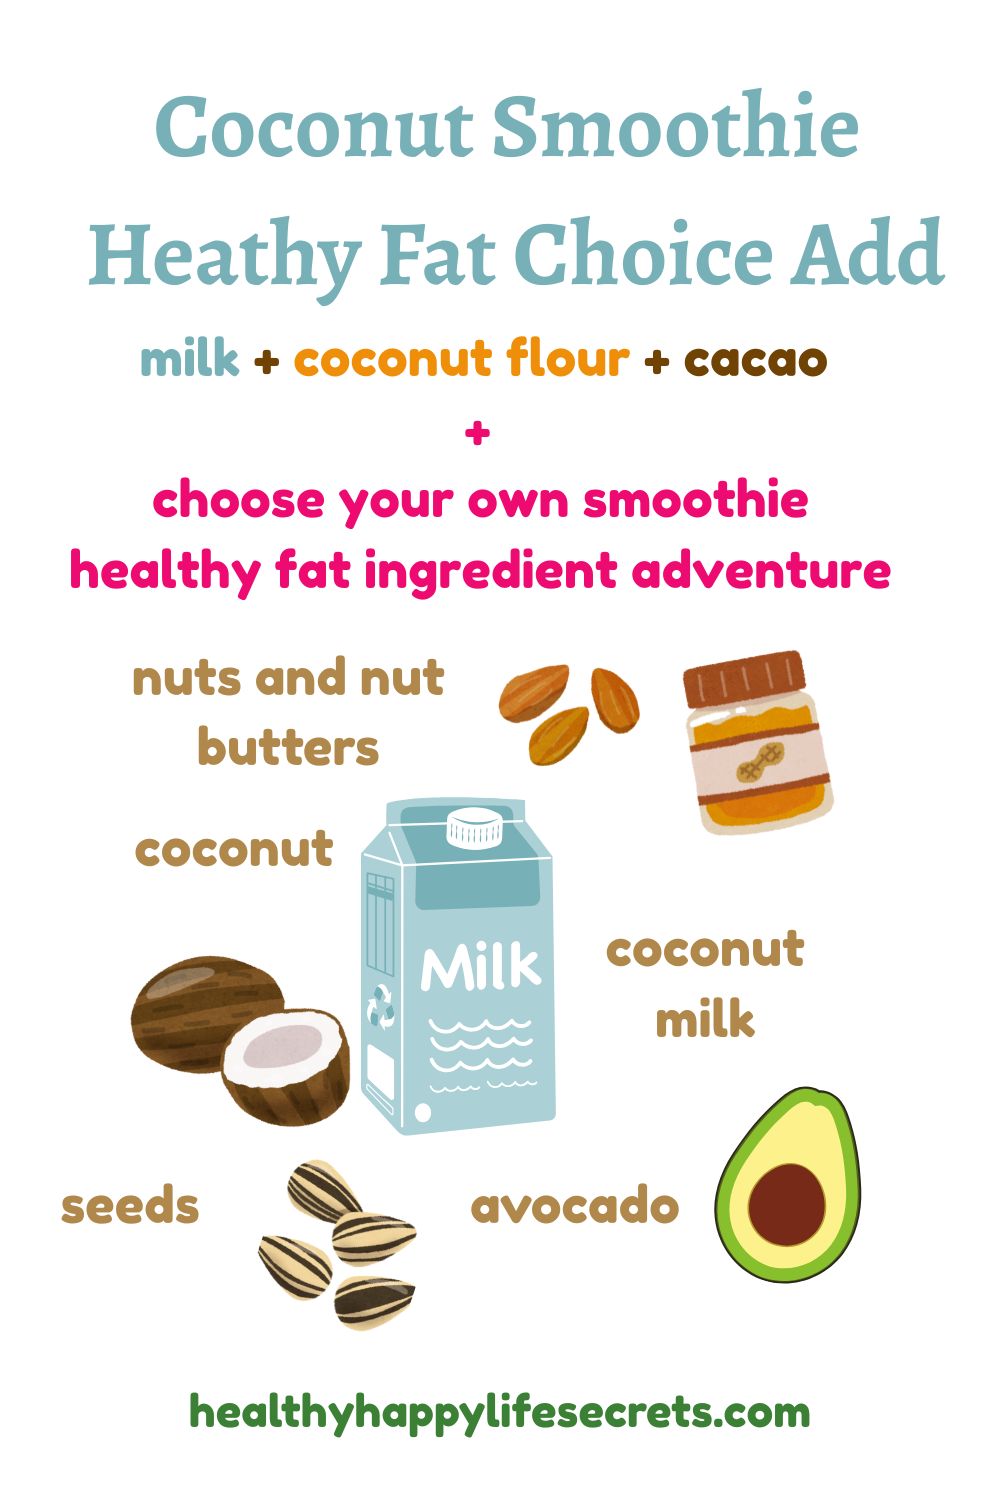
And this includes plant-based foods, so eating plant-forward helps the body. And foods on a Mediterranean diet, which is a type of anti-inflammatory diet that includes healthy proteins and healthy fats, such as wild fishes and olive oil.

👉 To learn more, grab my FREE Anti-Inflammatory Diet Food Guide with printable food lists to help you make more healthy decisions for grocery food shopping. And get insights about an anti-inflammatory diet in the free guide.

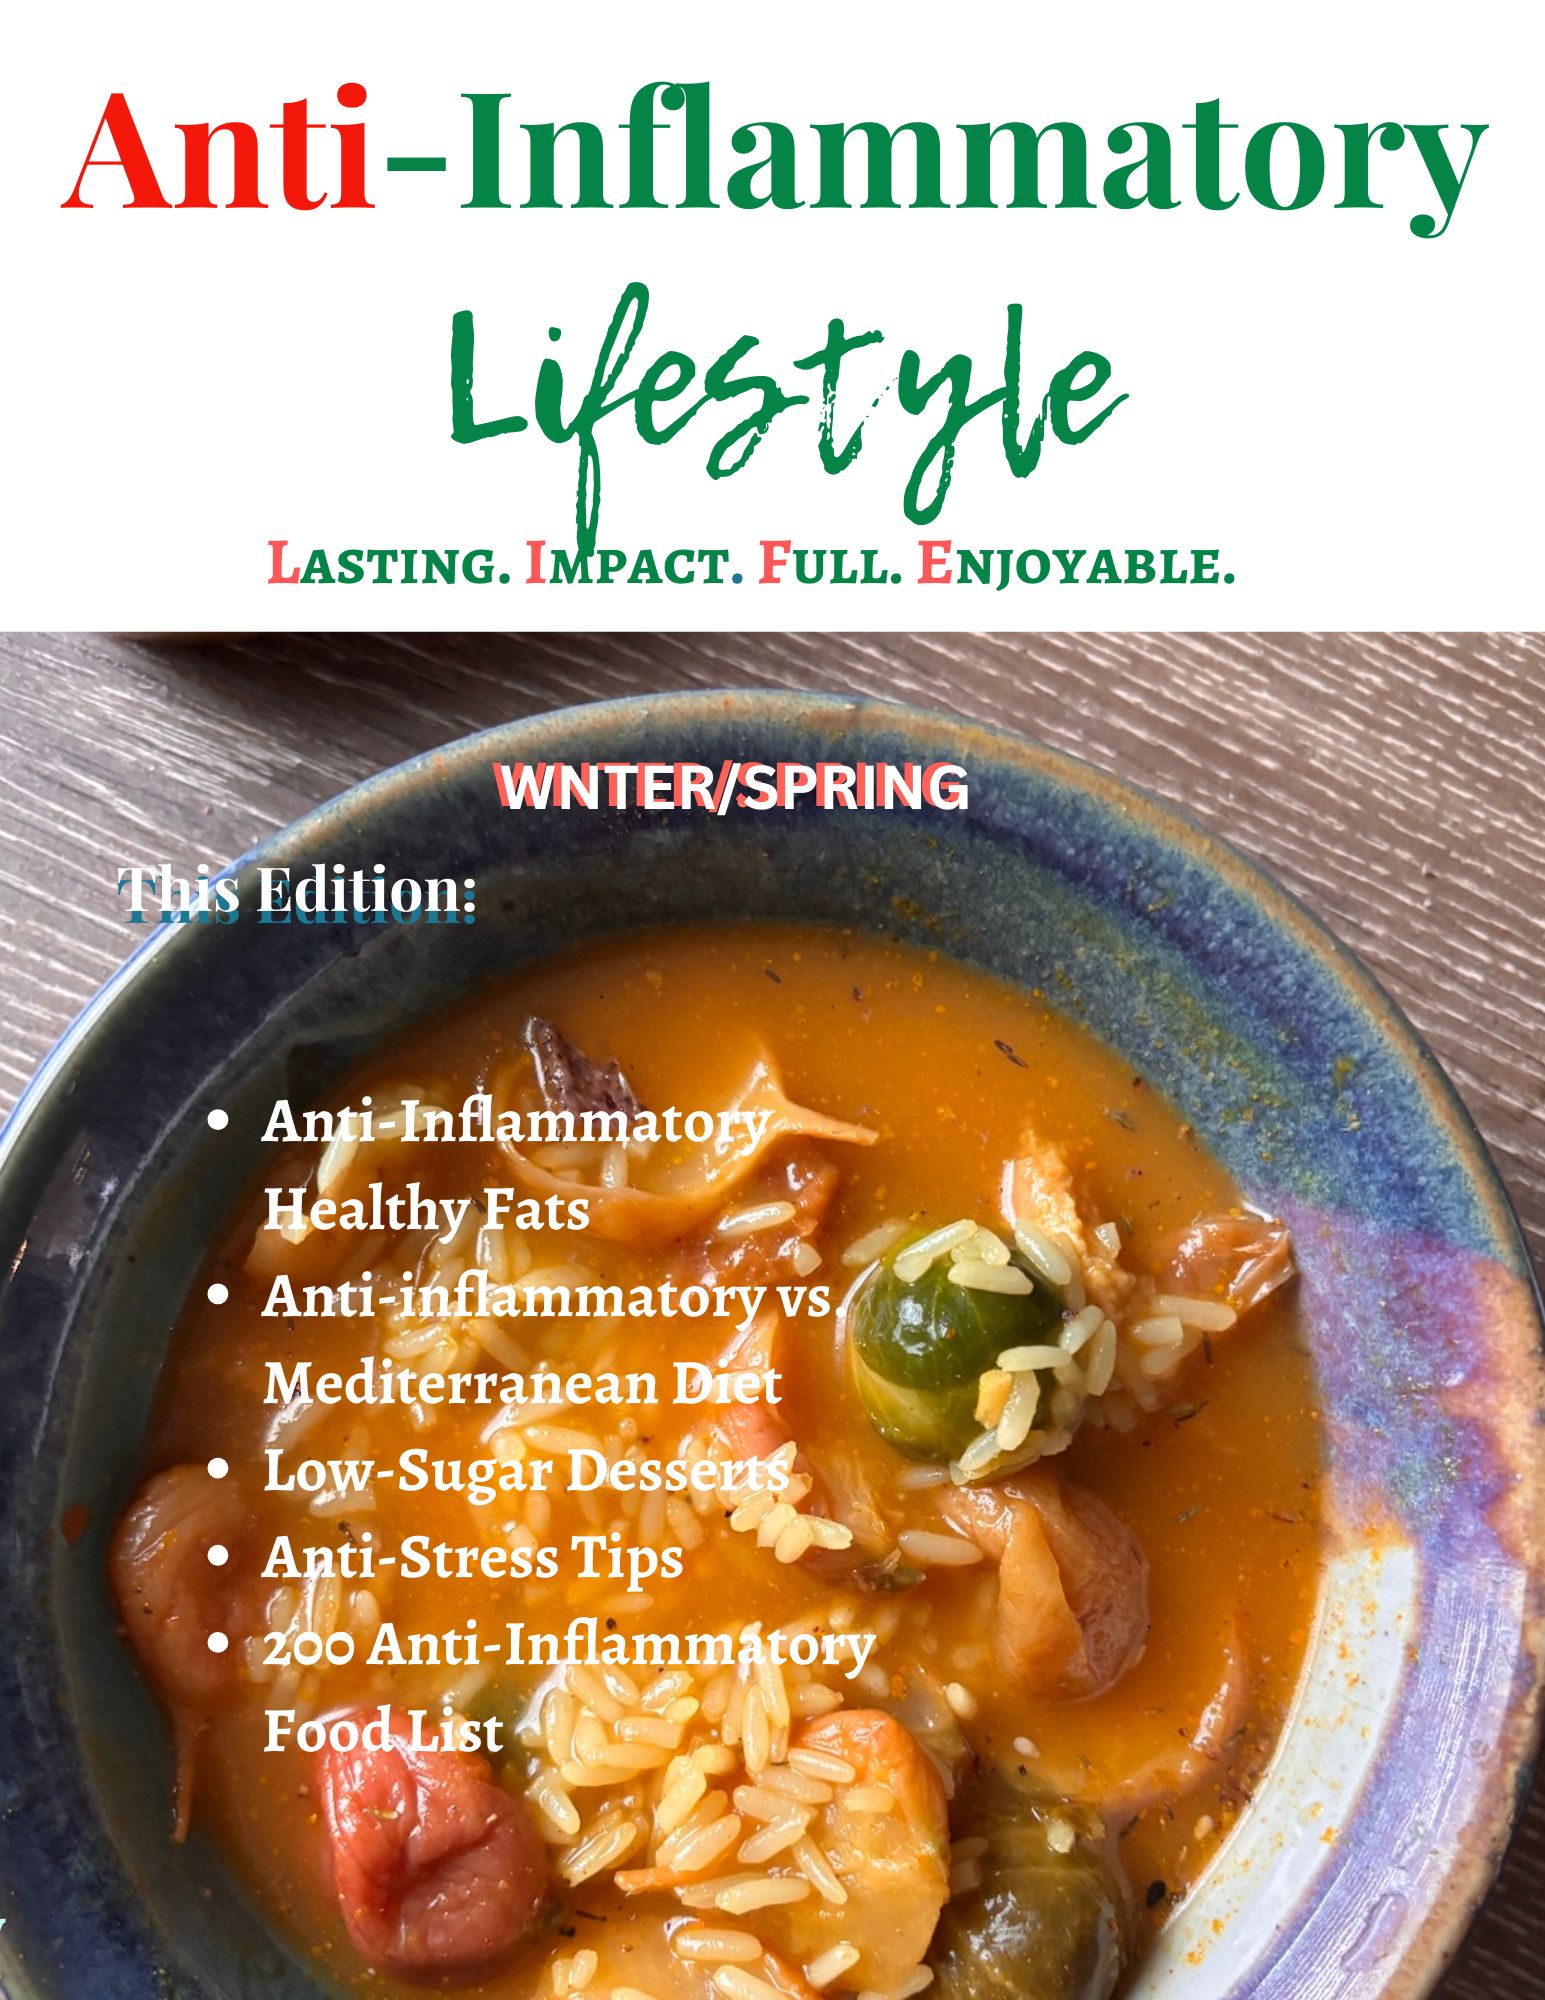
And here on these pages of Anti-Inflammatory Lifestyle (Winter/Spring edition), you’ll discover simple and easy recipes you can make weekly. And get inspiration about anti-inflammatory living and seasonal foods you can lean into (that are more abundant and coins per ounce). To turn the pages forward/backward, click on the arrows at the lower corners of the pages. ↪

Turmeric Soup

Mushy Peas

Healthy Chicken Salad

Salmon Salad (No-Mayonnaise)

Radish Salad

Sourdough Bagel

Healthy Mayonnaise  (Egg yolks)

One of my favorite meals is weekend brunch. 😊 You can make your own no-butter bearnaise for a lower-calorie and anti-inflammatory-infused olive oil brunch sauce to pair with delicious savory meals like Eggs Benedict (with French bistro vibes🍽️). You can make this recipe and other healthy-conscious (but always tasty) waffle iron recipes.

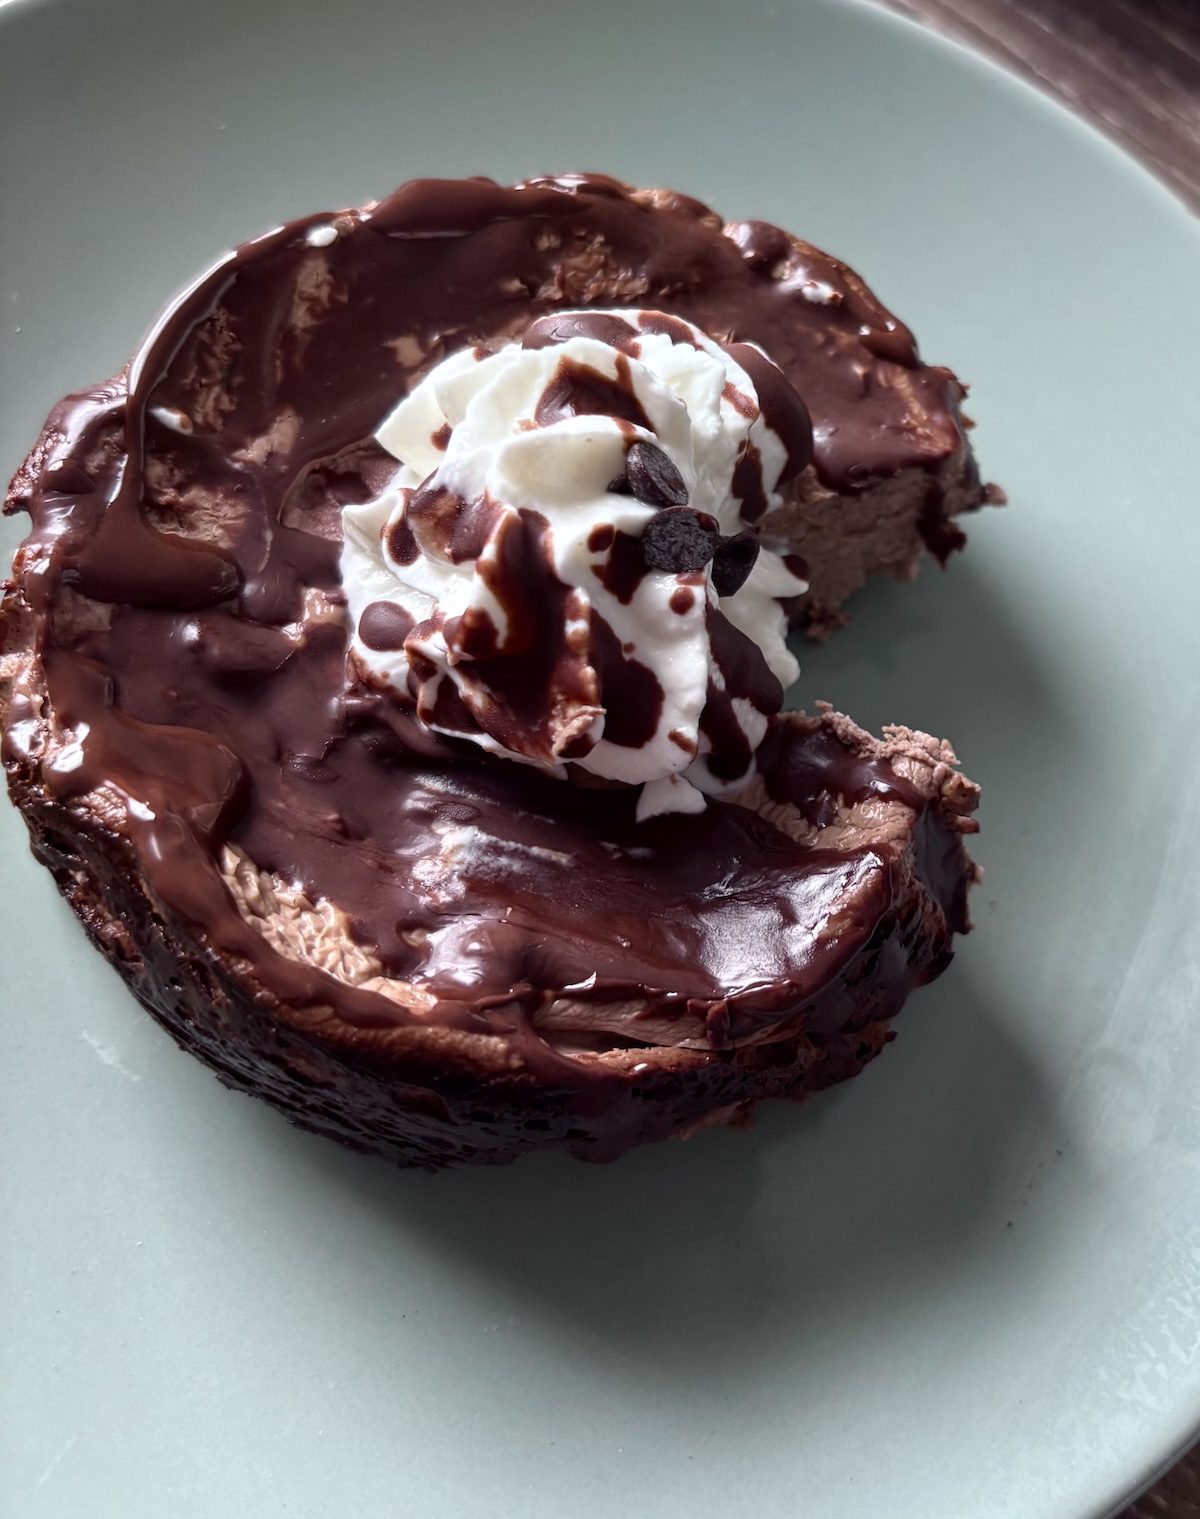
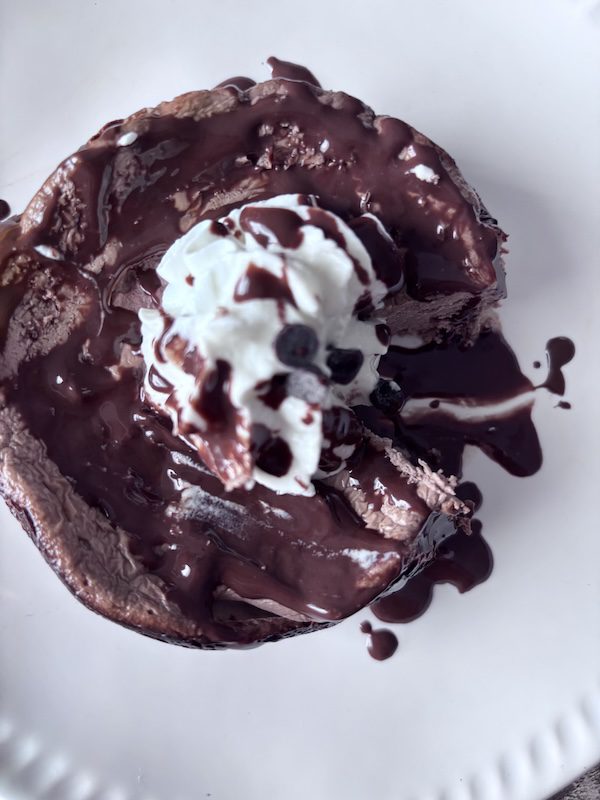
And low-sugar desserts where the sweet tooth list is growing (variety is the spice of life! 🍥)

🍴You can also get more anti-inflammatory recipes and food ideas for the table from the Summer/Autumn anti-inflammatory food recipes. 🥄 That for some may be the season you’re celebrating and living out (literally or figuratively!).

Easy Goat’s Cheesecake (Low-Sugar) – Cacao and Protein

Goat’s cheesecake is one that’s so easy to make! And you win body points with a more gut healthy cheesecake, using goat cheese. Oh, plus the healthy probiotic piped topping. See the full notes and recipe below

Easy goat's cheesecake with goat cheese, yogurt, and chocolate.

…And I’d be remiss if I didn’t share the skinny on the healthy ingredients that make a healthy cheesecake difference.

…That’ll benefit your body and also help you be happy, feeding healthy vibes to your gut (where most happy hormones are made) and mouth (stirring up glee). 😋

With this cheesecake recipe, it starts with the ingredient choice of chevre or goat cheese, that’s higher in protein, calcium, and lower calories (about 25% less than regular cream cheese). Plus, healthy prebiotic notes as fermented cheese.

Despite a French name, chèvre is not to be confused with cheval that means horse in French. 🐐 Fun fact: Horses make milk too. 🐎

And goat cheese has a texture closer to cream cheese so it works great in a cheesecake.

Its calories and fat content is more like a Neufchâtel cheese, a reduced cream cheese, which is what I used to use for cheesecakes before I knew better. It’s French named after the town it comes from in Normandy…

But today, we have other available healthier options, like goat cheese…

And the Mediterranean region was one area of the world that put healthier (the real-deal) prebiotic goat cheese on the map 🗺️ straight from the farms, while cow’s cheese is still what dominates cheeses.

And we benefit with the arrival of goat cheese makers. Montchèvre is one organic brand made in the USA. Specific to Wisconsin, that’s also home to the Cheese Heads (America’s Dairyland).

goat cheese with organic Montchevre.

Montchevre is the organic goat cheese used in this cheesecake recipe. It looks like a packaged small cheese log.

You can find it in many grocery stores that has a premium or specialty cheese section, like Harris Teeter or Trader Joe’s. So it’s easier to source.

…And even easier to find is a thick Greek yogurt for additional healthy probiotics (gut health), protein and B12 vitamins (good for energy), to name a few healthy body benefits.

All for the sake of being healthy (that’s a good cause)… and a tasty, nice textured smooth cheesecake.

Sheep’s cheese is another type of healthy protein cheese, like goat cheese, that is growing in common availability, thanks to places like Sardinia, Italy. The rural green pastures are known for the rustic and healthy cheese tradition.

And for cheesecakes, you can also make a delicious, high protein Basque-style sheep’s cheesecake. Keep in mind: sheep’s cheese 🐑 is generally more firm than goat’s cheese 🐐, so the sheep’s way makes a better rustic cheesecake shape.

But with Montchevre goat cheese in this recipe, you should get a smooth batter like mousse that makes a rounder shape. And this means you can use one piece of baking paper effectively (instead of cutting scrapbook strips like I did with sheep’s cheese in a cheesecake).

💡An idea for if you don’t have baking paper: if you use a small half-size 4″ springform pan where the cake pan sides pop off, then you can use one cupcake paper holder and it will fit perfectly at the bottom.🧁Flatten it out and that can be the baking paper you use.

And then to complete the goat’s cheesecake batter to pour into the cake pan:

Bring in the egg yolk that helps the structure in the recipe, and will add more protein/B12 healthy notes. But instead of probiotics (like in yogurt), it’s prebiotic to feed the healthy bacteria probiotics.

And for some FUN batter flavor variety, you can add easy flavors to your goat’s cheesecake like chocolate (via cacao powder).

…Or cherries and chocolate for a delightful pairing. That’s where the HAPPY dials up for me, but your flavors are up to you. You can also add in chocolate chip morsel bits for a little added crunch.

Then when you’re good with your batter in your pan, bake your cheesecake in the oven. It’s a timed event (and not one where you have to keep checking the oven).

After it’s well-baked, the goat’s cheesecake should come out of the cake pan pretty easily in one cake piece, after it’s cooled. The sides will shrink a little to help that effort, because a cheesecake usually sticks to the sides.

Tip: I have tested  butter and oil directly on the bottom and sides of the pan before, and nothing seems to have worked better than baking paper and oil. Since this will be a smoother, less dense, and almost pudding-like batter you pour into the circle pan, you can use one piece of baking paper instead of little strips and pieces, and the shape of the cheese cake will remain close to a  circle (without weird geometric angles for a rustic look).

goat's cheesecake with chocolate and cherries flavor.

And then for the final zhugh and topping (fun), I saved the best for last… where it’s thick Greek yogurt again!

Pipe away guilt-free. 💕 And add coconut oil melted chocolate on to your adult delight.

This chocolate cheesecake won’t last!

Print

Easy Goat's Cheesecake - Protein and Low-Sugar Cacao Healthy

This will make a 4" size cheesecake about 2" high. Double the ingredient amounts for an 8" cake pan.
Course Breakfast, brunch, Dessert
Cuisine American
Prep Time 5 minutes
Cook Time 55 minutes
Total Time 1 hour
Author Brandy @ Healthy Happy Life Secrets

Equipment

  • springform or cake pan
  • baking paper

Ingredients

  • 3/4 cup Greek yogurt, thicker portions (2% or higher/reduced fat milk)
  • 1/4 cup chevre goat cheese
  • 1 large egg yolk
  • 1 Tbsp cacao, unsweetened or cocoa powder (for chocolate cheesecake)
  • 1 Tbsp cherries, halves (optional)
  • 1-2 tsp mini chocolate chips (optional)
  • 1 Tbsp additional Greek yogurt (for piping on top)
  • 1 Tbsp melted chocolate (optional)

Instructions

  • Make the cheesecake batter: combine goat cheese, yogurt, and egg yolk ingredients in a bowl. Add in any flavors like cacao powder.
  • Coat neutral oil to the bottom and sides of a springform pan. Add a rectangular cut piece of baking paper to the middle. Two opposing sides should reach the top. Tip: if you don't have baking paper, an easy trick is you can use paper cupcake holders. Flatten out and add to the bottom of your springform cake pan.
  • Pour-spoon cheesecake batter to the pan.
  • Bake at 350°F/180°C in the bottom oven rack for 55-60 minutes. The cheesecake sides should be a little darker and slightly pull away from the pan that will help you to pull out of the pan.
  • Let the cheesecake fully cool (and firm up) before removing from pan.
  • Pipe Greek yogurt and melted chocolate if desired. Rounded star tips work best to make a "diner whipped cream" topping look.

Coconut Chocolate Smoothie – 3 Ingredients Easy

Coconut chocolate smoothie is a refreshing, low-sugar smoothie that tastes like a chocolate bar you drink, but without all the calories. And is anti-inflammatory in the unsweetened ingredients below.

In a smoothie, you get a smooth and satisfying taste of chocolate decadence with a little coconut vibe. 🥥

Coconut milk works best but you can tone down the coco-nutty tastes with other milks or nut milks like almond milk. And you can make your own coconut milk if you don’t have any on hand.

You can also make your own nut milk like almond milk or pecan milk.

It’s like milking your own cow or cashew. 😊

Or you can make dairy-free oat milk that can be as good as store-bought for a substitute, or homemade oat milk in case your power goes out. You make it ahead of storms, then store refrigerate and/or freeze. Frozen, it will stay good for at least a couple hours.

And then for the coconut chocolate smoothie dry ingredients:

You can grind coconut into fine coconut flour. This is from the coconut meat, same as shredded (or desiccated coconut). But much finer ground into flour.

These days, it’s easy to source the gluten-free flour at the grocery store.

And if you’re wondering what to do with the extra coconut flour you have in a bag after you baked with it (like in a gluten-free fruit cake), then a coconut chocolate smoothie is an even better (maybe novel?) idea.🧋

Cacao is the second dry ingredient. It’s a superfood and less processed than cocoa (Dutch processed). They’re related.

I recommend unsweetened cacao as the raw pure tastes come through in the smoothie. If you think cacao is bitter, you can also add a drizzle of raw honey to sweeten.

Both cacao (loaded with healthy catechins) and coconut are anti-inflammatory foods that are good for soothing the skin.

If you have dry skin common in weather climate changes, this smoothie supports healthy skin.

These are the simple ingredients for the magical smoothie with healthy Almond Joy tastes:

1 cup coconut milk

2 tsp cacao powder, unsweetened

1 Tablespoon of coconut flour

Shredded coconut for zhugh topping

This is the smoothie recipe formula I use and is delicious, but I think if you eyeball the ingredients you’ll do just as good. Smoothies are forgiving.😊

That’s something to love about smoothies!

They will turn out delicious even if you don’t exact measure like in baking. Because the individual ingredients are tasty (the parts make up the sum or whole).

And in this Coconut Chocolate Smoothie, coconut and cocoa are the amazing pairing duo. This makes it great for an afternoon chocolate fix or a bright start to the morning.

If also you want to make it a trio (or add some healthy fat), then nut butters would be a good add. You can add 1 teaspoon of your favorite natural nut butter that will thicken the smoothie.

A banana (or half a banana) also is an optional flavor layer that will add the unique banana fruit sweet taste that only the tropical fruit can do.

And if you take fat-soluble vitamins (e.g. Omega-3), this is a good time to consider what healthy fat is in your smoothie?

Is there a nut butter? Is there coconut milk fat? Is there shredded coconut in smoothie (…yes, counts as healthy fat)? Are there seeds? Or did you add avocado 🥑 (…another wildcard add option!)?

These are other options…

Coconut chocolate smoothie healthy fat adds

These are all healthy fat decisions you can make to your healthy and happy (joyful) smoothie.🧋

If the answer is no, you can choose to add a little MCT oil that supports more energy and weight loss. For higher MCT versions, you can look for “coconut” as an ingredient. That’s high in saturated fat, but metabolized quicker for energy.

And if you’re starting your year or season with new friend or healthy groups, this smoothie joy is one that you can sip on while you think of these fun or interesting facts:

Coconuts are not nuts, but look like them with a hard shell like walnuts. They’re fruit, and specifically drupes (stone fruits). And the candy bar Almond Joy was named after the almond nut and coconut where the “nutty” pairing 2-ingredients represent “joy.”

You may have seen “joy” defined in the Bible, where it’s seen over 200 times.

Joy gives us hope, and this is a hopeful drink you make your own.

Almond coconut drink with chocolate.

Add this little bit of full joy and hope smoothie to the smoothie guide challenge! 🌟

Easy coconut chocolate smoothie with 3 ingredients.
Print

Coconut Chocolate Smoothie - 3 Ingredients Easy

This is a smoothie that has chocolate, almond, and coconut tastes.
Course Breakfast, Dessert
Cuisine American
Prep Time 5 minutes
Author Brandy @ Healthy Happy Life Secrets

Ingredients

  • 1 cup coconut milk
  • 2 tsp 100% cacao powder, unsweetened
  • 1 Tbsp coconut flour
  • 1 Tbsp shredded coconut flakes, unsweetened (plus additional as zhugh on top)
  • 1/2 banana (optional)

Instructions

  • Blend ingredients and enjoy!

Notes

The main ingredient for a magical Almond Joy chocolatey-coconut smoothie beverage, is coconut flour, and  can be gluten-free. If you don't like coconut, then make a chocolate smoothie beverage without the coconut ingredients.
 

Pear Strawberry Smoothie + Healthy New Year 🎉

Pear strawberry pair for a delicious and healthy smoothie. And I’m always looking for a new smoothie taste… you too?

This pear-straw amuse bouche is a great easy way to kick off healthy, brightening intentions for a blessed new year… after a holiday partridge in a pear tree.

strawberry pear smoothie start.

Strawberry or strawberry lemonade is a great summer drink, but in the cool months, I found a strawberry pear-pair is a great sweet one.

The tastes seasonally complement. And you don’t need to add any more sweetness.

Because the juicy pear does the trick. 🍐 Not a prickly pear (cactus) but a regular sweet pear like a Bartlett pear. Anjou and Bosc are also common pears.

…And there’s just a ‘lil prep work that’s worth waiting for.

Like a few weeks after you buy (or pick) your pears.

As the pears ripen to a softness at room temps, you can squeeze the pear juice out. You can speed things up by putting pears near other ripe fruit (like a banana or apple), and even better put in a closed brown paper bag.

A soft pear looks the same on the outside, but inside it’s so soft that you don’t need a knife to pierce in.

You can push into the pear flesh and make pear sauce (like applesauce) if you wanted to.

And it’ll look like (and have the consistency) of juicy mashed potatoes.

That’s when it’s ripely good for a pear strawberry smoothie.🧉

Where you decide to add frozen (or fresh) strawberries.

Strawberry is the new banana in this smoothie.

pear strawberry smoothie blend in a glass.

Like the one here zhughed with shredded coconut… oui?

For the smoothie consistency, if you don’t have bananas around, are tired of them, or just never liked the taste of bananas, then the soft textures from frozen strawberries brought to room temps will do the trick.

Pull them out a day or two beforehand, so they can cold thaw in the fridge into useable mushy smoothie strawberries.

Then fire up your Magic Bullet, blending up your smoothie nice and smooth… and bottoms up!

So refreshing and sweet.

Spices also can enhance the pear tastes, and help remind you and I of the season we’re in… like winter, and if you’re feeling Kapha, ginger anti-inflammatory spice add a punchy but mild flavor.

And pinches of cinnamon for any Vata anxiety.

As someone who lives anti-inflammatory year-round, pears are full of fiber and are a low glycemic index food.

And strawberry is a superfood that has more Vitamin C than oranges!

So you’re doing a world of good by having a pear strawberry smoothie in your day.

Fruit, as in seeing what yields, is what keeps us going and growing and a smoothie can be the metaphor.

With a new year, we can use juicy winter fruit as a healthy symbol for what’s ahead.

I like seeing fruit in trees as a visual.

Bright berries are especially inspiring because you can find them out in nature even in the winter. Nature is not all dormant.

And fruit is abundant… and seasonal.

Fruit is a good metaphor for abundance. And what we all want is not just enough, or enough in the new year.

We want more than enough.

Because in overflow, we can give more to the world.

And by leaning into nature’s fruits, we can bring a little abundance into our daily smoothie drink.

For dominant Vatas (who love variety), seasons pose a garden backdrop of sweet fruits that help define what’s available and fresh to eat.

They show up in your kitchen and smoothie up!

And when you’re out and about…

Instead of reaching for a beverage, you can use a juicy apple (or in-season pears) to quench your thirst.

Apples and carrots are winter in-season healthy foods, and with the abundance, you can amp up in a apple-carrot smoothie with coconut tastes.

Or eat them raw if you don’t want to stop for restroom breaks.

Fruit also act as a mouth-teeth cleaner.So bringing a fruit snack with you in your travels make healthy sense all around.

And if you’re a hiker like me, they weigh little on the back.

They make for a happy and healthy snack break.

And if eating healthy today (with a healthy weight) and less sweets is your new year intention… and you have a natural daily sweet tooth craving, you can pair this pear-straw smoothie with a low-sugar berry shortbread cookie (no-bake), no-bake matcha cookie, low-sugar fruit pastry tart, gingerbread cookie, or low-sugar cinnamon donut and other  low-sugar recipes.

Chili Cabbage Wrap – Plant-Based Recipe

Chili made with plant-based food ingredients is a good way to add more fiber and vitamin nutrients in your diet. And it’s filled with anti-inflammatory spices that add to longevity healthy points, if that’s one of your intentional desires.

Plus it’s super easy to blend a bowl of chili together using your Magic Bullet or blender. And in this case, for cabbage wraps.

Tofu is the plant-based protein behind these chili cabbage wraps.

I grew up eating tofu regularly so I’m used to the unique texture and odd taste, but some people are not.

…And if that’s you (or who you’re preparing meals or Game Day for), a chili dish is a good way to mask tofu. Kinda like hiding veggies in kids’ dinner plates.

And chili is a great way to add in veggies like nutritious cabbage.

Besides light and good for weight loss, green cabbage is a very economical  add to meals.

There are many cabbage kinds (over 400 around the world), and green cabbage is a common one, that’s easy to find in grocery stores.

It’s often confused with Iceberg lettuce that’s lighter (in weight and color). You’ll notice the difference as green cabbage gets thicker as you peel back the layers and get closer to the middle core. The ribs are more pronounced.

Also, lettuce’s season is spring and summer. Cabbage takes over in fall and winter. So you can make wraps year-round.

Both veggies are healthy, but green cabbage has more Vitamin C and fiber. It also has special antioxidants (sulforaphane). It’s in the same food family as broccoli, cauliflower, and Brussels sprouts.

And wrapped around as a hearty veggie, a chili cabbage wrap makes for good comfort food during cooler months. Lett-uce celebrate that!

Next time you’re out shopping for tortilla, you might reconsider. With cabbage, you also save grocery money making wraps as a head of cabbage can be under $2, and chili cans (or pinto beans) are pennies per ounce.

tofu chili in cabbage wraps

Chili in magic bullet blender.


Yeah cabbage! 🥬 And tofu that’s easy to find can be pennies per ounce. It’s usually found in the refrigerated food sections near deli meat or dairy, or  where you would find fresh hummus (that’s another great easy Game Day or Magic Bullet recipe you can make).

You can make this an entire meal for two (or a small family) for under $5!

So to make this plant-based chili wrap, cut up the tofu with a non-sharp or silicone spatula, or wooden kitchen tools. Whether you get the softer, firm, or extra firm tofu, it will be easy to break up even with your hands.

It will look like a little like white scrambled eggs. Drain and cook the tofu scramble. Usually around 15 minutes on medium stove heat. Tofu in the common containers has a watery substance (that actually can be whipped into dessert meringues like aquafaba in garbanzo bean cans).

So the tofu will be wet, and you won’t need to add much liquid in your cooking skillet if any. And no (olive) oil needed to prevent skillet sticking, unless you want to add for taste.

After the tofu is cooked, add and heat up the tomato sauce.

Add some of the tofu mixture to your blender with all the spices, other wet, and dry ingredients.

Then add the chili or beans. This is where a quick blender comes in handy.  Blend in chili beans (pinto beans).

tofu chili in blender.

Pulse the blender a few times or just enough for the beans to blend. The tofu mixture will look grainy.

To save time: you can prepare your cabbage leaves while the tofu is cooking, and you can cook the cabbage leaves when you’re blending the tofu and chili.

For spicy flavors: you can add hot spices like cayenne or your favorite hot sauce. But if you want to keep it mild and then let the heat preference be per wrap, then add sweet or mild pimento peppers. They’re bright red and easy to find (on market shelves).

The best chili has all the tastes: spicy heat (cayenne, chili, onions, garlic, or other peppers), savory (cumin), sweet (cinnamon, tomato sauce), salty (salt), umami (soy), bitter (cocoa), astringent (turmeric), and sour tastes (vinegar, tamarind).

You can add or omit any ingredient, and if you go with a spice blend make sure it has cumin and peppers are a must if you want chili tastes.

I used cayenne pepper (hot), red chili flakes (mild) , and pimento peppers (sweet) to give a balanced heat. But even black pepper will work (and help activate the healthy turmeric and cinnamon if added).

Chili is so versatile to your preferences and what you have on hand.. so you do you! You can’t go wrong.

And if you like this healthy plant-based recipe idea, you may like other Magic Bullet recipes and anti-inflammatory plant-based soups, like low-sodium vegetable soup or beet red cabbage soup. 🥣

Print

Tofu Scramble Chil Cabbage Wrap - Plant Based

This is a protein-rich plant-based meal. You can make at least 3 cups or 6 full wraps with this recipe.
Servings 3 cups
Author Brandy @ Healthy Happy Life Secrets

Ingredients

  • 1 Tbsp soy sauce
  • 1 Tbsp water
  • 1 Tbsp vinegar (white or apple cider)
  • 1 tsp red chili flakes
  • 1 tsp turmeric
  • 1 tsp garlic flakes
  • 1 tsp pimento peppers
  • 1 tsp cumin
  • 1 tsp tamarind (optional)
  • 1 tsp cocoa powder
  • 1/2 tsp cinnamon
  • 1/2 tsp salt (for chili)
  • 1 tsp chopped red onions
  • 14 oz tofu container
  • 15.5 oz can of chili or pinto beans
  • 8 oz tomato sauce
  • 1 green cabbage head
  • 1/2 tsp salt (for cooking cabbage)

Instructions

  • On stove, cook chopped up (scrambled) tofu in a skillet (medium heat for about 15 minutes). Add water, if needed.
  • While tofu is cooking, prepare cabbage wraps. Pull apart cabbage and wash.
  • When tofu is about cooked ready, add/heat up tomato sauce and spices, and bring to a light boil. Take the tofu skillet off the stove and let cool.
  • On stove, cook cabbage wraps in a separate pot (or pour tofu mixture in a big bowl and rinse out skillet to add cabbage wraps). Cook cabbage in water and about 1 tsp of salt until soft. Place cover or lid over skillet or pot. Tip: You can use the entire or part of the cabbage core to weigh down the cabbage leaves in a cooking pot as they tend to float up. After cooked, to dry the cabbage, place them on paper towels that you can re-use.
  • In the blender, add about half-full warm tofu mixture and the remaining spices, wet, and dry ingredients. Add all the chili beans/can or until the blender is full.
  • Quick-pulse blend a few times. Add a little more of the tofu (chili) and shake the blender by hand or pulse blend a few times on the base, depending on the final tofu texture you want. If you shake by hand, you'll get a more crumbly tofu vs. pureed tofu from machine action.
  • Add blended tofu chili to individual cabbage leaves to make wraps. You can add the remaining tofu and any remaining chili to the blender. This should make 3+ cups of tofu chili that can fill at least 6 full cabbage wraps. You can save the additional cabbage for a soup or freeze for another time.