
Apple tart can be a breakfast idea or dessert made from healthy baked wheat, oats, and honey. Oh, and wholesome apples are whole snacks for some… maybe you? Fuji apples here, but there are so many apple to choose from for your enjoyable tarts. 🍎
Below is an easy breakfast ingredient recipe for apple tart that’s low sugar and needs no proofing. And the proof is when you make them (…and in photos below 😊).
And if you decide to bake your apples at all…
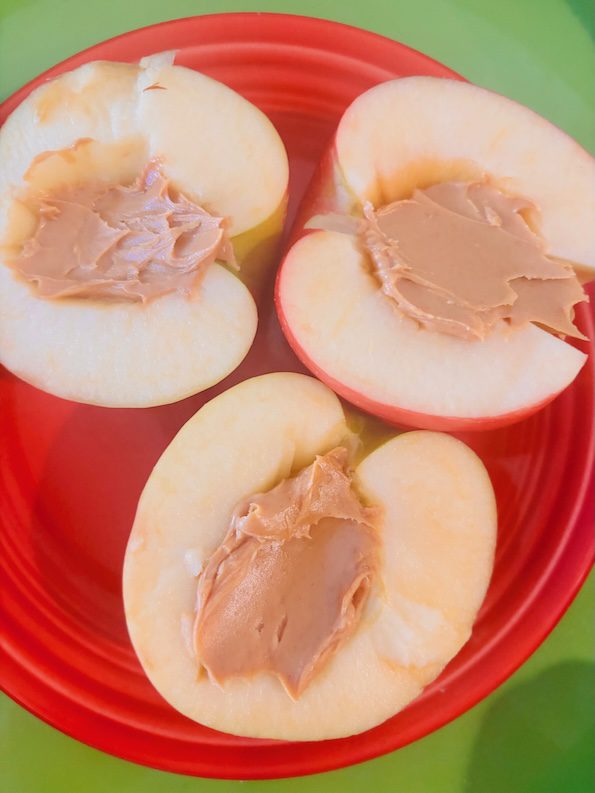
Because a whole apple snack from an apple tree needs no improvement or addition… and if all you do is add peanut butter on them and eat them raw, they’re delish-elevated!
I esp. like the crunch and taste pairing of Granny Smith green apples with a natural peanut butter (like the kind you stir up with peanuts). 🥜
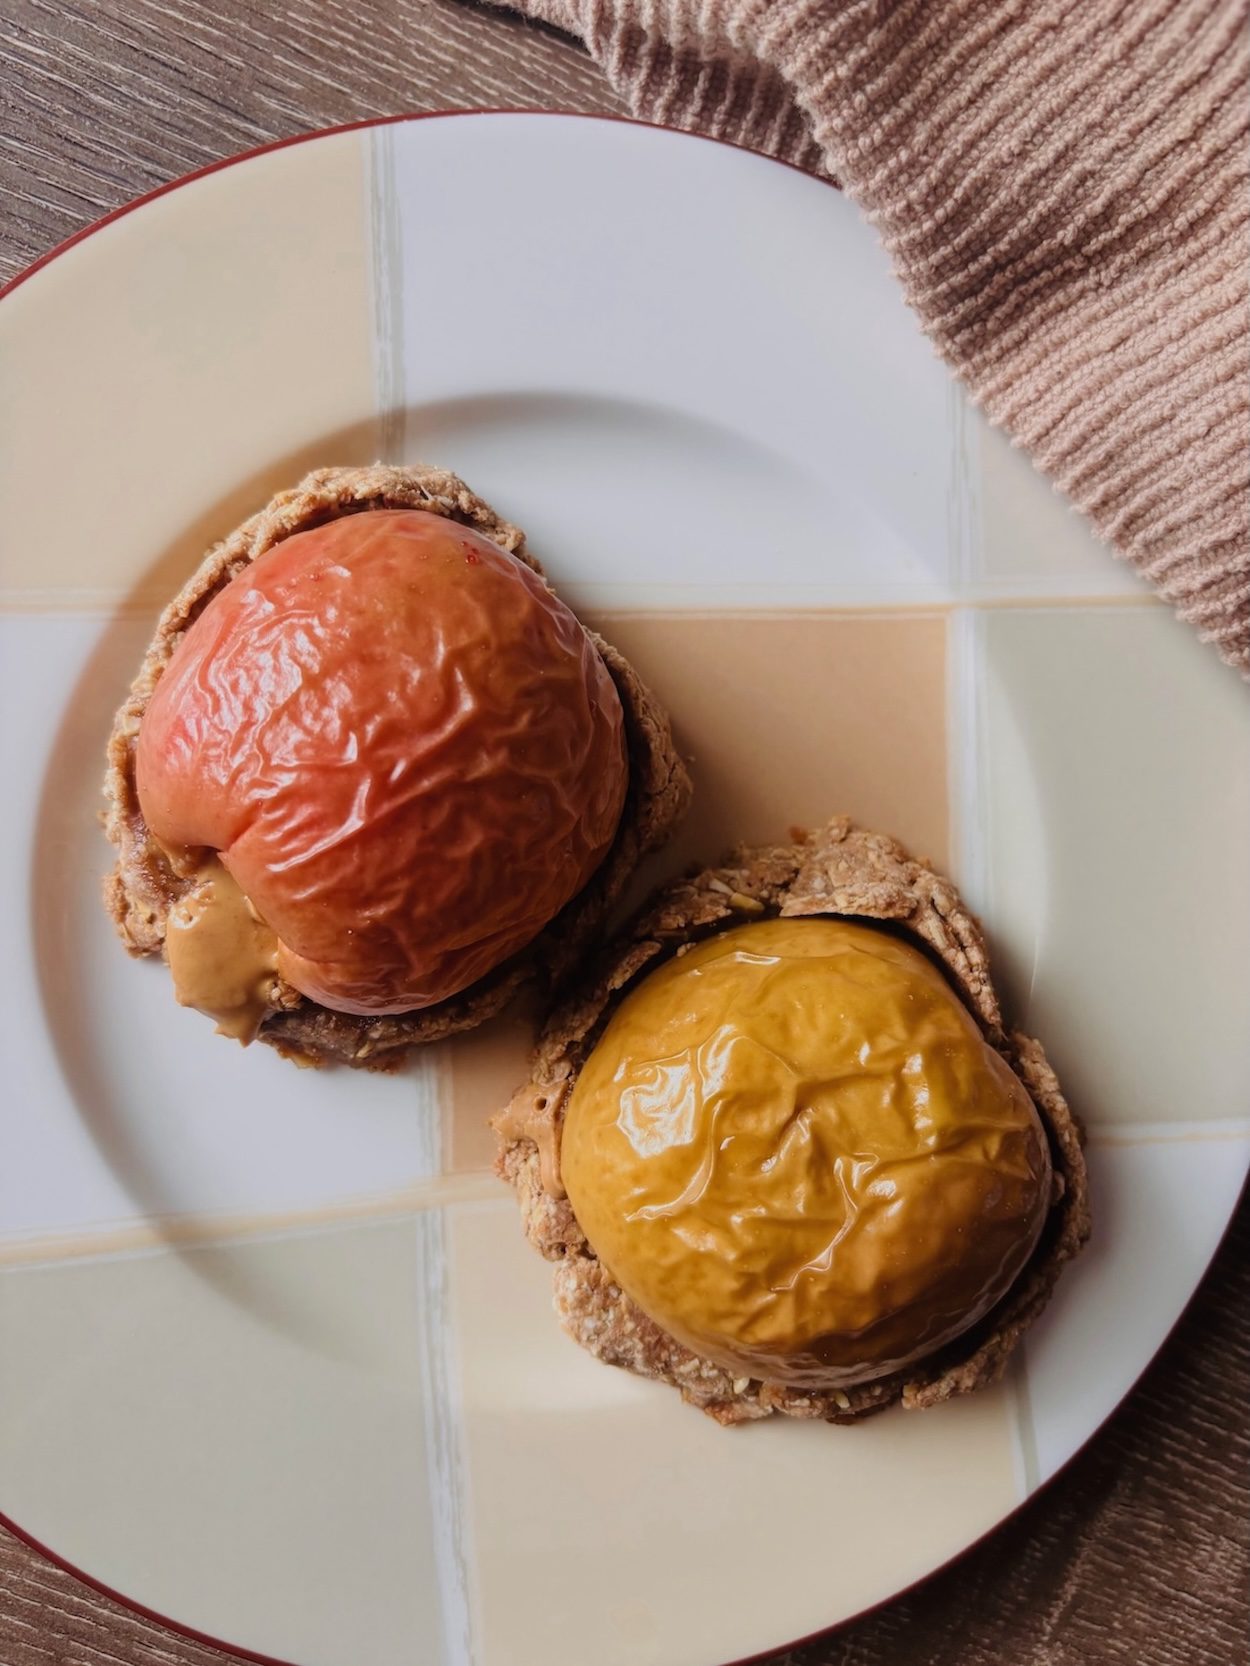
With a baked apple tart recipe, the sweeter crisp red apples are better for dessert snacking. As they soften in the oven, you can taste more of the sweet and tart.
…And for a pop of bright red on a plate.
Well… sometimes.
They do come out with baked fall colors. You’ll see below what I’m talking about. 🍁
Because red apples vary in color as you’ll see shades of red, yellow, white, and green if you pay closely attention. It’s like nature did a Bob Ross painting on each apple (and apple orchard if you like landscapes).
Like us peeps in nature, no two apples are exactly alike.
They say there are over 7,000 apple varieties and you know the ones that are abundant and growing in your surroundings. 🌳
Red apples dominate the fruit market scenes in the autumn. They match the fire engine red leaves on the U.S. east coast and make great healthy candy apples (instead of sugary caramel).
Healthy apples can be stuffed with healthy ingredients… like the sweet messy kind you can’t stuff in a bag 🎃, but you can stuff yourself with and enjoy the swirling mess in your mouth.
That’s one idea for today.
And with apple season upon us, you need no other reason to come up with new apple snack ideas, like an easy baked apple tart.
The steps are simple and easy…
Cut your whole apples in half and de-core them.
An easy way to do this is to take a paring knife and cut around the core, and as you get around to the other side of the track, you can almost pop the center out.
Save your apple seeds and plant them.
Then seedless, you can eat all the apple flesh parts without waste. Organic (pesticide-spraying free) apples are suggested if you eat the skin (that have a lot of healthy fiber).
Add peanut butter (that will ah! and ooh!-ze out when warmed and baked).
Then put your apple halves aside.
Make your pastry dough:
It’s an easy mix of ground oats and whole wheat. You can even add wheat bran and/or buckwheat for some more variety and healthy goodness, like I did. Mix in water.
Then add the honey and butter that’s a food pairing harmony, working so well together for taste and texture.
But if you want to use a healthy oil (instead of butter) you could do that.
And also your choice is to add cinnamon (and/or cardamom) spices with your apples.
Cinnamon adds that warm fall-ish cozy fireplace or fall hiking outdoor tasting vibe. Sweater weather is coming, but apple cinnamon baking is the active season beforehand.
For Vata (fall season) and us balancing moods, that’s comforting and clearing. It’s a great season to breathe intently and catch new breaths.
And getting back to the bake (and not to get too much in the weeds), cinnamon will help anxious energies. Cassia or traditional cinnamon spice you find easily in grocery stores is going to be sweet for adding to bakes before going in the oven. The other Ceylon cinnamon kind is more healthy and good to add to coffee and zhughing. But mix-and-match spices and kinds before, after, and during as you please. 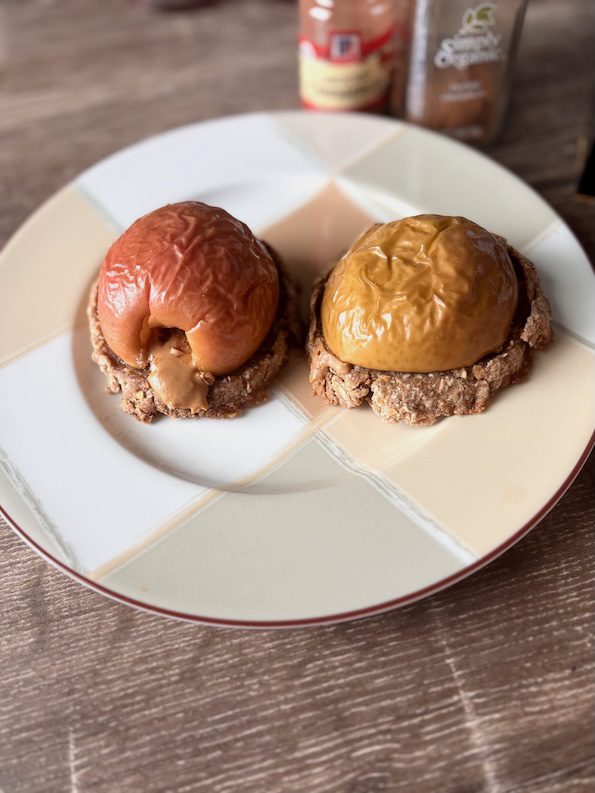
You do you… and dousing some cinnamon spice of any kind is healthy. The plants even love some on their soil to prevent unintended growth. 😊
Cinnamon is one of those natural foods that have no pitfalls. and goes great in the fall.
And now you’re ready.
For this easy apple tart good for fall bake, you can put this short pastry crust together in a few short minutes.
The dough will have crumbly bits falling off (appropriate for the season), but will mostly stick together as a ball.
Divide the dough into three equal parts.
Flatten/roll out the dough with the palm of one hand is easier. See as easy promised, you don’t even need a rolling pin.
Shape the dough into an apple shape around each apple half if you like. Of make into a circle with your circle cutters.
Use some honey to glue your apple bottoms (halves) to your flattened pastry bases. Then when you’re happy with your apples…
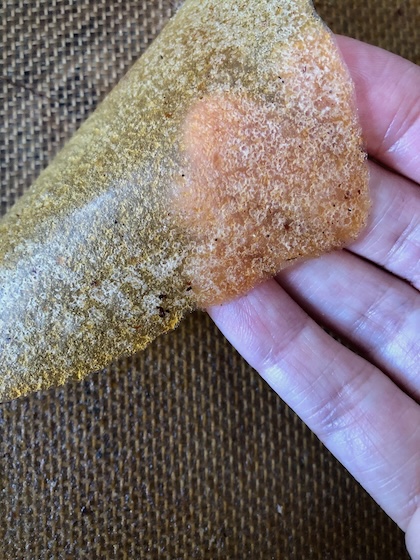
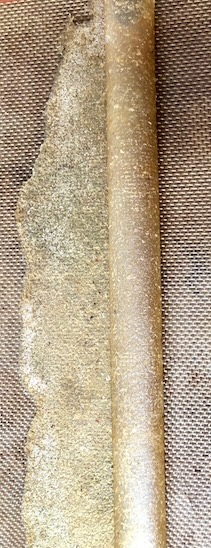
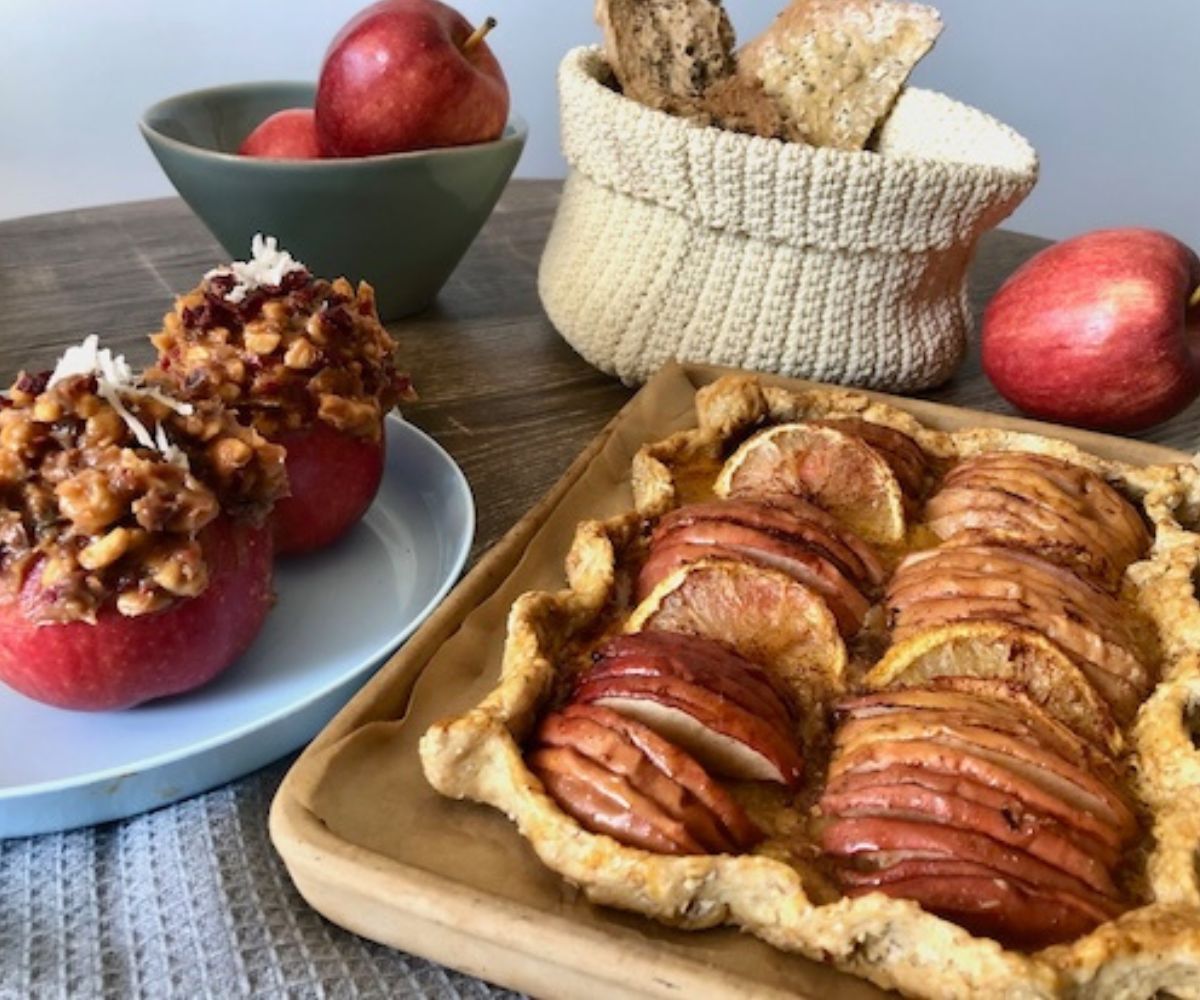
Bake at 325°F for about 25 minutes. If you want to give your apples a drying baked apple look (see 🍎 baked photo above), you can leave them in the still-warm oven after you turn the oven off. That will soften the apples even more for that you can even add to an apple pie. 🥧 💭
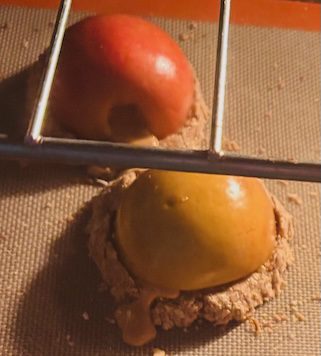
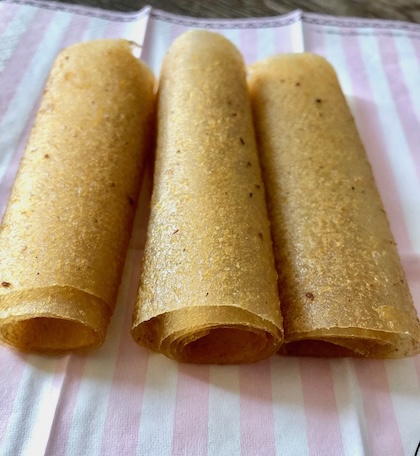
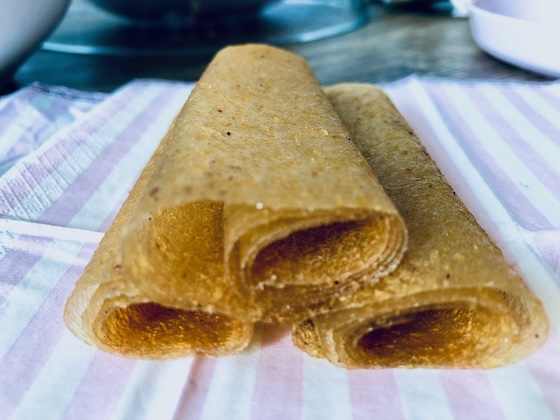
Before the apples are fully softened, the pastry base will be golden brown. You can pull them out of the oven at that point or bake a ‘lil longer. The apples start out shiny smooth like this duo below.
Which btw, these apple tarts in-the-making look like they are in jail but believe me, they’re enjoying their warm cell and cozy base as they bake. 😁
Oh, and if you like this recipe, you’ll love these low-sugar dessert recipes… some even have apple ingredients.
And if you’re looking for Vata season sweet and salty snack idea, you can try a happy Rocky Road energy bar, a no-bake peanut butter cookie, and/or pair with an apple carrot smoothie.
Curious, what you like? Lemme know in the comments.
Baked Apple Tart Breakfast with Oatmeal and Peanut Butter
Ingredients
- 3/4 cup whole wheat flour (can combine with wheat bran or buckwheat)
- 2 Tbsp softened or melted butter
- 1/2 cup old fashioned oats
- 3 tsp peanut butter
- 1 Tbsp raw honey, plus more
- 4 Tbsp heated warm water (plus a little more as needed)
- 1-1/2 tsp cinnamon spice
- 1/2 tsp cardamom spice (optional)
Instructions
- Grind your oats into fine pieces.
- Cut your apples in half and hollow out center with seeds. Leave skin on (if using non-organic apples, you can de-skin apples also if you choose).
- Add peanut butter to apple hollowed center. Set apples aside.
- Make the pastry dough apple bases. In a bowl, add the flour and oats, butter, cinnamon, and then add water and honey, and cinnamon (if using). Fully combine with a spoon. You can use a little more water as needed to help the dough crumbly pieces stick together. The dough should stick together and have some crumbly bits.
- Divide pastry dough into 3 equal balls. Flatten each with palm of hand and shape into circle or apple disc-base shapes that your apple halves will fit onto of.
- When you're happy with your pastry discs, add a honey circle ring drizzle around to "glue" your apples to the pastry. The peanut butter will ooze out of the apples.
- Bake at 325°F/165°C for about 25 minutes or until the pastry is lightly browned on the sides and bottom. You can leave in the oven after the temp is turned off for a softer baked apple tart.
