Malt loaf bread is comfy country bread that I could eat regularly as in weekly. It’s hearty, comfort food like a raisin bread. And this similar molasses cake (yes, you heard right!) recipe needs no proofing.
Learn more below 👇
Molasses is one of the star ingredients in this loaf or cake (depending on how you want to look at it) and one of my favorite sweet ingredients. ⭐️
Watching the slow as molasses dark glossy liquid glide down the jar to the opening is joyful.
And when it does and makes contact with its destination, it comes with multi-dimensional tastes.
…I like to call it dark caramel and one that Grandma’s from the south grew up with. (That’s also the common household molasses brand most of us know).
It’s got the old-fashioned flavors mixed in…
Along with regular molasses comes a bit of sweet, bitter, and black licorice tastes that gives gingerbread cookies its distinct flavor.
The acidity in the ingredient also helps to activate the cake rise if you use a common household ingredient like baking soda (that’s usually stored in the fridge for other purposes).
Also, unlike white table sugar as a sweetener, amazingly molasses has anti-inflammatory effects. If you’re a food science nerd like me then you get excited about these nuances in daily sustenance that affect the body! 🎉 …and whether the ingredient will be used.
Not as common is blackstrap molasses that comes out after the third boiling, so most of the sugar has dissolved like Houdini. It has a lower glycemic index and polyphenols compared to regular molasses. PLUS it has minerals and Vitamin B-6.
With the dark flavor, the dark color matches.
It’s perfect for the cooler months and warming inside if you think of a warm fireplace playing jazzy tunes. 🎶
…And just in time for holiday baking season.
Malt loaf was a challenge on the The Great British Bake Off where I heard of the cakey bread.
And I don’t know anyone who doesn’t love a cakey bread because that means no proofing, but is Prue-fitting, as in Judge Prue Leith who sent the loaf popularity waves across the pond… and into my sound waves vicinity.
…And what makes this loaf so out-of-the-ordinary great is the plumped up raisins from the Earl Grey tea.
It’s a strong brisk black tea that is what you expect for an afternoon high tea. 🫖
I had first heard of the intriguing “raisin plumping” idea in a food class where I collaborated with dieticians.
I loved the idea then… and loved it even more when I added them to this recipe.
You can see how bold and dramatic the raisins become. Who knew raisins could grow and not more wrinkly old? 😁
And to top off this breakfast dessert, you can add a glaze if you wanna shine! ✨
But I like the rustic and plain… like the simple raisin bread. But with bananas, this one is even BETTER.
Not needing butter.
And however you bake your cake or bread, you can make this in one bowl or even in the same baking pan it will end up in! That’s what happened here…
I mean, it doesn’t get much easier than this for fall foods, breads, and baked goods. That makes it so easy to FALL for! 🍂
A moist malt loaf that has molasses as a star ingredient.
Author Brandy @ Healthy Happy LIfe Secrets
Ingredients
1tbspEarly Grey tea, brewed
1tbspraisins (plumped up from tea)
1/3cupcurrants, chopped dates, or additional raisins
1cupmashed bananas
1tbspcoconut oil (in addition to coating the pan)
1/3cupmolasses
2eggs, room temperature
1/4cupalmond milk or milk of choice or more
1/2tspbaking soda
1/2tspground cinnamon
1/2tspsalt
1cupflour of choice
walnuts, chopped (optional)
Instructions
Coat your baking vessel with coconut oil that helps to give a nice thin outer crust and help prevent sticking to the pan. If you prefer less crust, then you can use a light dusting of flour to coat your pan or use a non-stick baking spray.
Brew hot tea and add raisins to the tea. While you're waiting for the tea to steep and raisins to plump up, make the loaf.
Mix the wet and dry ingredients together. Easy tip: you can do this in one bowl and even the same baking pan/vessel that you will use to bake the loaf! This is/should be a very liquid-y batter (like pancake) depending on the flour(s) you use tthat will come out moist. Bake on 350°F for 65-80 minutes until outside is the brown color preferred.
Pan co’Santi is All Saints Day bread and National Cinnamon Day bread celebrated on November 1 and anytime year-round that you want.
Anything happy goes these days!
And this joy-filled bread has raisins, walnuts, dates, cranberries… and bananas too!
It’s very much like a banana bread. 🍌
Bananas make this a sweet breakfast bread that goes with your breakfast drink, hot cocoa, or coffee.
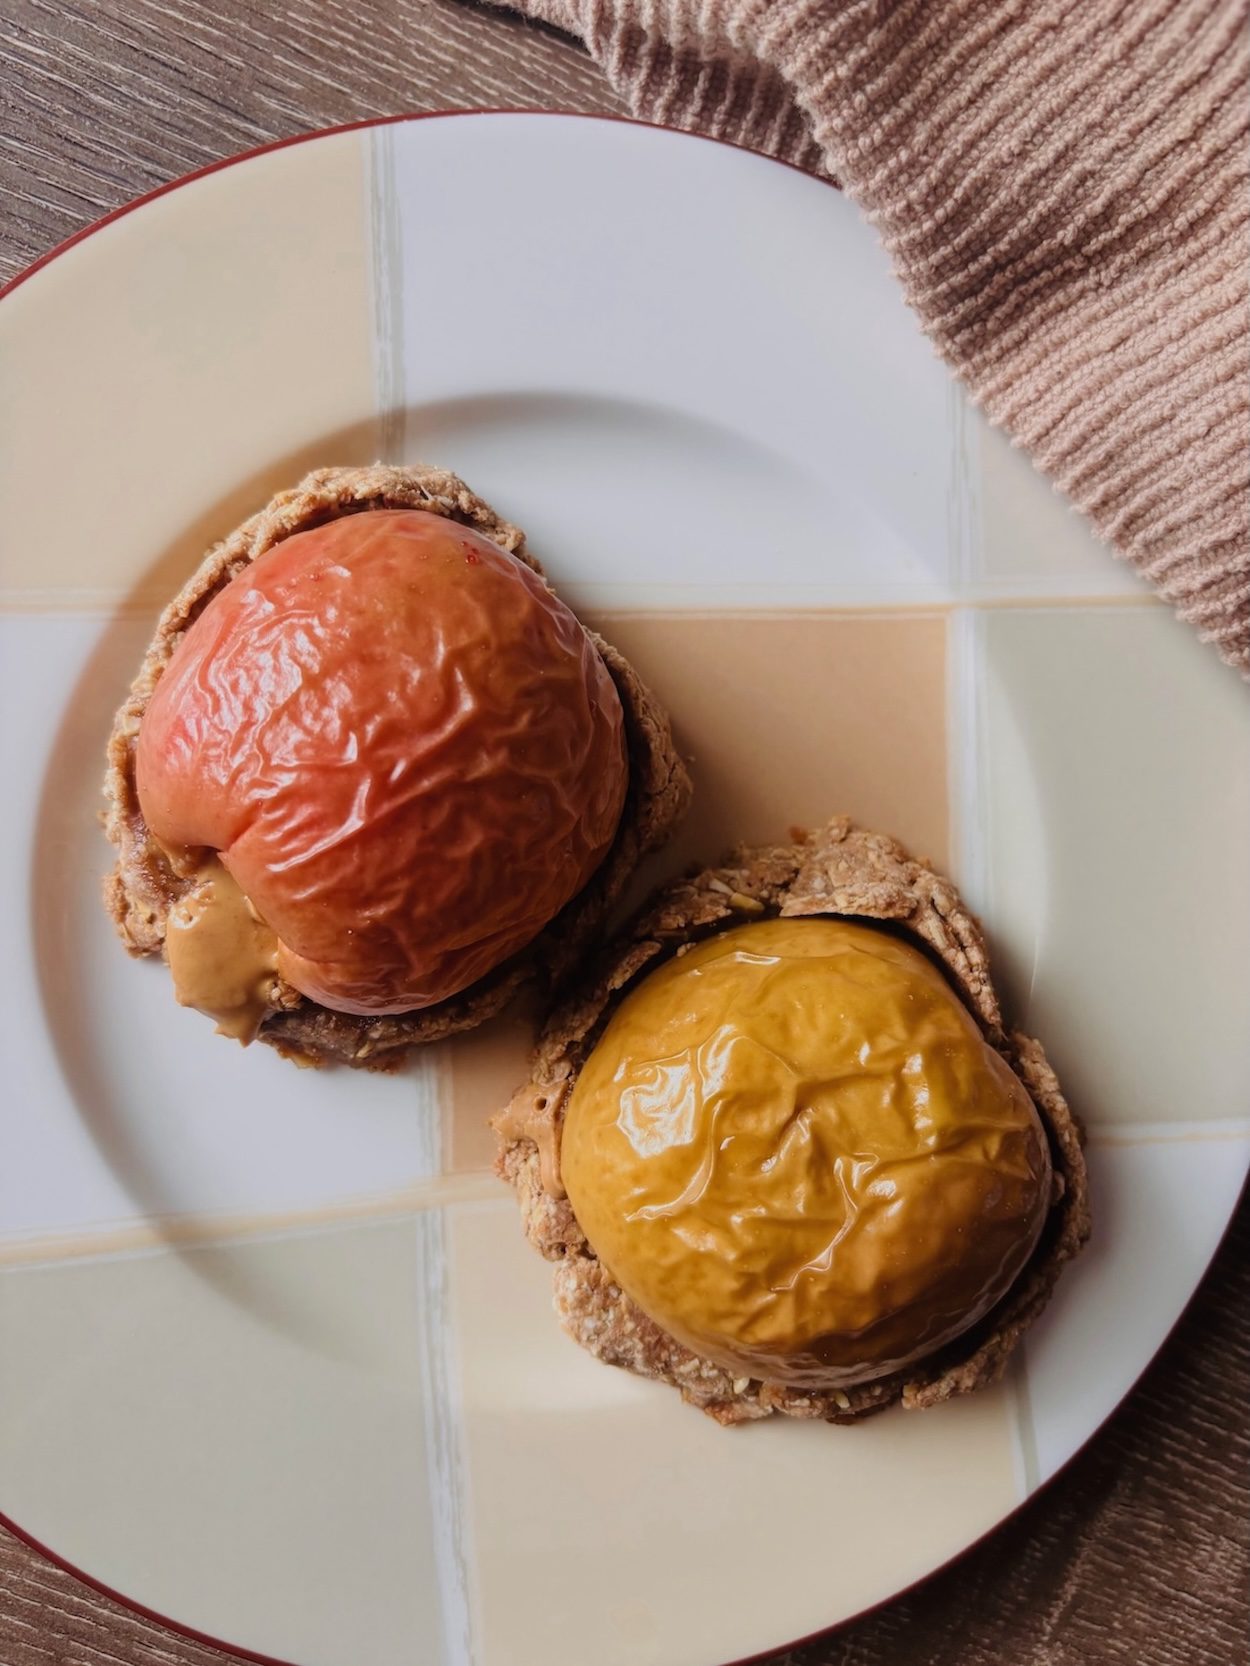
…But this banana bread is better… it’s heavenly and has landed on the plate like a meteor in the shape of the sun.
Like a shooting star under the sun to be more precise. It’s earthly food that was sliced in half to enjoy. 🌠☀️
It was sent from above with love. 💌🌤️
And you can have the same experience from your oven.
…Like bread that fell from the sky like a gift during Biblical Ezekiel’s era.
Bread afterall is life.
And LIFE is a gift.
Where we can appreciate the present as in now (and 🎁).
And for the blessing of our daily bread, like this cinnamon bread. 🍞
Bread used to be a food category on its own as one of the four basic food groups when I was growing up. And food is one of the 4 basic needs of survival, so that makes bread a need for us (and this one needs no knead 😊).
These days, since our lives are more complex and we have more healthy food options, we get to choose. Bread is one option in the broader acceptable grain category for healthy living.
And this saintly glowing bread of life is shaped here as sun, earth, moon and stars combined. 🌻🌕⭐️
You can make your celestial and grounded shapes with your baking molds. These could be bread, cake, and donuts.
Because of how moist and sweet it comes out piping hot from the oven is why I call it cake bread.
…Part of that comes from the nature of bananas.
Banana bread and I go way back before when I first knew what I wanted to do as a grown up that turned out to be a hotel catering planning professional career.
That’s when life was bananas working crazy long hours.
But a bananas life helps you handle chaos later on in life so you adapt better.
And banana fruits that are the star ingredient in this bread are a metaphor for adapting through the changes, as one fruit we can count on (or at least hasn’t changed much over the years).
The new bananas used for this recipe are soft bananas that got mushed up in a freezer bag and were left in the freezer.
Those are the best kind to use for this recipe, where they turn a dramatic scary black like a black car oil spoof.
You can bring out the frozen bananas on the same day as baking day… and let them warm up to room temps.
That’s one way this recipe is super simple.
Another way is there’s no need for yeast, proofing, or proofing time.
And a third way is you won’t need a mixer as you can do this all by hand with little effort.
…So maybe I got your attention now. 😊
And to lean in on easy recipes, I like to mix using a regular metal kitchen spoon instead of a whisk because the batter can get sticky and you end up losing a big part of the batter that way… and that could be the reason for a low-rise bread (as there’s less batter).
Mixing is also why this is more like a cake recipe, but turns out like a bread in the magical oven.
The baking secret is to use use enough flour so that the cake bread can stand almost firm on its own. That will better ensure a bread with homemade bread holes.
We don’t want too dense of a bread, but we want a moist bread that will rise and not look flat in the end.
And if you’re like me, you probably like to see the ingredients first to see if you have them and want to use or eat them. 😋So here’s the Pan co’Santi bread easy ingredient list:
mashed bananas
coconut oil
maple syrup
eggs
almond milk
flour
baking soda
salt
ground cinnamon
optional: walnuts, dates, raisins, craisins
And that’s it!… go Pan co’Santi bananas and welcome in the new season weather and time changes!
Fruit roll up is a happy memory from when I was a kid. 💭
They were a sweet and light snack from the grocery store that melted in the mouth.
It was (and is) a cross between fruit + candy.
They came wrapped up in their own packaging and were attached to cellophane that I liked to play make things with when I was young. They were rolled up like scrolls.
Almost like the Dead Sea Scroll minus the ancient writing.
…And not that far back, my young days was when posters were the rage so anything rolled up meant happy entertainment or enjoyment.
Playing around, I haven’t had a fruit roll up like those until now as an adult. 😋
Decades later and these parchment paper looking treats are naturally preserved…
These were like the ones that ruined me to never want any other fruit roll up wannabes. 😅
These are the REAL DEAL.
Making these fruit roll ups bring me joy (...and maybe for you too?) because they resembled packaged old-fashioned fruit roll ups that you would buy at the store… minus additional sugar that’s not needed for these.
As thin as they are like sheets of music, these stack up nicely! 🪵…
Thin as paper and pretty as rice paper too.
They’re as durable as leather.
Technically they fall in the leather fruit category but are as smooth and supple as suede.
My mom was a dressmaker, so she played a role in influencing my fabric choices where I learned lighter materials are usually higher quality.
And I’d agree about that with this light leather fruit material…
These feel light and feathery (not leathery) and are very apple healthy! 🍏
Plus, they last for weeks at room temperature.
Made with apple they are a great fall snack that can be made year round.
It’s almost like wrapping paper… or maybe it’s an old map or a key to hieroglyphic history. However you want to call it, it’s a SWEEET fruit roll up.
Oh, and kidding aside, the BEST part is (…can you tell I’m getting excited that it just gets better? 😊)…
You can make these in your home oven in one hour and 20 minutes with just 5 minutes of prep time.
How’s that for predictability?
…Seriously it’s that easy!
They are fun (and dare I say relaxing) to make and everyone of all ages will love them! 💕
They make a great sweet snack without any artificial ingredients.
And actually just 2 sweet and natural ingredients that make a perfect duo. 🍏🍯
Using applesauce, you don’t even have to turn the stove on to cook down apples and de-core them… and they will turn out even better. Because for one, the apple fruit roll up will be more even.
…The first time you make them, don’t freak out because they turn transparent on a baking sheet.
Don’t worry, it’s there. 😀
…I tried that once with Aquafaba because I heard you could make meringues that way… and POOF! I wish I could say that was magic, but it was more like a trick. 🪄
They dissolved into thin oven air… but I digress.
These fruit roll ups will turn out… I promise.
These are the proof…
I’m so happy to share these with you through the screen. And I hope they make your day like they did for me the first time I made them. 🍥
(And maybe this will keep the kiddos staying happy and cavity-free as low-sugar goodies with plenty of sweetness… that are substitutable for a certain candy holiday 🎃).
And if you’re into experimenting (like I am gladly doing with sweets), you can try other flavors.
Keep in mind they will take longer to bake with more complex ingredients.
You will know when you touch or look at the baked fruit roll up whether it’s dry and done, or half-baked and almost there….
In this one, you can see here that the dry section is on the upper right area and the rest of the fruit roll up is not done… simply pop it back into the oven.
Change the time but don’t mess with the temperature.
This one took another 20-25 minutes to finish… and was worth the wait. ⏲️
These are no fuss-no muss apple fruit roll ups you can bake in under 2 hours. This will make 4 - 4 inch roll ups that are about 9 inches long.
Course Snack
Cuisine American
Author Brandy @ Healthy Happy Life Secrets
Equipment
Silpat silicone baking mat on sheet pan
Ingredients
24 ounceapplesauce cups, unsweetened
2tbspraw honey (high quality)
Instructions
Thoroughly combine apple sauce in a bowl and add honey. Tip: use a high quality honey with a smooth consistency.
Smear the mixture into a thin layer on a Silpat (silicone sheet) laid out on a baking pan. Tip: Use different light to check that there are no "holes" that show up with shadows.
Bake on 200°F/100°C for 80 minutes. Tip: if you add or experiment with other more vibrant colors and flavors, they can take significantly longer. You'll know it's completely done, when the fruit roll up is one uniform color and dry throughout to the touch.
Let cool completely and then start to peel at one corner and then slowly peel up the entire fruit roll up. Roll up, slice, and enjoy!
Fall pizzas are easy to fall for because you can use almost any type of flour to make a thin crust. You can love the crust and pizza! 😋
Pizza is the perfect comfort food for a cozy fall meal and all year round. And they can be made healthy!
Unlike bread making that needs a higher protein or gluten flour 🍞 for a higher rise, a pizza crust can work well for gluten-free people too. You don’t always need to use bread or 00 flour.
Especially flat bread pizzas that are more like cracker crusts, where the toppings are the stars.
You can use your healthy gluten-free flours like rice flour to produce a no-rise rice cracker-like crust (recipe below 🧡) .
Goes to show you, you can make a nice crust from just about anything. 😀… maybe not sawdust, but you know where I’m going.
That confidence came from practicing and making pizzas as one of my first loves (and from my professional food service work journey).
I worked in a busy pizza shop as a teen. That’s a throw back to when we sported our baseball caps that was part of our work uniform that we called our clown suits.
And us clowns banded together, so we were used to our daily attire 🤡
Who knew caps would become such popular wear?
And maybe that’s why I still like to sport a baseball cap when I’m baking or near the kitchen.
Those pizza making shop days were so much FUN and I ended up staying on there for 4 years before I was rushed off to college.
The shop was like a second home to me before then. During fall football season 🏈, we were busy pizza making bees lined up on the make line. 🐝 🐝 🐝
And as busy bee pizza makers, we were not watching any TV.
We worked as a team under fun pressure to crank out pizzas as fast as we could… 30 minutes fast to be precise… that was the expectation from order taking to door delivery.
So that boiled down to about one-and-a-half minutes to make and prep each pizza from dough to toppings, and then into the magical baking oven.
That reminds me of an I Love Lucy chocolate factory episode ❤️
But we weren’t in a losing game most of the time… occasionally, when the line was backed up or an oven broke down, production came to a halt… it was people (and not machine production run) so we didn’t have to scarf down pizza ingredients to keep up.
…We just chilled out during those times.
And when back on track, our heads were down during the rush (that often was during a football rush). But if you weren’t a pizza ingredient or pizza-in-the-making in front of our eyes, we didn’t have time to look up.
Translated: if Kelce proposed to Taylor Swift on the field or they came into our shop, those moments would be missed.
…Our fall pizzas took priority no matter what.
And was worth it because making pizzas was a one-of-a-kind experience. Those franchise booming years were a recorded phenomenon…
It was history in the making as business college text books I read even had case studies on the 30-minute guarantee I knew firsthand.
And in the shop organized chaos hoopla, while breathing in pizzas, I learned the trick to consistent pizza crusts.
The shop dough would rest in the cold walk-in cooler overnight and get hand sprayed with water to keep from drying out.
It was such a critically important job that only the managers who were the kings of the shop made sure to treat the dough like babies.
They gave the dough some TLC and the proper rest needed that dough babies need to rise on game day.
And when game time was ON, the dough slapper would crank out dough crust, one after another with quick speed, tossing them in the air like frisbee footballs to the next team member…
Sometimes I was the receiver. And that’s where my play was.
If you were assigned the next role, you could catch the frisbee-shaped dough with your two fists and knuckles. Then you would flip out the dough on a pizza screen so they would lay flat and taut without wrinkles.
There’s a lot of dough gymnastic action going on. 🤸♀️
Or they were already set on a screen as the dough slapper’s choice. You could say they’re the Quarterbacks calling the plays.
And then after center screen placement, the pizza sauce is added. That’s a 10-second or so second position, that I was told was the second most important position too.
There’s no dilly-dally time to waste during the busy hours.
Saucing takes a little smooth surfing action 🏄 to evenly spread the sauce… stopping right at the crust like a professional skier at the bottom of a hill. ⛷️
During the slow hours, saucing was a skill that I got to learn, perfect, and throw the ladle in the sauce bucket without it splashing to show I was “a professional”… and I wish I could say that skill has paid off as a useful one, but all I can say is it was FUN. 😀
And today, that’s still the sauce technique I use at home under no pressure where all I do is imperfectly slow bake and prep.
And in that spirit, you can bake your own sporty no-stress pizza at home in about 35 minutes (and in less time than it takes to order out).
Once you know the basics you can apply this to any type of healthy pizza, fall pizza recipe, or crust style that fits your fancy.
Pizza Making 101
You need 4 ingredients for pizza: flour, salt, water, and yeast.
Sound familiar…maybe?
It’s the same 4 ingredients you need for bread making.
(Tip: try using semolina flour for your bench flour underneath your pizza for a nice crunch and to make your pizza experience special compared to bread making).
Semolina flour good for pizza bottoms feel like coarser desert sand and is more uniform than sugar or salt. It’s not fine like most all-purpose flours like we used in the shop.
My all-time favorite is a mushroom Neapolitan Recipe where you don’t need any fancy pizza or wood-fired oven, but you do need an oven.
To prove the point, this pizza was made in an apartment oven.
Other simple tips for fall pizzas include skipping the brown charring of the crust. Regular baked crusts are even easier to make.
Those are like the regular crusts we had in the pizza shop or when you order a pizza.
…where you simply mix the 4 ingredients, knead the dough, let the dough proof for a couple hours, shape and flatten the dough except for the crust, and then bake on 350°F for about 20 minutes.
From there, I then add the toppings that are already pre-cooked. I do that part separately as different toppings need different cook times in a regular oven. And from bake start to finish, a pizza is done in 30-35 golden minutes. That’s still a magical number today.
In the pizza shop ovens, we always added the uncooked flat meats and veggies first, and then the lumpy items.
They were timed to perfection because through the conveyor belt, the heat was distributed specifically for the needs of pizzas. They only needed 8-10 minutes of baking time.
In the shop, they also weren’t experimenting with new toppings. But they did have pre-made thin crusts (like a cracker crust) and pan pizza crusts that were baked in different ovens.
But the regular crust was the one that most people loved…
Like I did with this sea creature pizza 🦑..which btw, you don’t have to be Jacques Cousteau adventurous to come up with your own unusual creations… like squid here that has a tougher texture.
And if you’re a more traditional pizza fan, I GET it… I used to hate anchovies and now I love ’em.
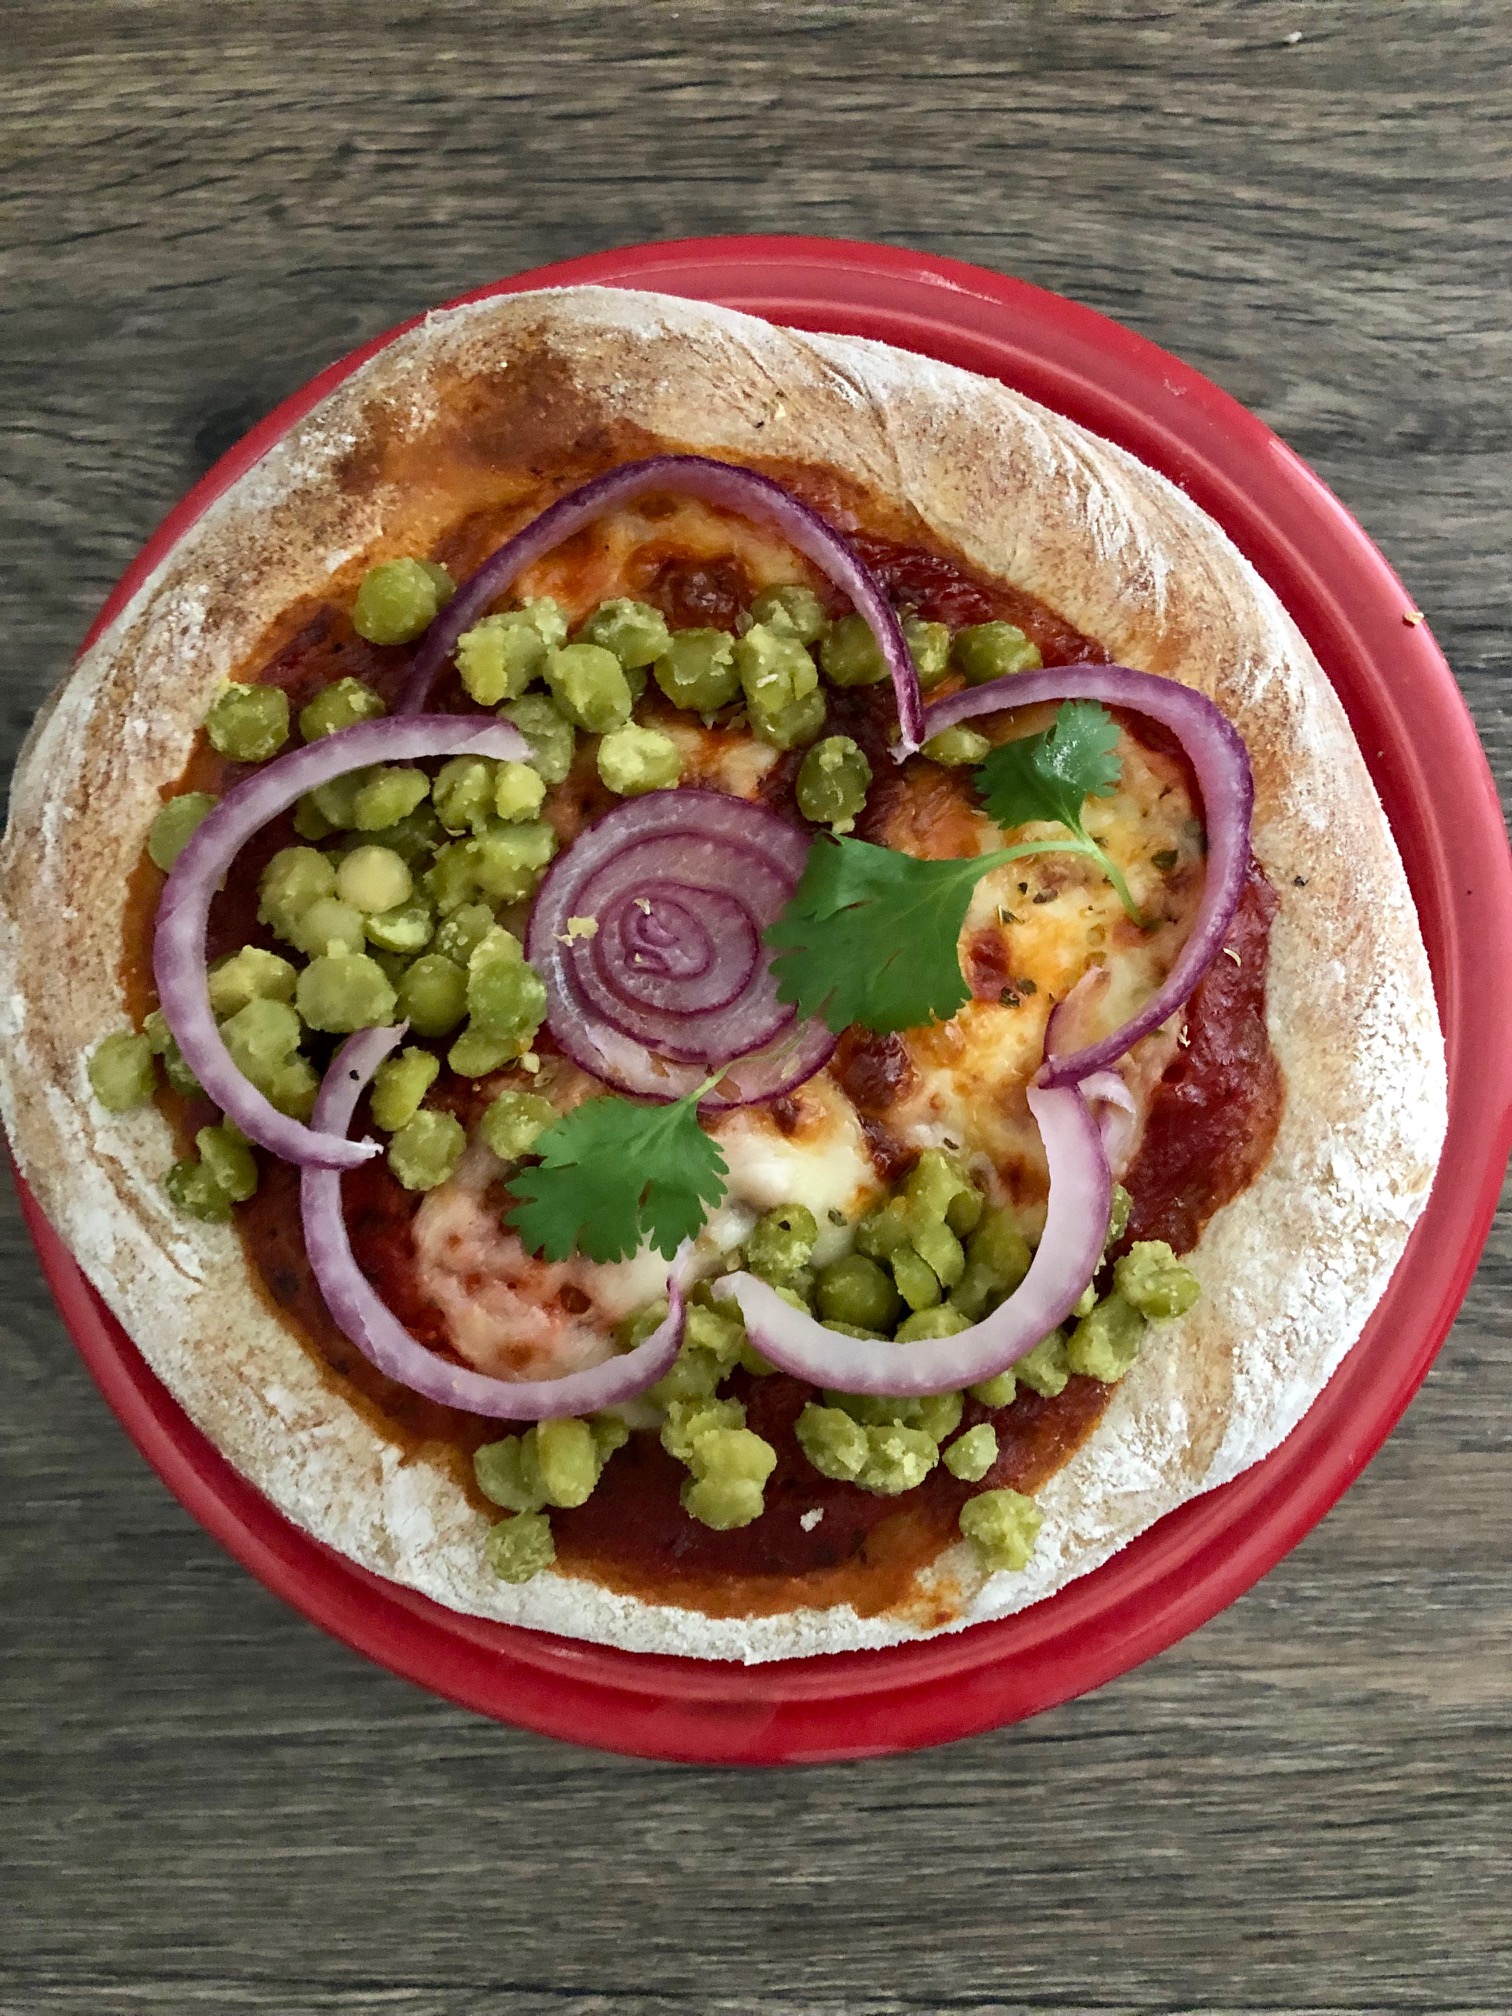
And besides traditional mushrooms that I’ve always loved, onions make for great toppings on traditional fall pizzas.
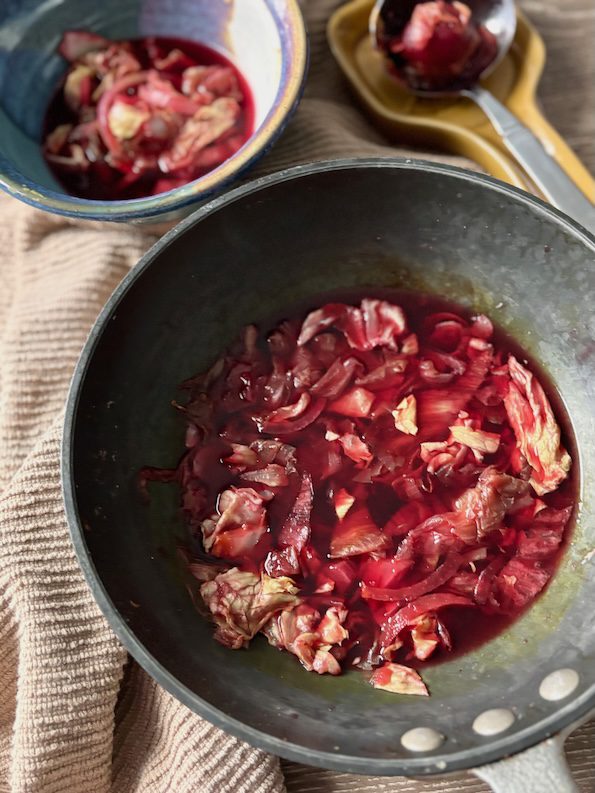
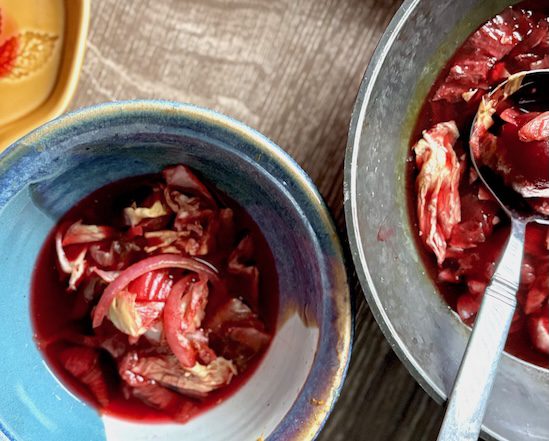
Onions (and mushrooms 🍄) are great for boosting your immunity during cold and flu season. Red onions are more mild tasting than Vidalia or white onions. 🧅 And you mix and match.
In the spirit of veggie fall pizzas, you can have fun with your rings.
You can also make a very healthy eating pizza category. And add that to your meal planning list.
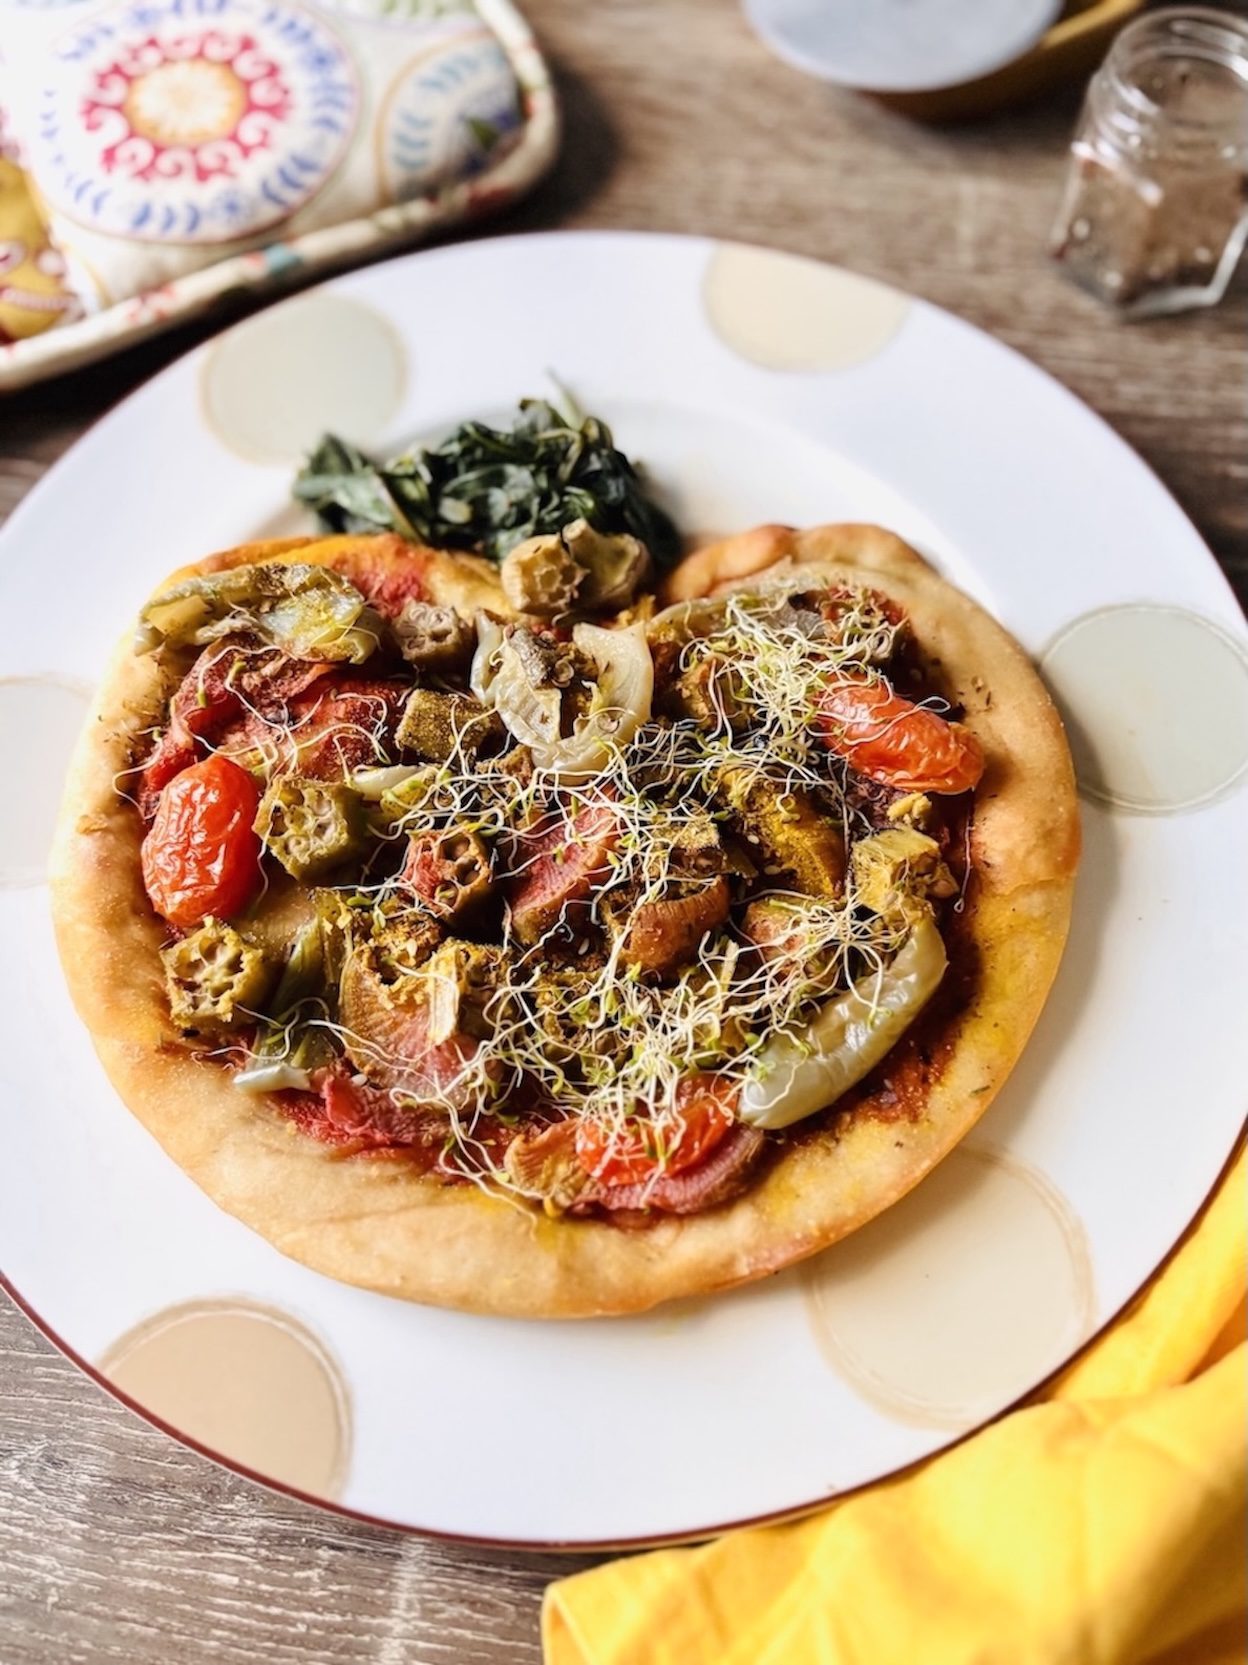
…Like this healthy rice cracker recipe that you can be made into a rustic low-carb calorie pizza.
For more savory and simple delicious ideas, you could add za’atar spices to your fall pizzas… or use za’atar crackers.
Wheat crackers are so easy to make and a nice fall backdrop to decorate a food table.🍁
It’s a perfect rustic add. And if you’re feeling the pinch of shinkflation, these crackers can certainly help your wallet.
…Or baking any of your own salty cracker snacks (as low-calorie carb choice meal accompaniments).
They’re an easy baking challenge. ⏲️
You game?
…And even easier when you’re already cranking up your oven.
I do this baking move while I’m prepping my 350°F bakes, that are mostly rising cakes and breads… and anything that’s needing dry heat.
To start, I turn the oven on a low 250°F or lower. That also works well on warm days where you can feel the heat in whatever season you’re experiencing. 🔥
And while the oven is warming up, is when I bake the crackers, tortillas, or toast depending on season or mood. It’s a good use of oven energy. ⚡️
And also baking effort… where prepping cracker paste for a sheet of crackers takes seconds.
All you need is an even flour-water mix, and then spread with a little balancing salt on a baking sheet.
That’s it.
…It doesn’t get easier than that for the basics.
But I have some useful tips below with ancient flours that can enhance your wheat crackers, and making-baking experience.
Plus there are so many flour varieties and cracker taste options to consider and get into for your happy wild-free self… maybe Wild Thing or Wheel Pose. Just sayin! 🎡
You can use any ground flour for cracker making which is a great way to clean out your pantry. You can ground your own gluten-free and seed versions. Grounds reminds me of coffee since I make my own cold brew daily. 💭
And like coffee, if you add anything else as ingredients besides your grounds, water, and flavor adds or seasonings to your cracker mix, then you’ve prepped another food… but not crackers.
K.I.S.S. (keep it super simple). 💋
…that means no oil or yeast as tempting as it can be.
The essence of crackers is dry, salty, and flat crunchy. That’s why it’s a good Vata season balancing snack.
Great for anyone in fall season or leaning into their Vata body.
For me, that’s a double score. 🧘🏻♀️…maybe you too?
…I didn’t make up these rules 😊
The ancient people were the inventors.
Flat breads still exist as precursors to our modern day crackers.
(See Ezekiel 4:9 in the Bible that mentions several grain flours for baking bread: “But as for you, take wheat, barley, beans, lentils, millet and spelt, put them in one vessel and make them into bread for yourself…”).
And fast forwarding to today, the flour is still the star ingredient for bread and crackers.
…So, choosing a healthy flour is a smart choice.
Making homemade crackers is a good opportunity to use your healthy gluten-free flours and whole flours like whole wheat.
Whole grains rule because they keeps the entire kernel that has all the nutrients like extra B-vitamins that refined grains do not have.
Refined grains are also deprived of fiber that’s not added back even if the grain is enriched.
Keeping it simple, remember the fine print “whole” as a top ingredient when you’re looking through the shelves deciding which is the healthy good choice, all things being equal.
Whole is also a good intention for all us healthy intentional peeps to eliminate holes in our diet.
Some of the whole goodness comes in gluten flours (yes, gluten!) that can be used to make wheat crackers.
Whole wheat grain flours have more fiber, so if you can eat gluten it’s good to keep some higher quality whole wheat in your diet.
And ancient wheats like Einkorn, spelt, and emmer are good choices.
Einkorn has less gluten than the other two so it makes for a great cracker that doesn’t need proofing.
The proof is in the cracker recipe below. 🧡
…You can add your flavor touches and textures like chia seeds or Everything Bagel spices for crunch and vitamins.
Btw, chia seeds are loaded with some B-vitamins, magnesium, calcium, iron, and other minerals.
Chia vary from poppy seeds even though they look like twins and are both carbs. 👯♀️
…And when I hear people say that they don’t eat carbs, that saddens me.
Carbs include veggies AND also healthy grains that don’t wanna be missed. Veggies are usually low calories in case those points are added up.
And next to protein, grains support the body in B-vitamins that we need a lot of to work together.
They also help to lose weight along with fiber. 🎉
So if healthy eating is one of your goals too (and a good one since you’re eating for the rest of your life), building good habits that keep your weight the same or consistent year-round makes sense.
A rainbow variety diet with food as medicine works. 🌈
Yo-yo diets that I grew up around don’t support that.
And eating food like rustic wheat crackers can fill the gaps.
Since fresh baked are not preserved (with preservatives) like the crackers you could buy in grocery stores, they will change texture over time and days.
It’s best to enjoy them the same or next day after baking (and that helps to get us to bake or cook more, if that’s another goal initiative you’re trying to make).
You can leave your baked crackers out for a few more days but they will likely become more dry.
So you could add a little olive oil or keep a moist towel over them.
You can also bag and seal them when they’re still warm out of the oven and that will create some heat-rising condensation in the bag that will help them stay hydrated… a little cracker TLC. 😀
…Wheat is plant-based afterall 🪴
And if they dry out, you can still save and revive them.
You can add a little water back and let them dry out for a few hours and then enjoy again. Then they’re as good as new again!
The wheat cracker taste factor will be the same because remember water is the next inherent star ingredient. ⭐️
How’s that for fall-ing in love with wheat crackers?
Wheat crackers are so easy to make. You can make them and bake with your other bakes.
Author Brandy @ Healthy Happy Life Secrets
Ingredients
whole wheat flour and einkorn flour
seeds (flax, chia, or sunflower)
salt to taste
water
Instructions
Mix ingredients until you get a paste. Spoon out dough and make about 1/8" thin wit a knife. If you use more flour, you can alternatively roll out into a thin even paste. It will come out the same as a cracker.