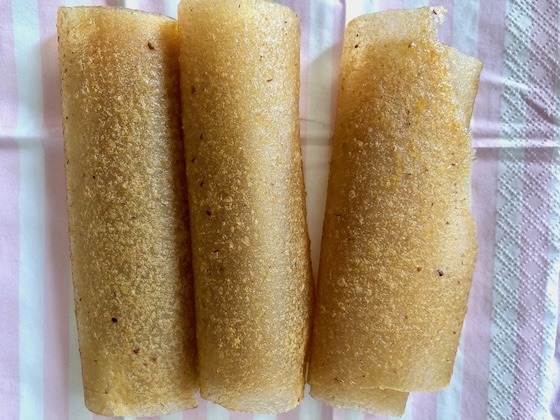
Fruit roll up is a happy memory from when I was a kid. 💭
They were a sweet and light snack from the grocery store that melted in the mouth.
It was (and is) a cross between fruit + candy.
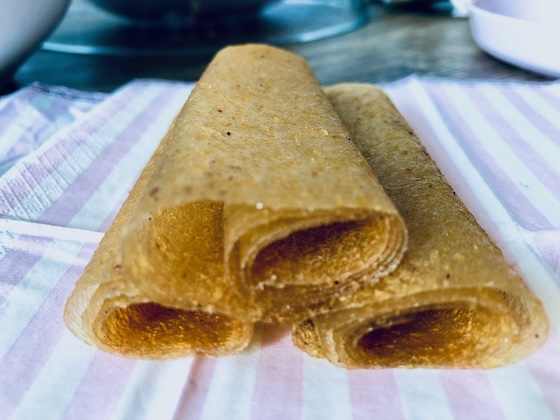
They came wrapped up in their own packaging and were attached to cellophane that I liked to play make things with when I was young. They were rolled up like scrolls.
Almost like the Dead Sea Scroll minus the ancient writing.
…And not that far back, my young days was when posters were the rage so anything rolled up meant happy entertainment or enjoyment.
Playing around, I haven’t had a fruit roll up like those until now as an adult. 😋
Decades later and these parchment paper looking treats are naturally preserved…
These were like the ones that ruined me to never want any other fruit roll up wannabes. 😅
These are the REAL DEAL.
Making these fruit roll ups bring me joy (...and maybe for you too?) because they resembled packaged old-fashioned fruit roll ups that you would buy at the store… minus additional sugar that’s not needed for these.
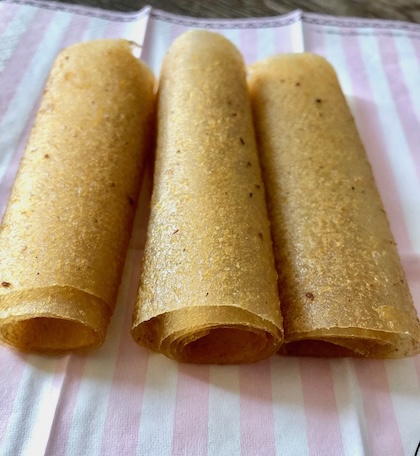
As thin as they are like sheets of music, these stack up nicely! 🪵…
Thin as paper and pretty as rice paper too.
They’re as durable as leather.
Technically they fall in the leather fruit category but are as smooth and supple as suede.
My mom was a dressmaker, so she played a role in influencing my fabric choices where I learned lighter materials are usually higher quality.
And I’d agree about that with this light leather fruit material…
These feel light and feathery (not leathery) and are very apple healthy! 🍏
Plus, they last for weeks at room temperature.
Made with apple they are a great fall snack that can be made year round.
It’s almost like wrapping paper… or maybe it’s an old map or a key to hieroglyphic history. However you want to call it, it’s a SWEEET fruit roll up.
Oh, and kidding aside, the BEST part is (…can you tell I’m getting excited that it just gets better? 😊)…
You can make these in your home oven in one hour and 20 minutes with just 5 minutes of prep time.
How’s that for predictability?
…Seriously it’s that easy!
They are fun (and dare I say relaxing) to make and everyone of all ages will love them! 💕
They make a great sweet snack without any artificial ingredients.
And actually just 2 sweet and natural ingredients that make a perfect duo. 🍏🍯
Using applesauce, you don’t even have to turn the stove on to cook down apples and de-core them… and they will turn out even better. Because for one, the apple fruit roll up will be more even.
…The first time you make them, don’t freak out because they turn transparent on a baking sheet.
Don’t worry, it’s there. 😀
…I tried that once with Aquafaba because I heard you could make meringues that way… and POOF! I wish I could say that was magic, but it was more like a trick. 🪄
They dissolved into thin oven air… but I digress.
These fruit roll ups will turn out… I promise.
These are the proof…
I’m so happy to share these with you through the screen. And I hope they make your day like they did for me the first time I made them. 🍥
(And maybe this will keep the kiddos staying happy and cavity-free as low-sugar goodies with plenty of sweetness… that are substitutable for a certain candy holiday 🎃).
And if you’re into experimenting (like I am gladly doing with sweets), you can try other flavors.
Keep in mind they will take longer to bake with more complex ingredients.
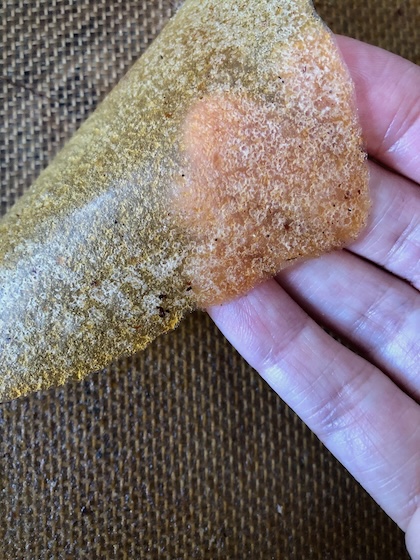
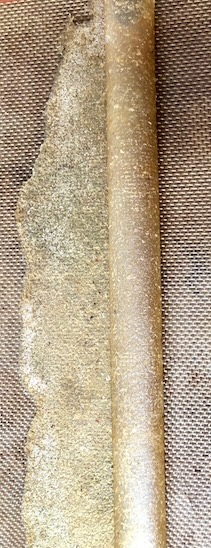
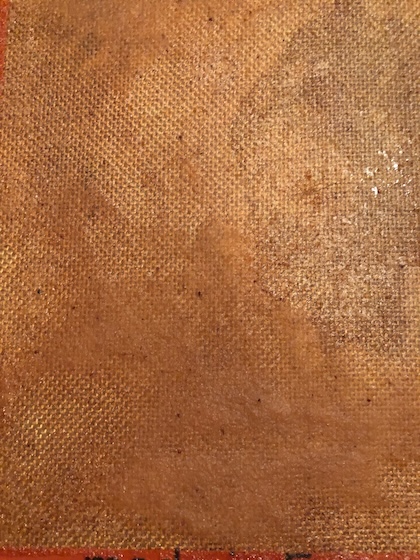
You will know when you touch or look at the baked fruit roll up whether it’s dry and done, or half-baked and almost there….
In this one, you can see here that the dry section is on the upper right area and the rest of the fruit roll up is not done… simply pop it back into the oven.
Change the time but don’t mess with the temperature.
This one took another 20-25 minutes to finish… and was worth the wait. ⏲️
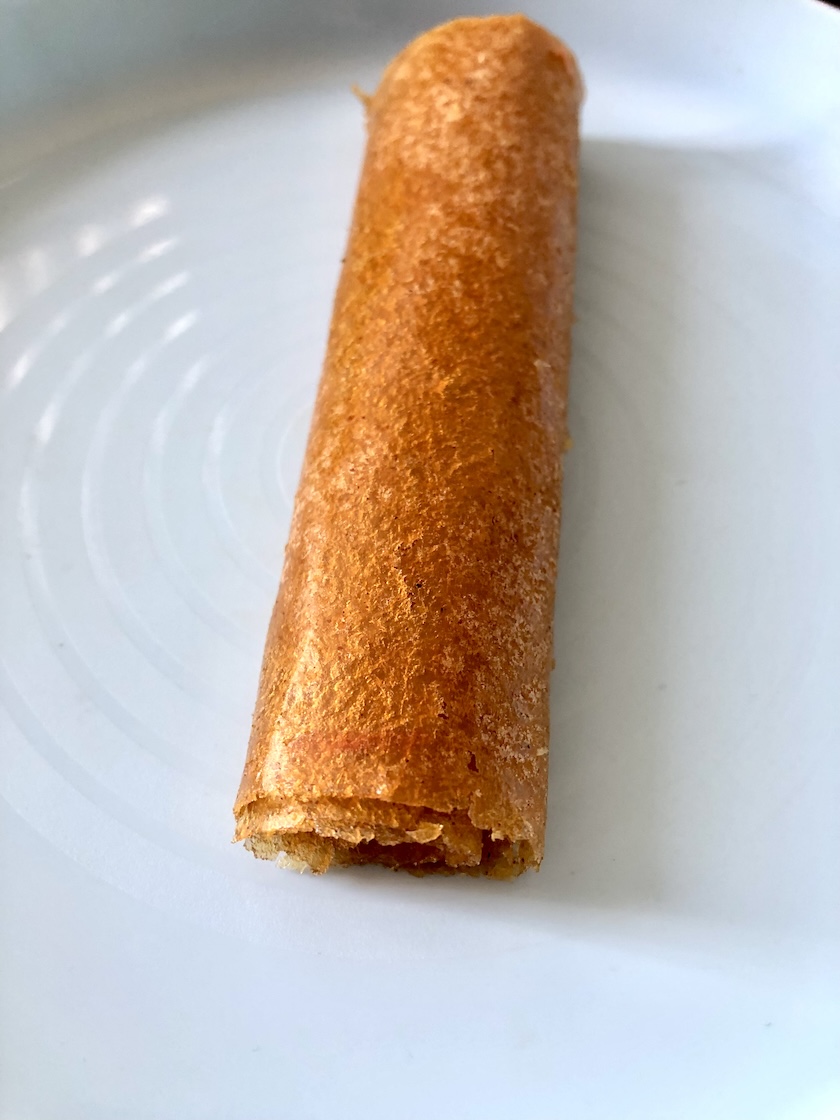
Ready to make these? 😋
Easy Apple Fruit Roll Ups
Equipment
- Silpat silicone baking mat on sheet pan
Ingredients
- 2 4 ounce applesauce cups, unsweetened
- 2 tbsp raw honey (high quality)
Instructions
- Thoroughly combine apple sauce in a bowl and add honey. Tip: use a high quality honey with a smooth consistency.
- Smear the mixture into a thin layer on a Silpat (silicone sheet) laid out on a baking pan. Tip: Use different light to check that there are no "holes" that show up with shadows.
- Bake on 200°F/100°C for 80 minutes. Tip: if you add or experiment with other more vibrant colors and flavors, they can take significantly longer. You'll know it's completely done, when the fruit roll up is one uniform color and dry throughout to the touch.
- Let cool completely and then start to peel at one corner and then slowly peel up the entire fruit roll up. Roll up, slice, and enjoy!

