Healthy gingerbread cookie trees are rare, and even this time of year when everyone is talking about lighting the Christmas trees.🌲

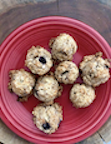
Easy Chai Oat Gingerbread Cookie
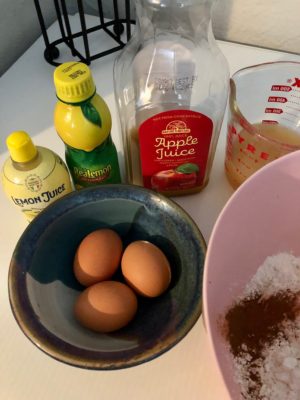
Ingredients
- 3 cups all-purpose flour (with oats)
- 1 1⁄2 tsp baking powder
- 3⁄4 tsp teaspoon baking soda
- 1⁄4 tsp teaspoon salt
- 1 tbsp ground ginger
- 1 3⁄4 teaspoons ground cinnamon
- 1⁄4 teaspoon ground cloves (or 1/2 tsp of allspice if that's what you have on hand)
- 6 tbsp unsalted butter (or substitute with 1 TBSP coconut oil)
- 3/4 cup dark brown sugar (reduce to 1/3 cup for less sugar and still have a delicious and nice cookie!)
- 1 large egg
- 1/2 cup molasses
- 1/4 cup oats
Instructions
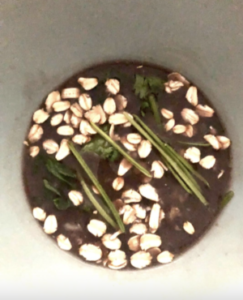
- In a large bowl, add dry and wet ingredients.
- Melt coconut oil add to bowl.
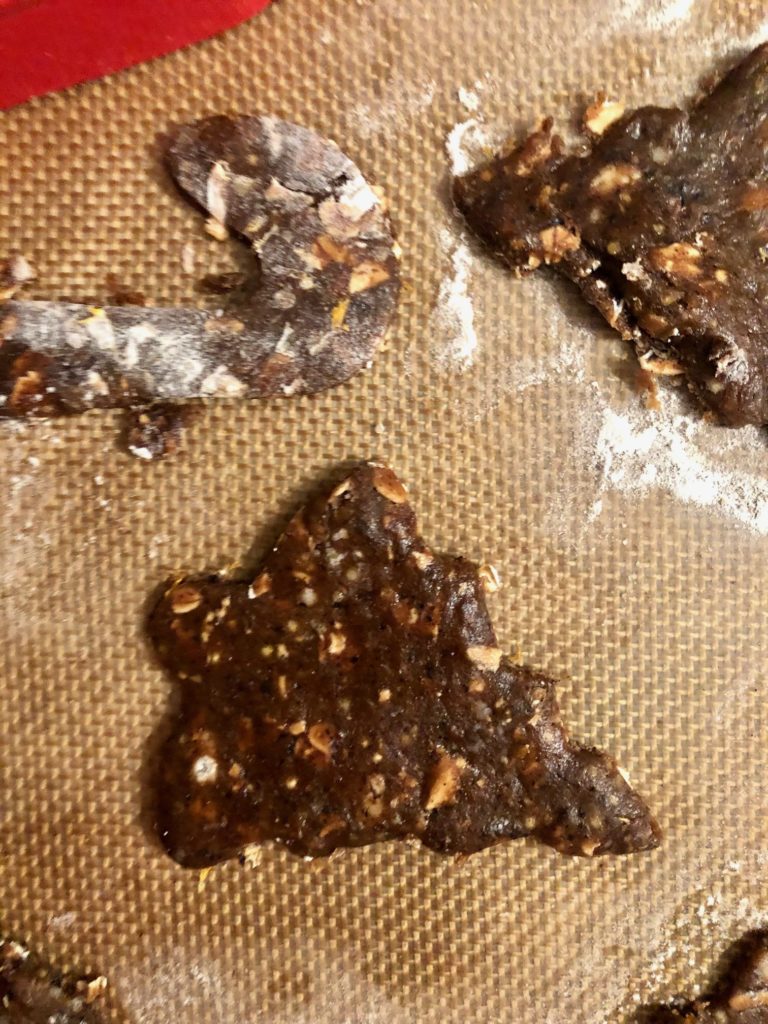
- Roll out cookie dough to about 1/8" to 1/4" cookies.
- Bake on 350°F for about 10-12 minutes.
I share the traditional old-fashioned recipe (below) that I’ve been using FOR-ever and that I spiced up even more this year! XOXO
Every year is a ‘lil different, and as a creator, I like to challenge myself to make new creations and not stick with the same cookie cutter ones over and over again… haha. As a healthy recipe developer, that means evolving into even healthier bakes.
And this helps me so that I keep outta Kapha imbalances in the kitchen. Btw, the level of Kapha dosha is relative to each of our bodies, but eating healthy, balanced meals always helps to prevent trouble down the road…
Which is part of the natural order that this life is… it’s not a matter of if… it’s a matter of when. And you can stay on the healthy side starting with body-mind awareness.
One of the symptom intersections is your feelings that constantly shift. They help guide you, and other times steer you down a rabbit hole.
And if you want to stay feeling peaceful, joyful, and happy (and be productive) all the time (…like when I’m relaxed baking healthy gingerbread cookies), then keeping the Kapha mind balanced is important.
Some examples of what will make the difference are your steadfastness to boundaries. And your commitment to yourself and to others involved. And finally, plowing through and making it easy on yourself in everyday situations that come up.
And that all starts in the mind.
So… when negative thoughts enter, dismiss them by replacing them.
The problem for many people is they don’t even know when they’re getting pulled down by negative information and thoughts…well, because that’s their mind.
And we don’t naturally challenge our own thoughts. That’s not something we’re born knowing how to do.
What most of do learn is how to challenge other people’s thoughts and opinions. Sound familiar?
Especially this time of year when it’s easy for stress to settle in trying to get end-of-year goals accomplished and fit into holiday-hoopla 🎉 that can be overwhelming for the mind-body. And not always bring out the best in us.
Our mind-body is connected in such a way that if you have a Kapha mind where you’re stuck in negative strongholds, feeling lazy, or find yourself accumulating clutter, that can easily turn into a couch potato Kapha body imbalance.
One easier way to know if a Kapha imbalance is causing our negative moods is if we’re feeling depressed or withdrawing from certain activities we’re usually drawn to or have been in the past.
And as we know, the ego tries to fool us, so to outwit we have to be doubly smart, pausing before reacting and making wise choices that influence our day.
Those stubborn Kapha mind mood tendencies can linger. But if you know what to do, you can get out of excessive Kapha faster and into feeling good. And erase hovering dark clouds that can easily become your weekend. Or gradually settle in for a season if you’re not careful.
But we can change this pretty easily one choice at a time…
We can turn off the external negative messages and listen to more uplifting ones. And that includes shutting off the news after getting the accumulated hour-or-so daily scoop.
This subtle shift helps for subtle situations…
For example, you could be having a bad morning where everything seems to go wrong and deciding in your mind that it’s going to be a bad day since the start was rough.
But by allowing uplifting thoughts to enter in to influence the rest of your day or lean into gratitude for what you DO have, that will help brighten your perspective that becomes self-fulfilling.
I know that can sound pollyanna-ish, and is not always easy if you’re in a miserable situation like a job you hate, or a living situation or relationship that isn’t working out.
BUT, you can better program your mind to work for you. If we can walk and chew gum and think thoughts at the same time, then we can do this! We are capable.💪
One way we can help ourselves is having a consistent activity where we’re learning and improving. That takes the focus off of our thoughts. You may already do this.
In the activity that calls you, you don’t want to miss a moment in what you’re doing. This improves your skills and helps your head game. You then look forward to the activity in your day that helps your entire day.
And something else you can easily do…
Change your environment. Maybe you start doing your activity in a warm, sunny spot. That can be outside. These days, there are no limits to where you can work or catch a break as we’re a virtually remote society that can access anything anywhere.
As a Vata, I like to mix up where I work. I use a desk, a closet, outdoors… it just depends on my mood. And that’s how I get things done productively: I change my scenery options.
And maybe that’s you… or you like the same zone you always are in as that’s your designated spot. And if that’s you, then maybe having a photo or a reminder of something to look forward to in the future like some R&R or an adventurous trip, will also help.
And if holiday overwhelm is taking over these days, let the reason for the season keep you grounded. Let Scripture verses provide comfort and wisdom, and help guide you.
And stay cozy warm uplifted and listen to cheery Christmas music 🎼and jingles… and better yet find your creative outlet. Get into your groove.
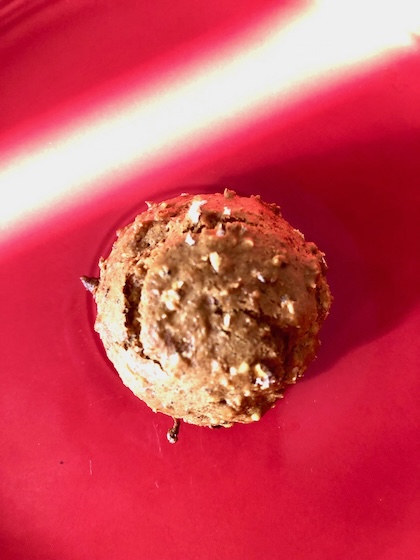
For me, this last weekend was partially about creating healthy gingerbread cookie dough.
And a Chai Oat healthy gingerbread cookie was on tall order to provide more holiday baking inspiration that’s both healthy and happy.
I wasn’t the only one as the Cookie Wars marathon was all over the media networks. And gingerbread was one of the themes like every year… it’s nice to be able to count on some things!

And I’ve been using the same base recipe that’s more happy than healthy.
This original recipe has been with me since 2004 when I printed it out. It was adapted from a Joy of Cooking recipe.
And I’ve been tweaking it up every year.
And backing up, decades ago, it was common to use shortening for cookies and Southern sweets, so finding a butter recipe with 3 grams of fat per cookie was a big deal because that’s what people cared about (the fat in calories). These days, we know there are healthier fats we can use to bake with…
So, I’ve evolved this once-a-year December recipe using coconut oil to give a nice consistency and dough to work with.


I added my notes in ( ) and below to my enhancements to this collaborative recipe. 😊
Easy Chai Gingerbread Cookies
3 cups all-purpose flour (add oats)
1 1⁄2 teaspoons baking powder
3⁄4 teaspoon baking soda
1⁄4 teaspoon salt
1 tablespoon ground ginger
1 3⁄4 teaspoons ground cinnamon
1/4 cup oats (optional)
1⁄4 teaspoon ground cloves (or 1/2 tsp of allspice if that’s what you have on hand)
6 tablespoons unsalted butter (substitute with 1 TBSP coconut oil)
3⁄4 cup dark brown sugar (reduce to 1/3 cup for less sugar and still have a delicious and nice cookie!)
1 large egg
1⁄2 cup molasses
You can mix this all in one bowl. I like to bake on 325°F because cookies bake quickly. This’ll be about 15 minutes but it’s good to watch the oven.