Cranberry pumpkin trifle is a healthy and tasty sweet treat snack that’s good for the gut where Greek yogurt is the white creaminess you can’t wait to dip your spoon in. And it’s a no-bake easy dessert (for brunch?) that you can make with 10-minute simple assembly.
This makes a great in-between dessert (amuse bouche) go-to… with sweet and sour-tart vibes infused. 🧡
This is a tasty way to keep celebrating and still enjoy food with heavy feast menu days that the holiday season is peppered with. 🎉
When I worked in catering planning, building in extra food touch point details won points with hosts and guests.
Like a special dish add or an amuse bouche (mouth amuser appetizer).
And if you’re feeding guests or hosting a party, small details like an across-the-board zhugh topping are a great way to impress them with very little work.
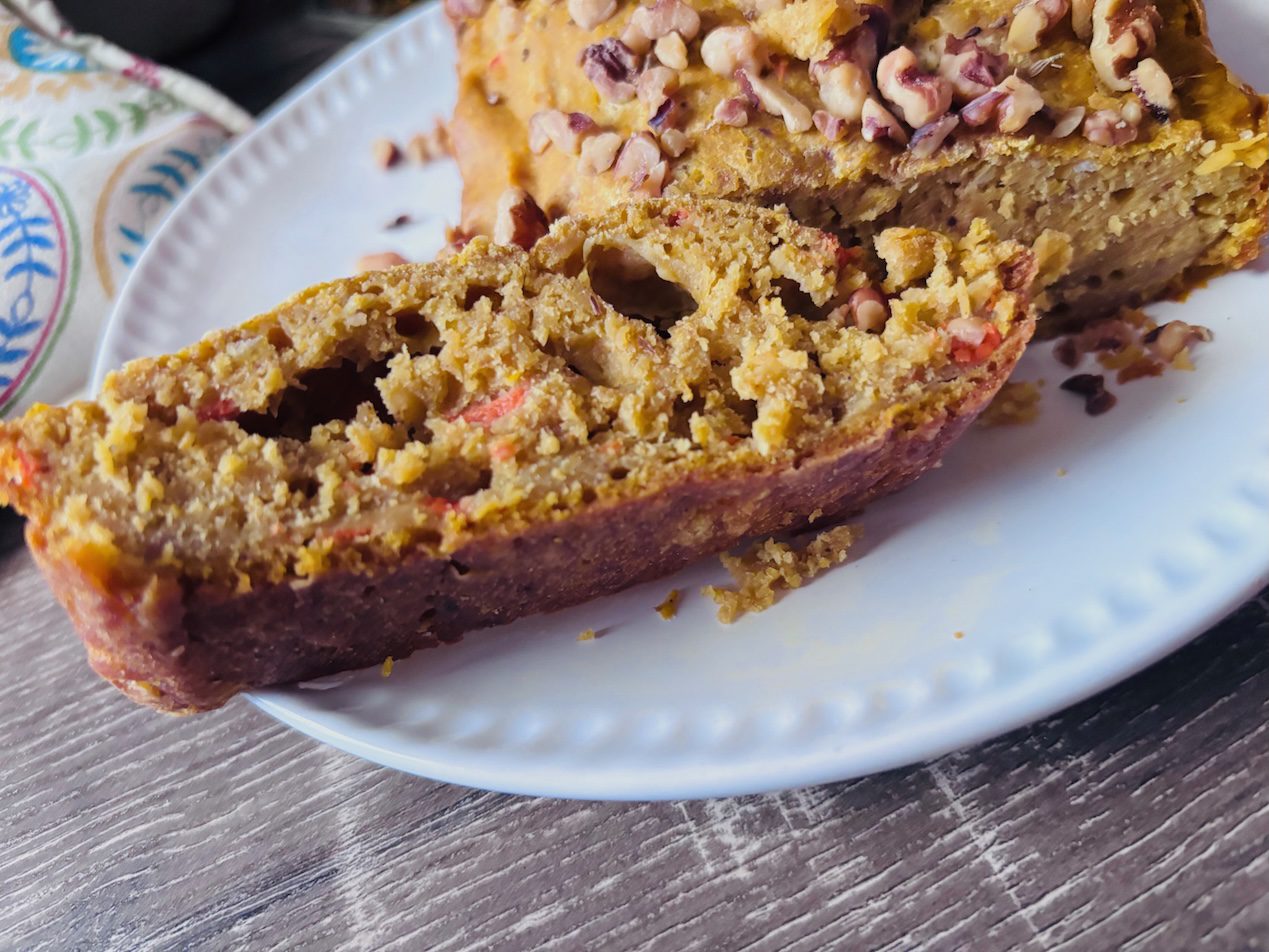
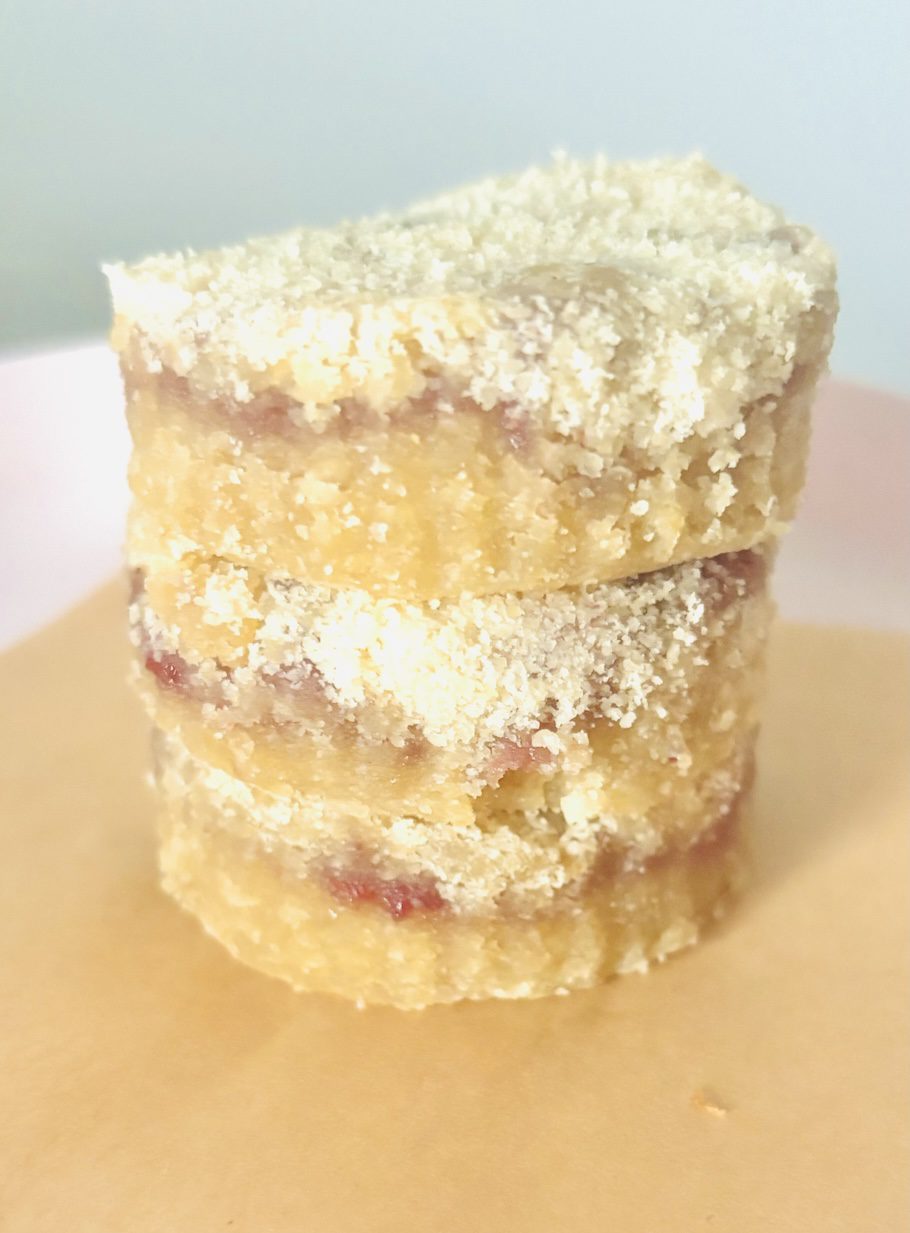
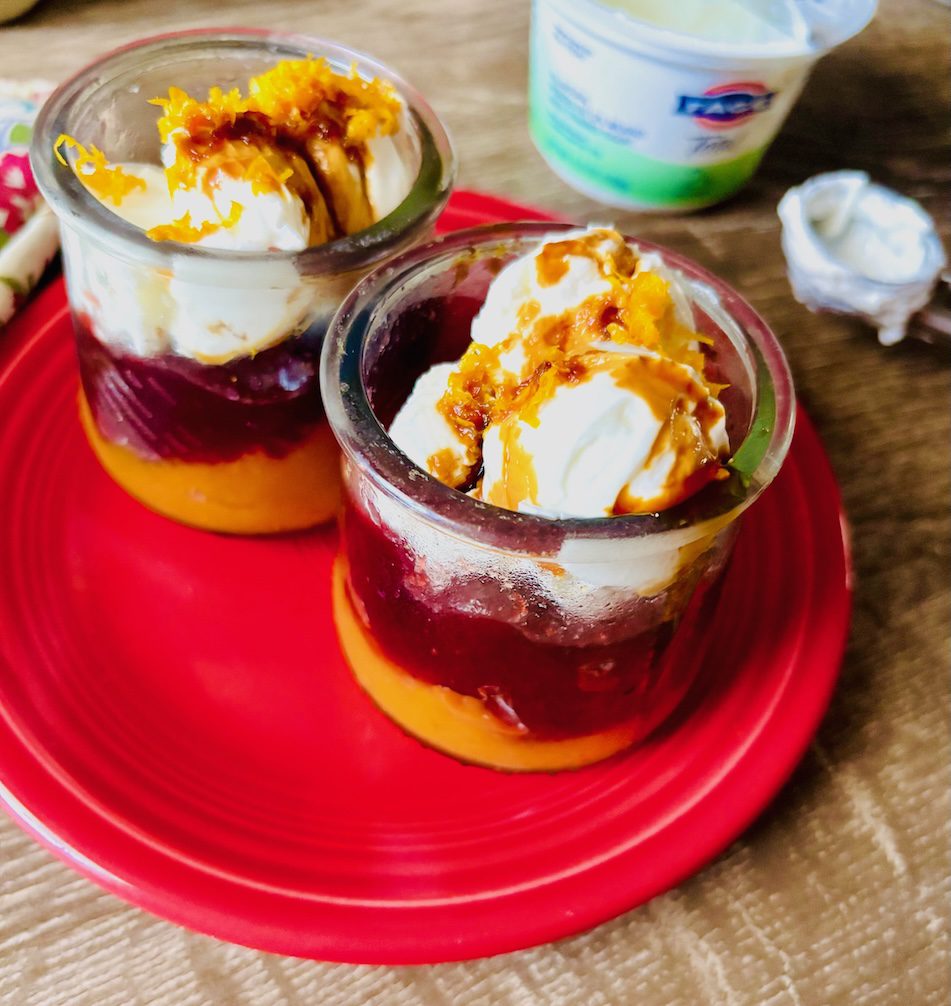
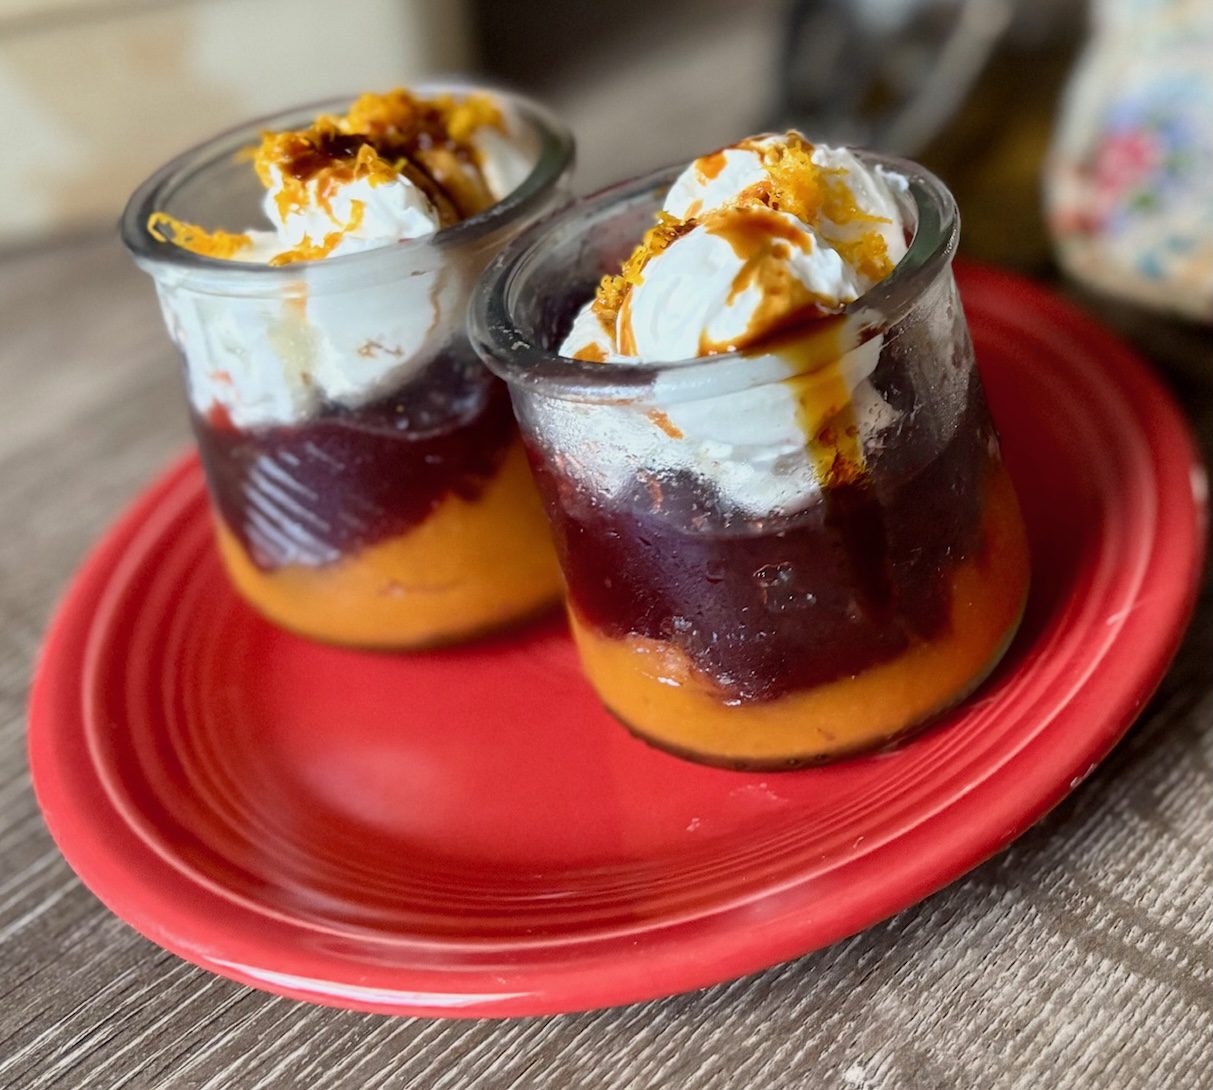
In an individual dessert like a cranberry pumpkin trifle, the multi-layer effect looks inviting to bite into.
The contrasting taste pairings and rainbow-y colors do the work for you.
And goes well on a food table in individual glasses … oui?
And the other reason a trifle is great is it’s just 10-minute prep work.
It can be enjoyed for no occasion at all…
Like for a great breakfast treat as a starter before your activity day, hike, or physical exercise.
Or anytime of day snack.
I like to have them ready for a Sunday brunch.
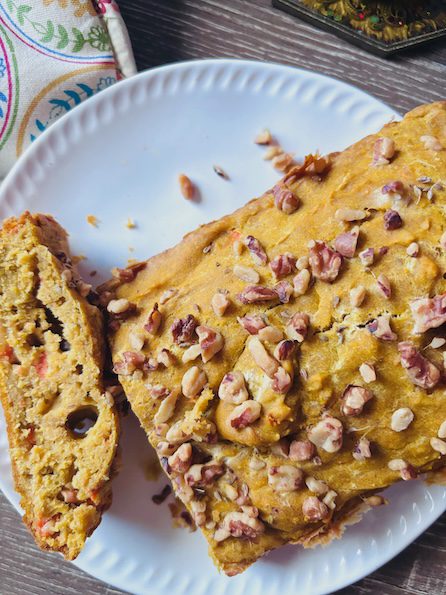
The ingredients are simple: canned pumpkin, cranberry sauce, Greek yogurt and orange zest.
And if you’re a bit like me, you want to know all the ingredients before you decide to make a recipe.
✅ You want to know if you have them on hand.
Nothing worse than getting excited about a food dish or gathering all the ingredients, and then not having a primary ingredient on hand.
✅ I also look at the ingredient list to see if they are ingredients I want to use for healthy reasons.
✅ And food ingredients that excite. 🥳
Then when all the checks are there, that’s when the prepping can begin.
The party is when it all comes together.
Success is when there’s a tasty pair duo or combo… Or in this case, it’s a pumpkin-cranberry-orange trio. 🎶
You can hand spoon layer the pump-o-cran trifle.
You can use store-bought or pre-store in freezer yogurt and oranges.
The frozen orange won’t be as vibrant fresh as fridge fresh oranges, but it could save you a trip of foraging.
Storing up can last you though the winter. That’s how we can be one with nature 🧘🏻♀️ and more like our foraging squirrel friends than we think. 🐿️
Both the pumpkin and cranberry are convenient cans you can store in your kitchen pantry.
It’s a myth that cranberry or pumpkin are seasonal foods. They’re available on middle aisle shelves all the time so you can get when them on sale if you want. And during the end-of-year months, it’s hard not to bump into them near end-of-aisle checkout areas.
And if you’re doing low-sugar, look for frozen whole bags of cran-berries that are wildly healthy like most berries that are full of polyphenol anti-inflammatory goodness.
You can make your own cranberry sauce. And then store the whole berries and extra sauce in your freezer.
Whole pumpkin is similar has similar healthy and easy vibes. It’s adds beta carotene and the antioxidant vitamins A, C, and E to complement an anti-inflammatory diet.
A-C-E was one of my earliest healthy food acronyms I learned that still has longevity (in A-C-E foods and my memory). 😊
And canned (pumpkin) that’s in puree versions ready-to-use is conveniently on most grocery shelves 365 days a year.
It has many healthy uses…
Like pumpkin is also great in a baking recipe. It’s my favorite Thanksgiving pie… maybe you too? And no-baking needed recipes like pumpkin mousse or chocolate trifle with pumpkin.
Year-round, I like to make easy pumpkin pasta sauce.
It’s a good alternate or change up from tomato sauce… and because tomato sauce is acidic.
If you’re trying to reduce heartburn symptoms, then that’s one easy swap you can make.
Also, pumpkin has a mildly sweet taste, pairing well with the same herbs and spices (as tomato sauce) like oregano and basil.
But I like to punch it up with pungent sage too. ⚡️
And if I’m sweet baking with pumpkin, I usually pair with ginger spice.🫚
Pumpkin sauce is also a glowing orangy-color that lights up faces. 🎃
On days you need energy, pumpkin can help you along with a bowl of pasta. And if you make your own homemade pasta (or eat egg yolks) then you’re getting B12, B6, and B2 from the egg yolk that plays well together to create food syn-energy. 🔋
Then with extra leftover pumpkin, you can see how that all comes together in this tasty cranberry pumpkin trifle dessert.
Cranberry Pumpkin Orange Trifle
Ingredients
- thick Greek yogurt
- cranberry sauce
- canned pumpkin
- 1 orange (Navel and Cara Cara sweet oranges work well)
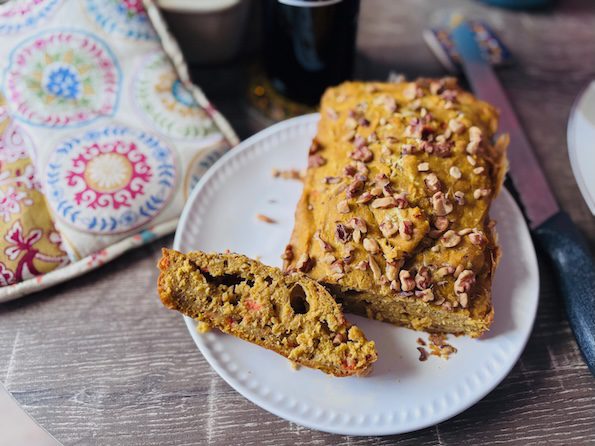
- molasses drizzle or nuts (for additional zhugh)
Instructions
- Layer pumpkin, cranberry, and yogurt. Zhugh with orange zest.
- Drizzle with molasses or zhugh with chopped nuts (optional).