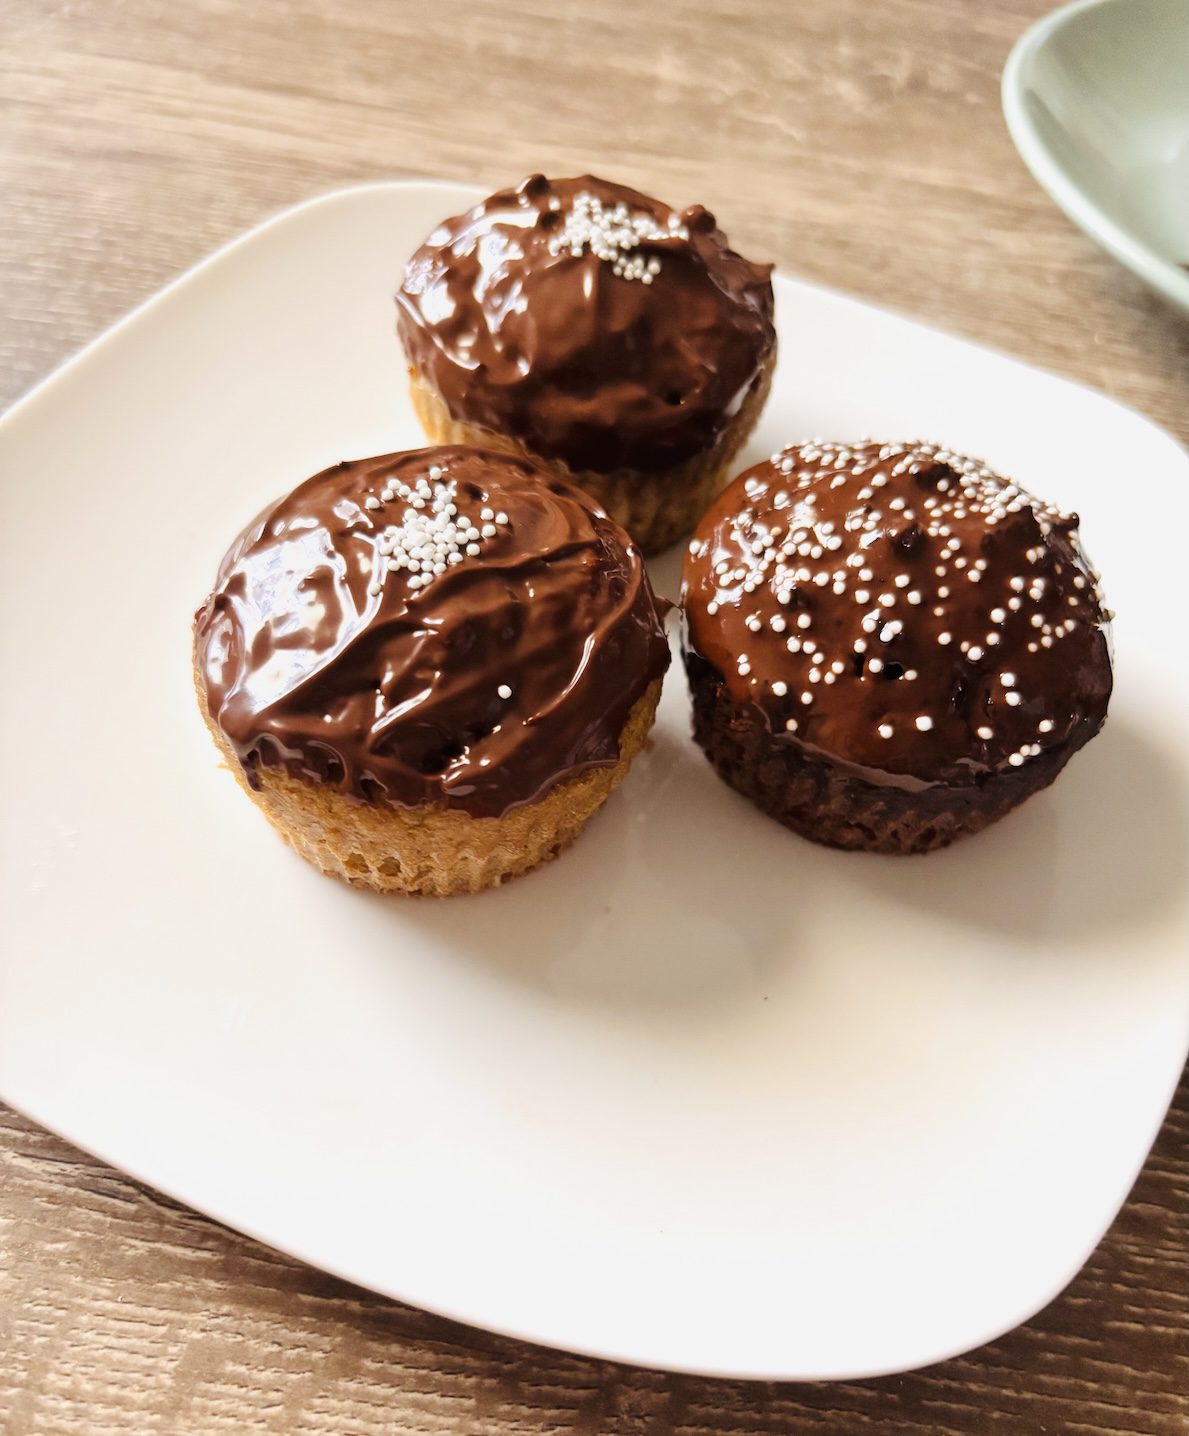
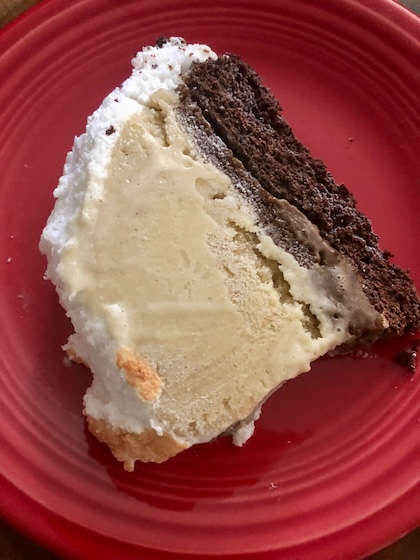
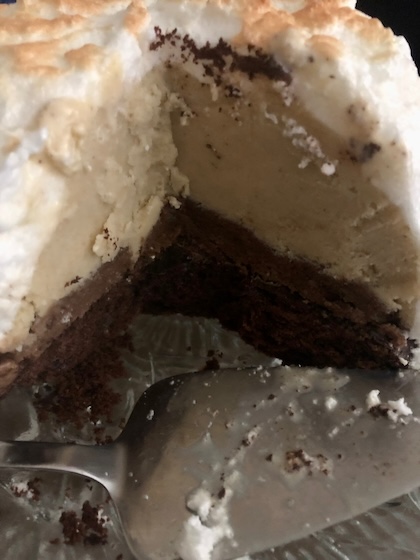
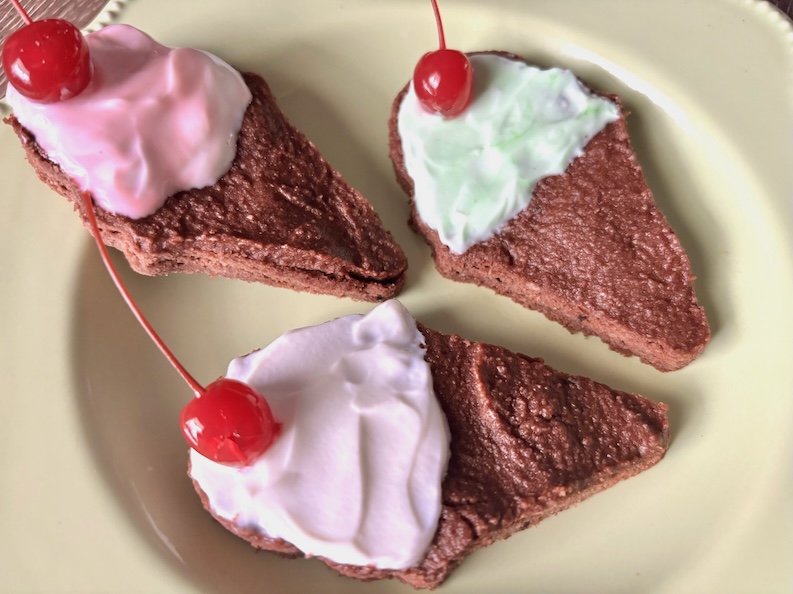
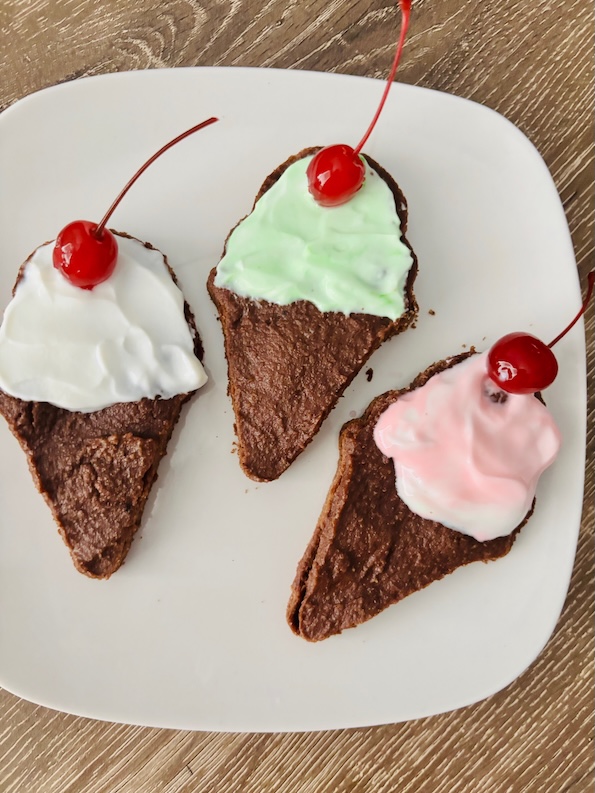
Hi-hat cupcakes are one of my favorites. My eyes light up in delight. A 3-step cupcake has everything to be a quintessential dessert staple… chocolate, frosting, and a cup-cake layer.
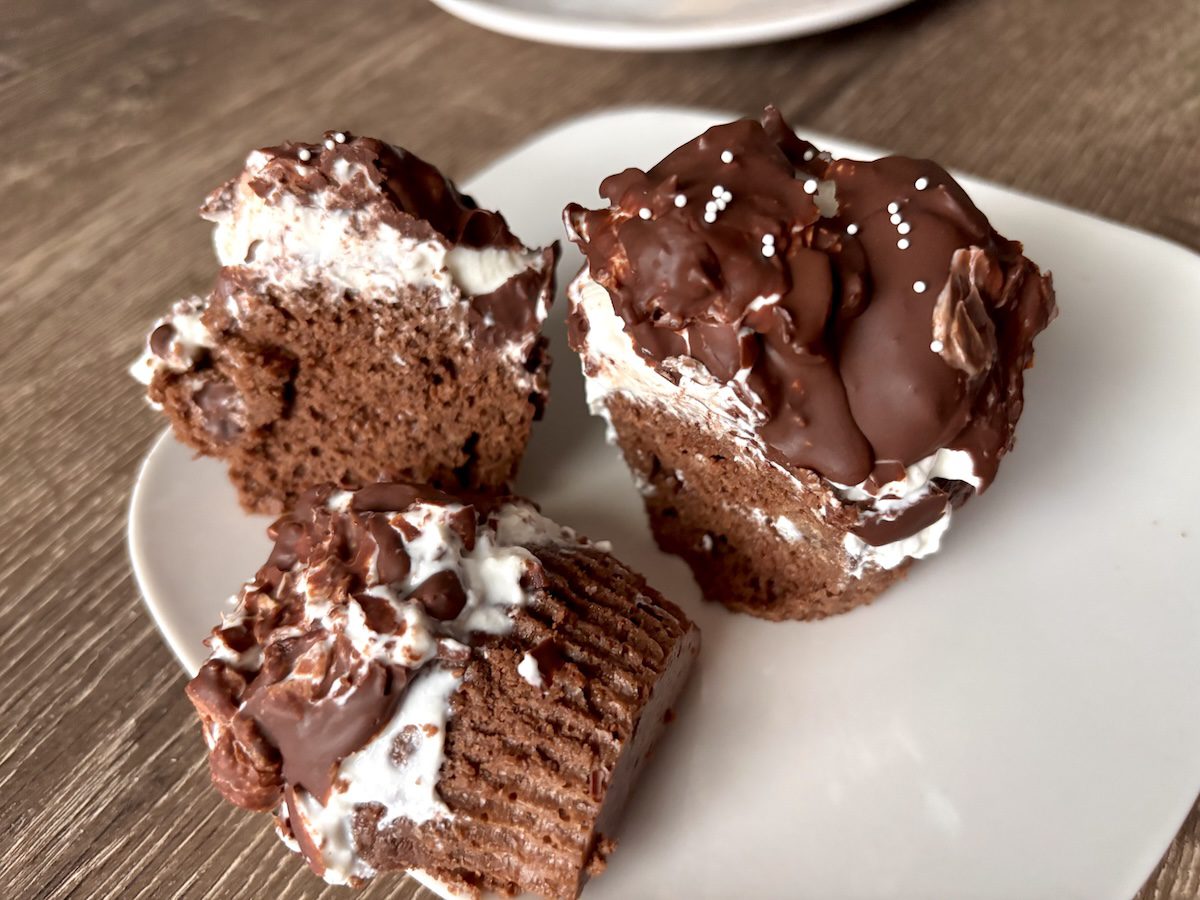
Who doesn’t like being greeted with this type of hat? Hi-hat back atcha!
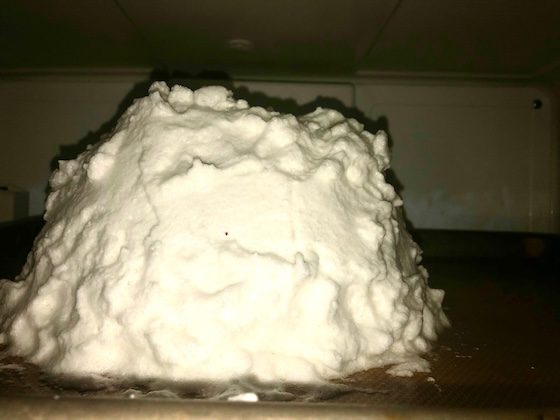
And while the white pillowy cloud of goodness is usually made with meringues or marshmallows… this one is not. Because that usually equals a generous amount of white granulated or powdered sugar… and that adds up to high sugar in the body.
…And when sugar is high, then you want more to eat. Both you and your body crave more.
And those “empty calorie” sugars do you no favors if you’re trying to be healthier, low-sugar, are pre-diabetic, or trying to lose weight.
But this hi-hat cupcake recipe version is not that high (sugar) way.
It’s also full of healthy ingredient goodness mixed in to a delicious low-sugar chocolate treat..
If you use the ingredients and technique below, then you’ll bypass the high-way negative effects.
…See what I did there? 😊
Low-Sugar Points:
And knowing all this, as an intentional anti-inflammatory food and low-sugar baker, I used a smidge of monk fruit sugar for the cupcakes that won’t spike blood sugar like regular white sugar does.
Monk fruit sweetener is also super sweet tasting on the tongue, so you don’t need much. For all those good reasons, it’s added to the cupcake and also helps the cake texture.
For the frosting, I decided to use the natural sugar already in Greek yogurt as the sweet ingredient.
Yogurt naturally has lactose that’s a natural form of sugar.
So there’s no added sugar… and when food shopping, you can look for those written Greek yogurt label confirming positives to see for your very own eyes.
A thicker yogurt (5% or whole milk) works consistently for a thick frosting, but 2% or reduced milk could work too from the many yogurt options out there.
The test is when you open your yogurt, if the yogurt slides off a spoon like most regular yogurts. If it’s thicker like many Greek yogurts, it won’t easily slide without your needing to prod it along.
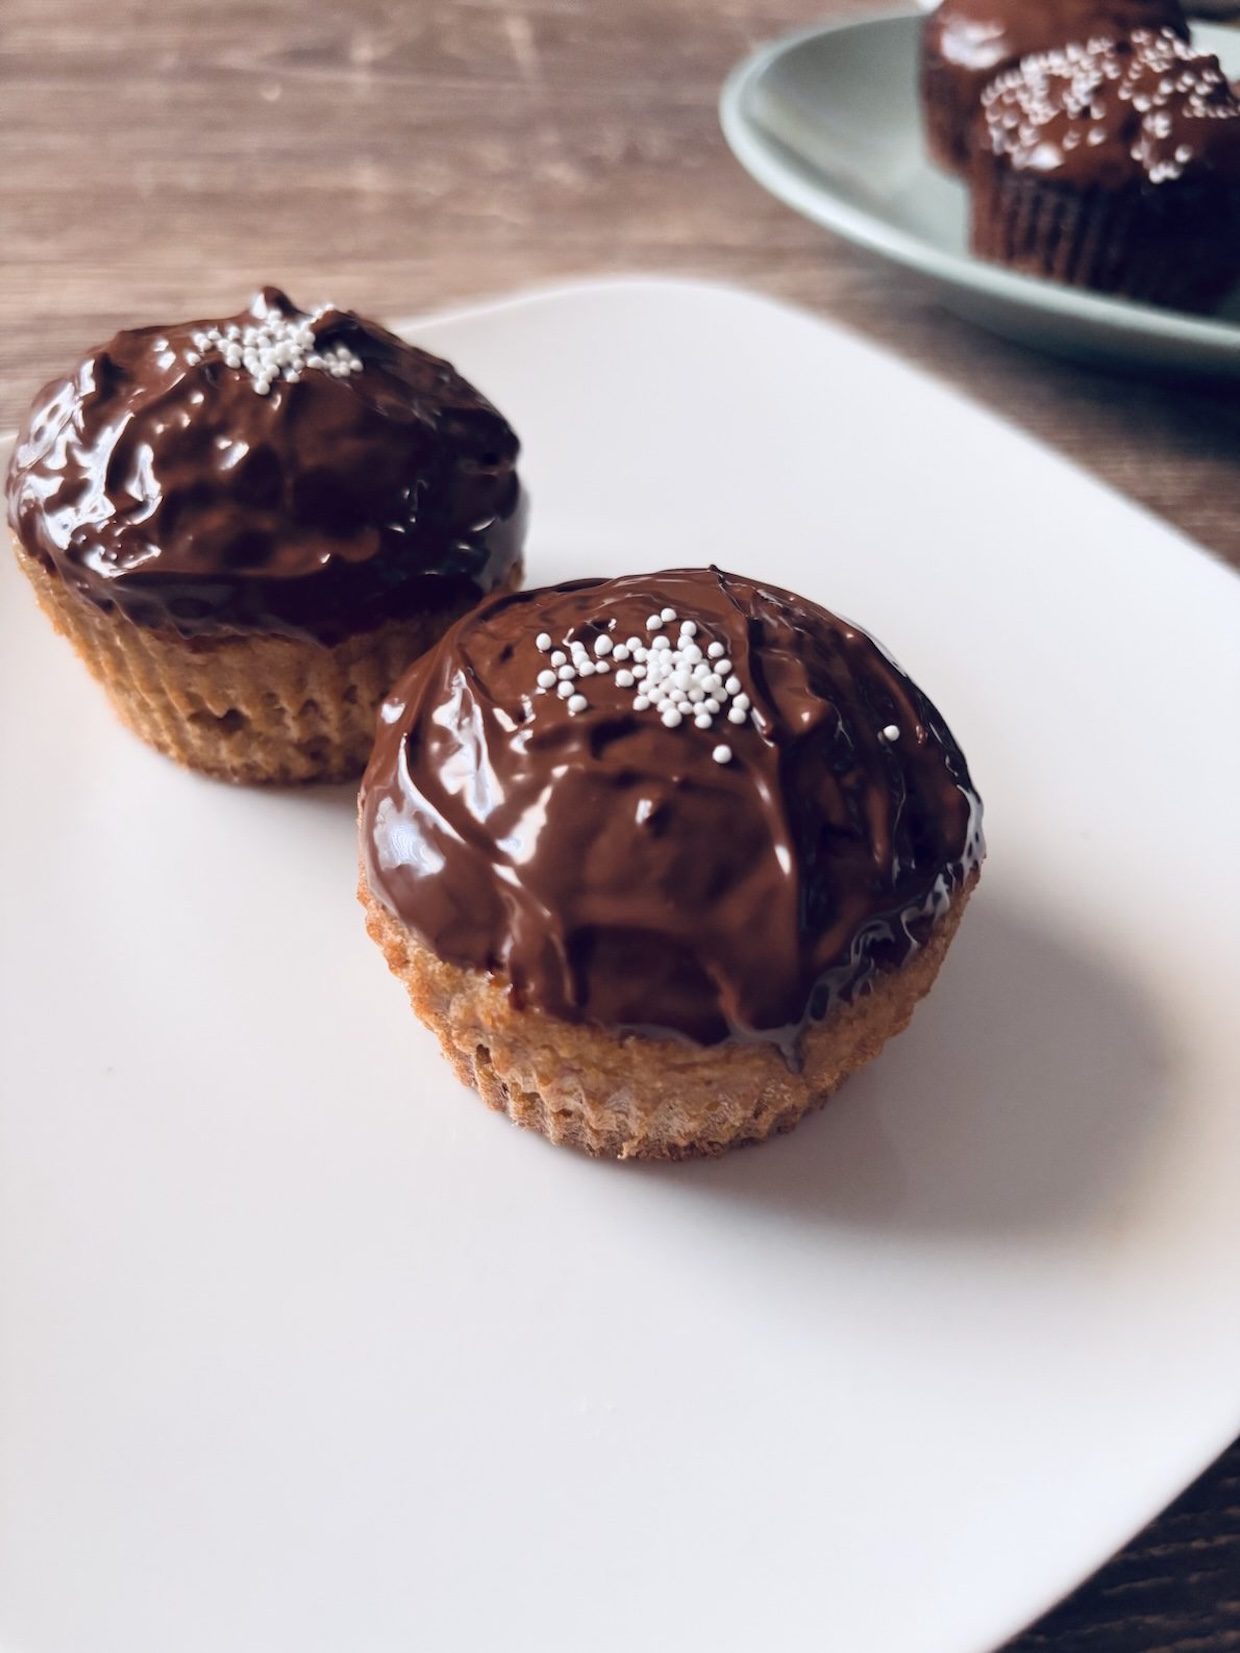
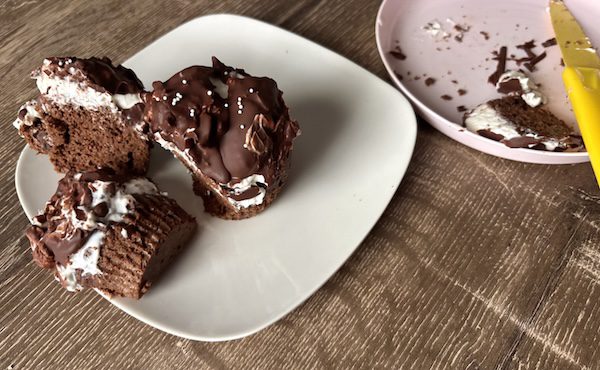
And if it fails the spoon test, you likely will get an elegant mound cupcake hat (like a melting snowman or pill hat), but not a cone shape or an elf’s hat that you often see with hi-hats.
But either hat style will melt in your mouth or get gobbled up by someone. 😋
…And actually the less perfect it looks, the more likely that’ll happen quick… if you get my drift.
And I’m all about easy over perfection.
Then for the last part of melted chocolate, you have many options. Some chocolate morsels has monk fruit sugar as an ingredient if you want more healthy options. You can also choose dark cacao or regular dark chocolate morsels.
But now we’re getting ahead of ourselves…
Because.. first you have to make the cupcakes! And then you can assemble or put it all together.
And for planning, you can make the entire hi-hat cupcakes in under 2 hours, or in stages.
The cupcake itself from start to finish will take less than 30 minutes.
Ready?
To make the foolproof easy hi-hat cupcakes, these are the chocolate cake ingredients and steps:
-2 egg yolks
-1/2 cup milk + more (I usually add an extra few Tablespoons because that will yield a thinner batter… and that means more cupcake)
-1 Tbsp neutral oil or liquid form of coconut oil (if you want to use less healthy fat, then you can use 1/2 Tbsp and it will also work as cake is naturally a more dry texture to begin with)
-1 tsp lemon juice or white vinegar for acidity
3/4 cup almond flour
1/2 cup all-purpose flour
1/4 cup cacao (or unsweetened cocoa powder)
1/8-1/4 tsp monk fruit sugar
1/2 tsp coffee (optional)
1/2 tsp baking powder
1/4 tsp baking soda
pinch of kosher or coarse sea salt
Step 1: Measure your flour and dry ingredients and add to combining large bowl.
I have found gluten-free almond flour with a little all-purpose flour works best, and adds healthier vibes. So it’s the best choice all-around. But if you don’t have almond flour on hand, then you can also use full-on all-purpose flour.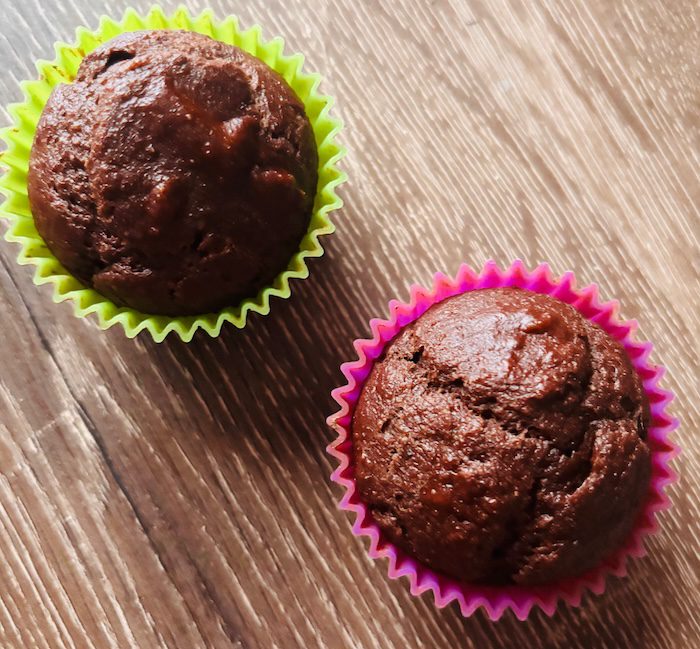
I leave out the coffee for chocolate cakes but that’s a decision you make as some people love the pairing. For me, salt adds more of an impact in taste to a chocolate cake than coffee does. Another option is to add a little more cacao powder than the recipes call for to bring in more “chocolatey” vibes.
I like the dark, bitter unsweetened 100% cacao to be the star ingredient in the bake. But to each her own… you do you!
Then start adding liquid ingredients. Separate your eggs when they’re cold from the fridge (and you can save your egg whites for other recipes like baked cannoli shells).
Hand whip/loosen up egg yolks in a separate bowl (and reserve adding the egg until the end if you want to taste your batter before baking). But otherwise, you can add the egg yolks to one easy bowl along with all the other liquid ingredients. Use 1/2 cup of milk of choice
Oh, and if you don’t have milk on hand, you can make your own fresh homemade oat milk, pecan or any nut milks, or coconut milk.
Any taste-friendly liquid would work. Even a little water would work, but it would be a zero taste add (and less fat and protein for the cake texture), so I wouldn’t recommend.
Oh and btw, it doesn’t matter if you add dry to wet or wet to dry ingredients. And in happy nostalgia, that’s what my favorite baking teacher Martha Stewart has said before. Her teachings have encouraged my hi-hat and cupcake baking to name a few practical areas.
And in my small kitchen box, the reason I add wet to dry (or add dry ingredients first to the bowl) is because then I now know how much actual liquid I would need based on the batter texture consistency (e.g. all milks and flours are not exactly equal). I find it easier to pour a splash more liquid than to go back and have to measure out dry ingredients..
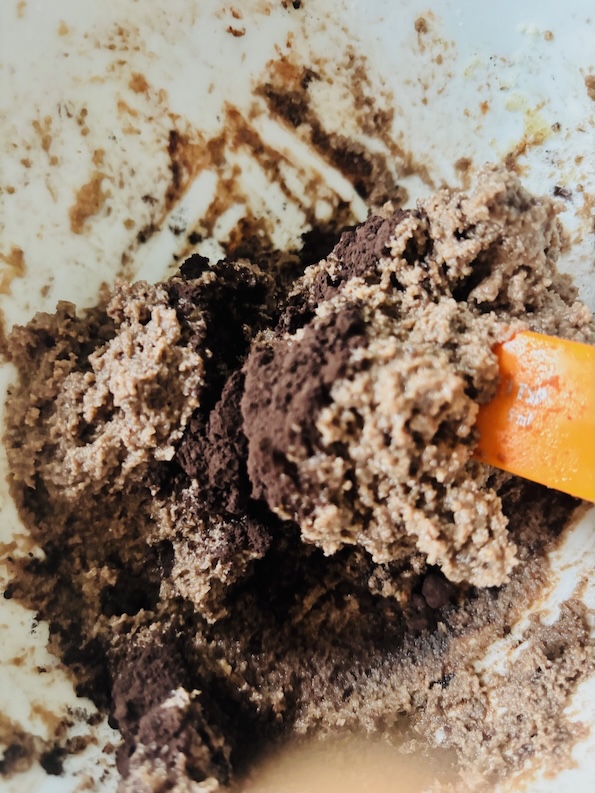
But either way, combine by hand the dry and wet ingredients. I recommend with a spoon instead of a classic baking whisk because batter-flour pieces tend to stick to a whisk and you can lose half a cupcake that way… and we want all the cupcakes! 🧁
Plus, you’re not as likely to over mix or over combine your batter with a spoon. There is such a thing as having to0 much fun mixing… but it doesn’t belong in a cake. 😀
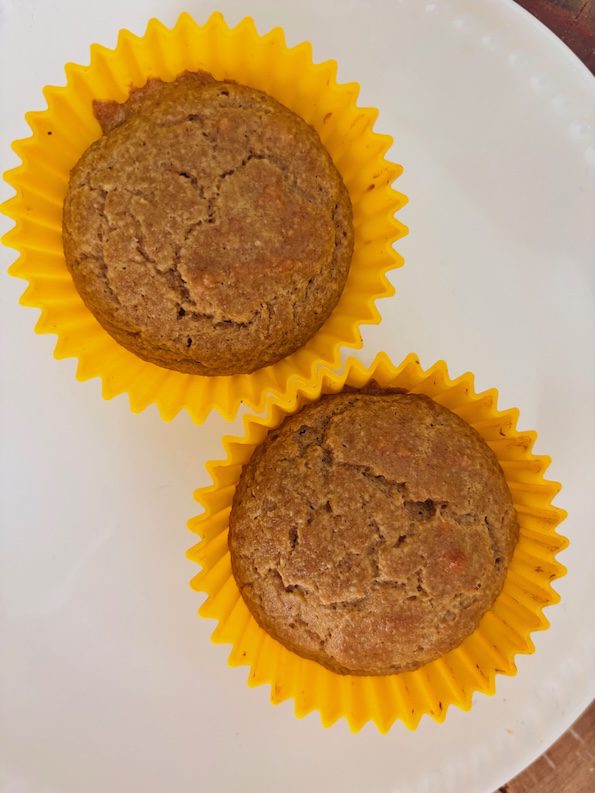
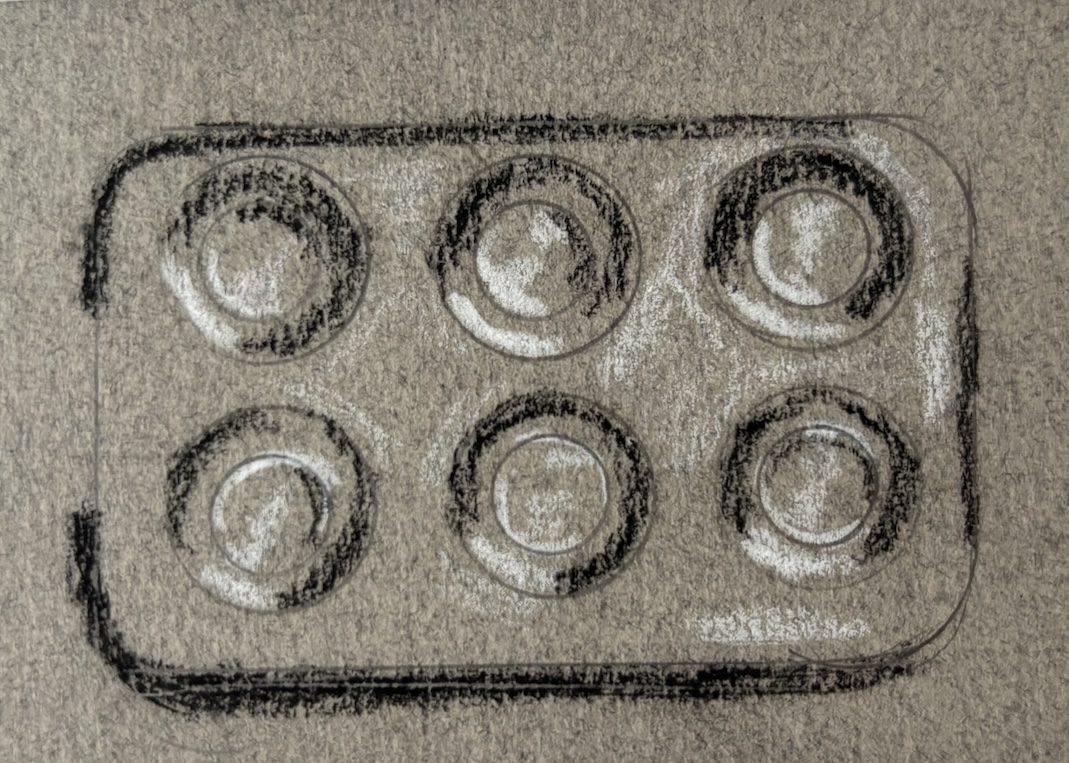
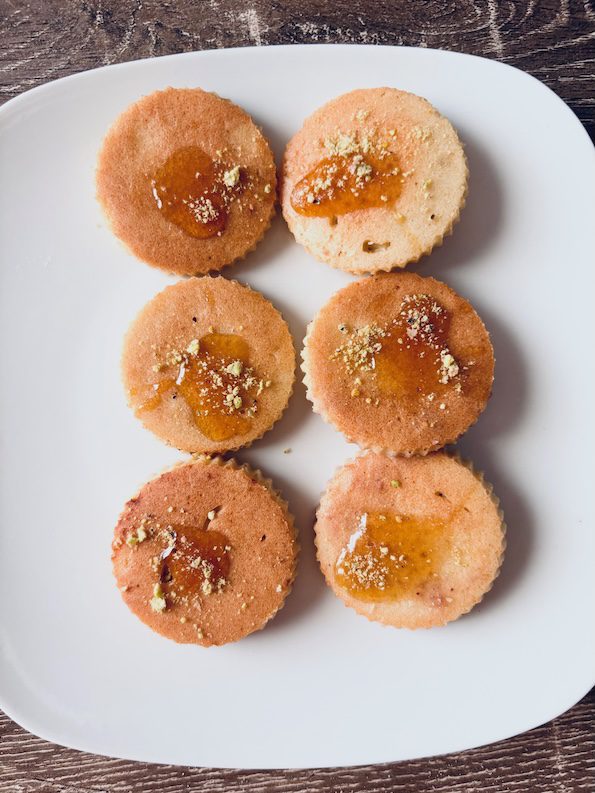
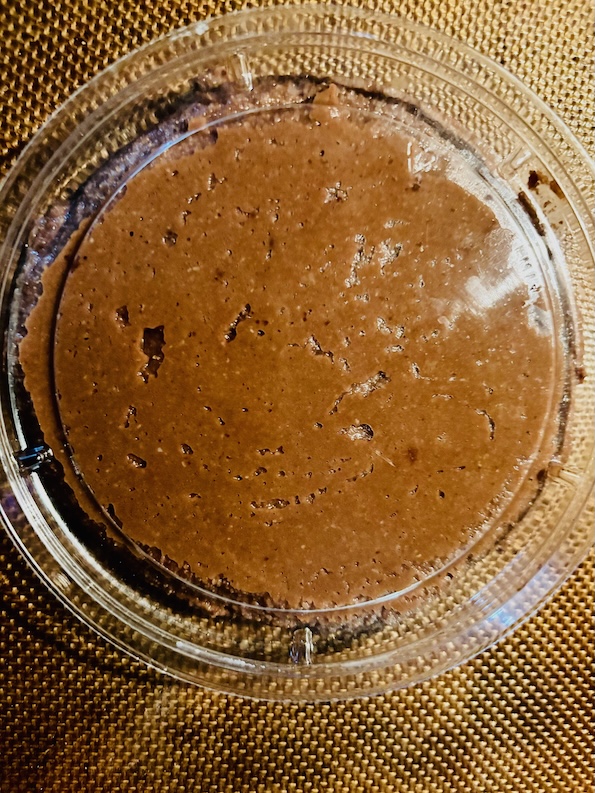
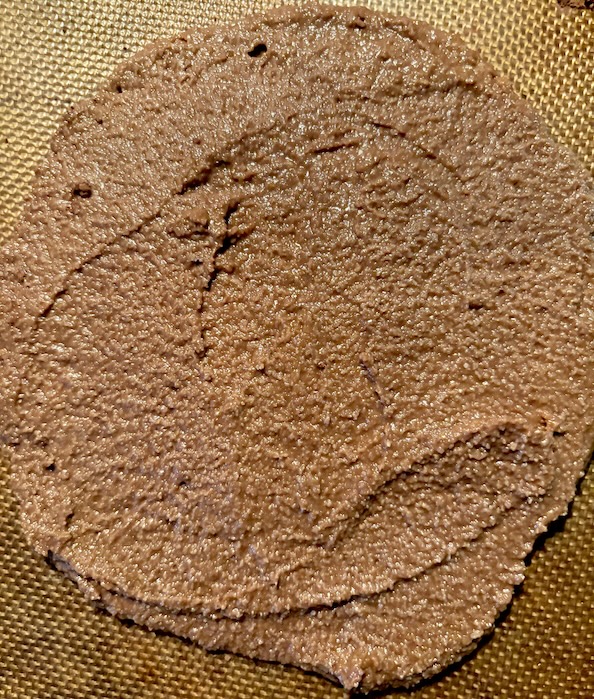
Then after a few magic strokes, fill your cupcake holders to almost full. I use reusable silicone cupcake holders but you can use paper or foil ones too. You can also spray your baking cupcake tin, but be sure it’s the kind that isn’t potentially dusting off metal glitter over time that can end up in your cupcakes.
Bake the soon-to-be hi-hat cupcakes at 350°F/180°C for 20 minutes. Don’t over bake. The cakes should be on the paler side with a little golden glow.
Pull out of the oven when time is up. If you’re not sure, you can test with a toothpick if it comes out clean.
And while still warm, pull the cupcakes out from the cupcake tin that’s still warm. You want to stop the baking heat that’s still coming from the cupcake tin.
And you can easily do this with a metal spoon.
…maybe the one you rinsed off that you used for combining the ingredients in the batter? As you bake more, you naturally get more efficient. 😊
Place the cupcakes on a plate. Let the cupcakes cool in the fridge for about 10 minutes. If you don’t plan on finishing your hit-hat cupcakes in one sitting, then cover the cupcakes in the fridge (I recommend) or you can leave out covered overnight at room temperature.
Make the frosting for the hi-hat cupcakes frosting:
Again, you can find no added sugar because it’s Greek yogurt that has lactose natural sugar (and win body points 💯).
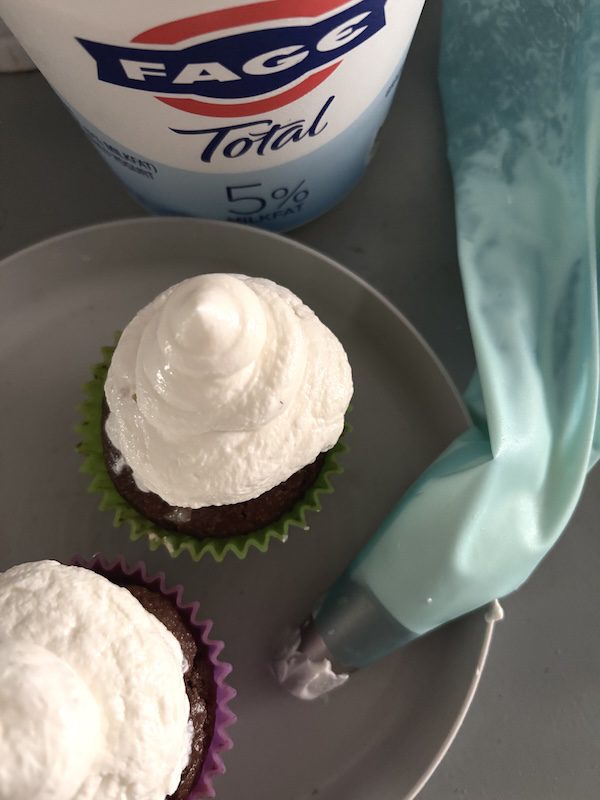
It’s about 5-6 tablespoons of thick yogurt per cupcake. You can add less if you want to.
Use a piping bag to pipe on frosting with a large round circle piping tip. You can also use a thick pastry-type bag, snip a bottom corner, and use that as the round opening.
Tip: If you discover you have the wrong yogurt type that won’t work for frosting after you’ve opened the yogurt container (…that has happened to me as someone who likes food experimenting!), then you can keep your cupcakes in the fridge covered (to prevent drying out) for up to a week, and still make the frosted hi-hats and melted chocolate. They’ll still be delicious… and from the get-go, you let-go and let melt away all of your hi-hat cupcake worries!
Then when you’re happy with your frosted cupcakes, refrigerate them to let the Greek yogurt frosting set.
Next, make the melted chocolate. You can use a coconut oil melted chocolate recipe. And for this hi-hat cupcakes recipe application, you can use about half of a third of the coconut oil. And then let the melted chocolate get back to about room temperature (so you don’t melt the frosting and it slides off like Frosty ☃️).
It’s a little like tempering dark chocolate without having to be so precise in degrees, to get a shine.
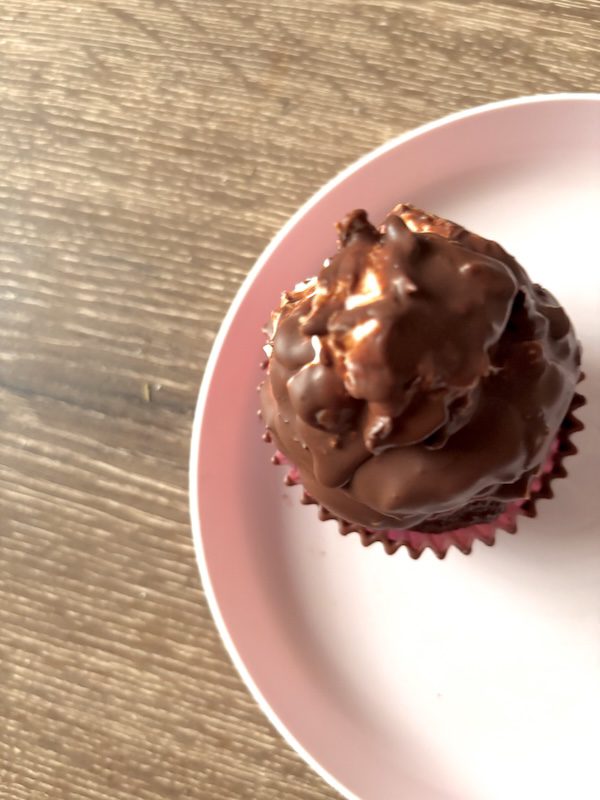
Hold the cupcake at the bottom and twirl in melted chocolate. You may lose a little frosting in the melted chocolate that you can easily add back on.
Then refrigerate the cupcakes for 2-3 minutes to let the chocolate set.
And then voila!… you’re done.
Enjoy… everyone will! 😋😋😋
Hi-Hat Cupcakes (Low-Sugar)
Ingredients
- 2 large egg yolks
- 1/2 cup milk of choice (plus more)
- 1/2 Tbsp neutral oil (light olive oil or liquid form coconut oil recommended)
- 1 tsp lemon juice or white vinegar
- 3/4 cup almond flour
- 1/2 cup all-purpose flour
- 1/4 cup cacao powder or unsweetened cocoa
- 1/8-1/2 tsp monk fruit sweetener (depending on how low-sugar you would like to make this)
- 1/2 tsp baking powder
- 1/4 tsp baking soda
- 1/8-1/4 tsp pinch of kosher or coarse sea salt
- 4-6 Tbsp Thick Greek yogurt per cupcake (no-added sugar recommended)
- dark chocolate morsels (for melted chocolate)
- coconut oil (for melted chocolate)
Instructions
- Pull eggs out of refrigerator and separate the egg yolk and whites (save the whites). Whisk the egg yolks to combine to cupcake batter. If you will want to taste the cake batter, put egg yolks in a separate bowl, otherwise they can be added to the combining batter bowl.
- Make the chocolate cupcake batter in one bowl. Gently combine dry and wet ingredients. Tip: use a spoon to combine. This will be a wet batter that you can pour and spoon into the cupcake holders/pan. Fill the cupcake to about 1/8" from the top.
- Bake cupcakes at 350°F/180°C for 20 minutes. Let cool in refrigerator. This will make 4-5 full cupcakes depending on how much total liquid/milk you add.
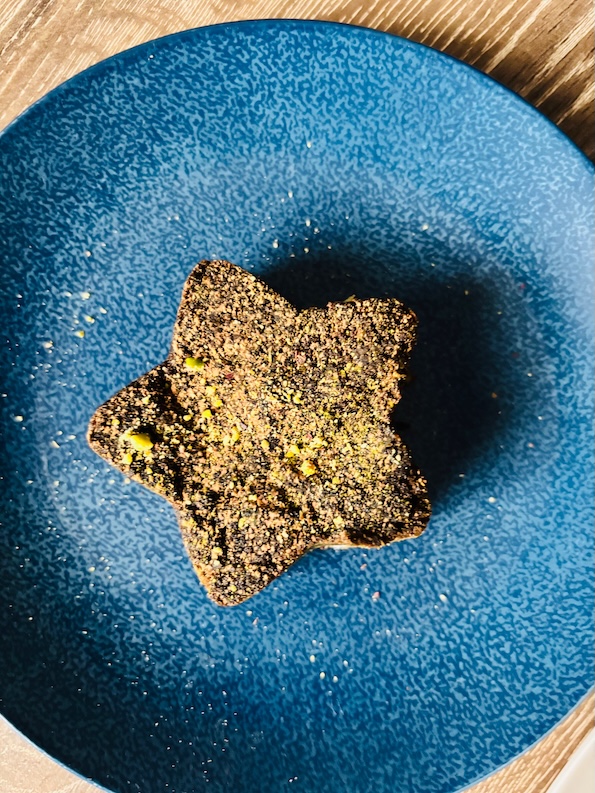
- Make the frosting with Greek yogurt. Add to a piping bag with a round or star tip. Hold straight up on cupcakes and press the piping bag a few times and then pull up. Refrigerate cupcakes while making the melted chocolate.
- Make the melted chocolate (see the melted chocolate recipe). Hold the cupcake bottom and sides, and then dip each frosted cupcake into the melted chocolate. Refrigerate to let the chocolate cold set.
- Enjoy! Cupcakes will last for several days covered in the refrigerator.