Pear strawberry pair for a delicious and healthy smoothie. And I’m always looking for a new smoothie taste… you too?
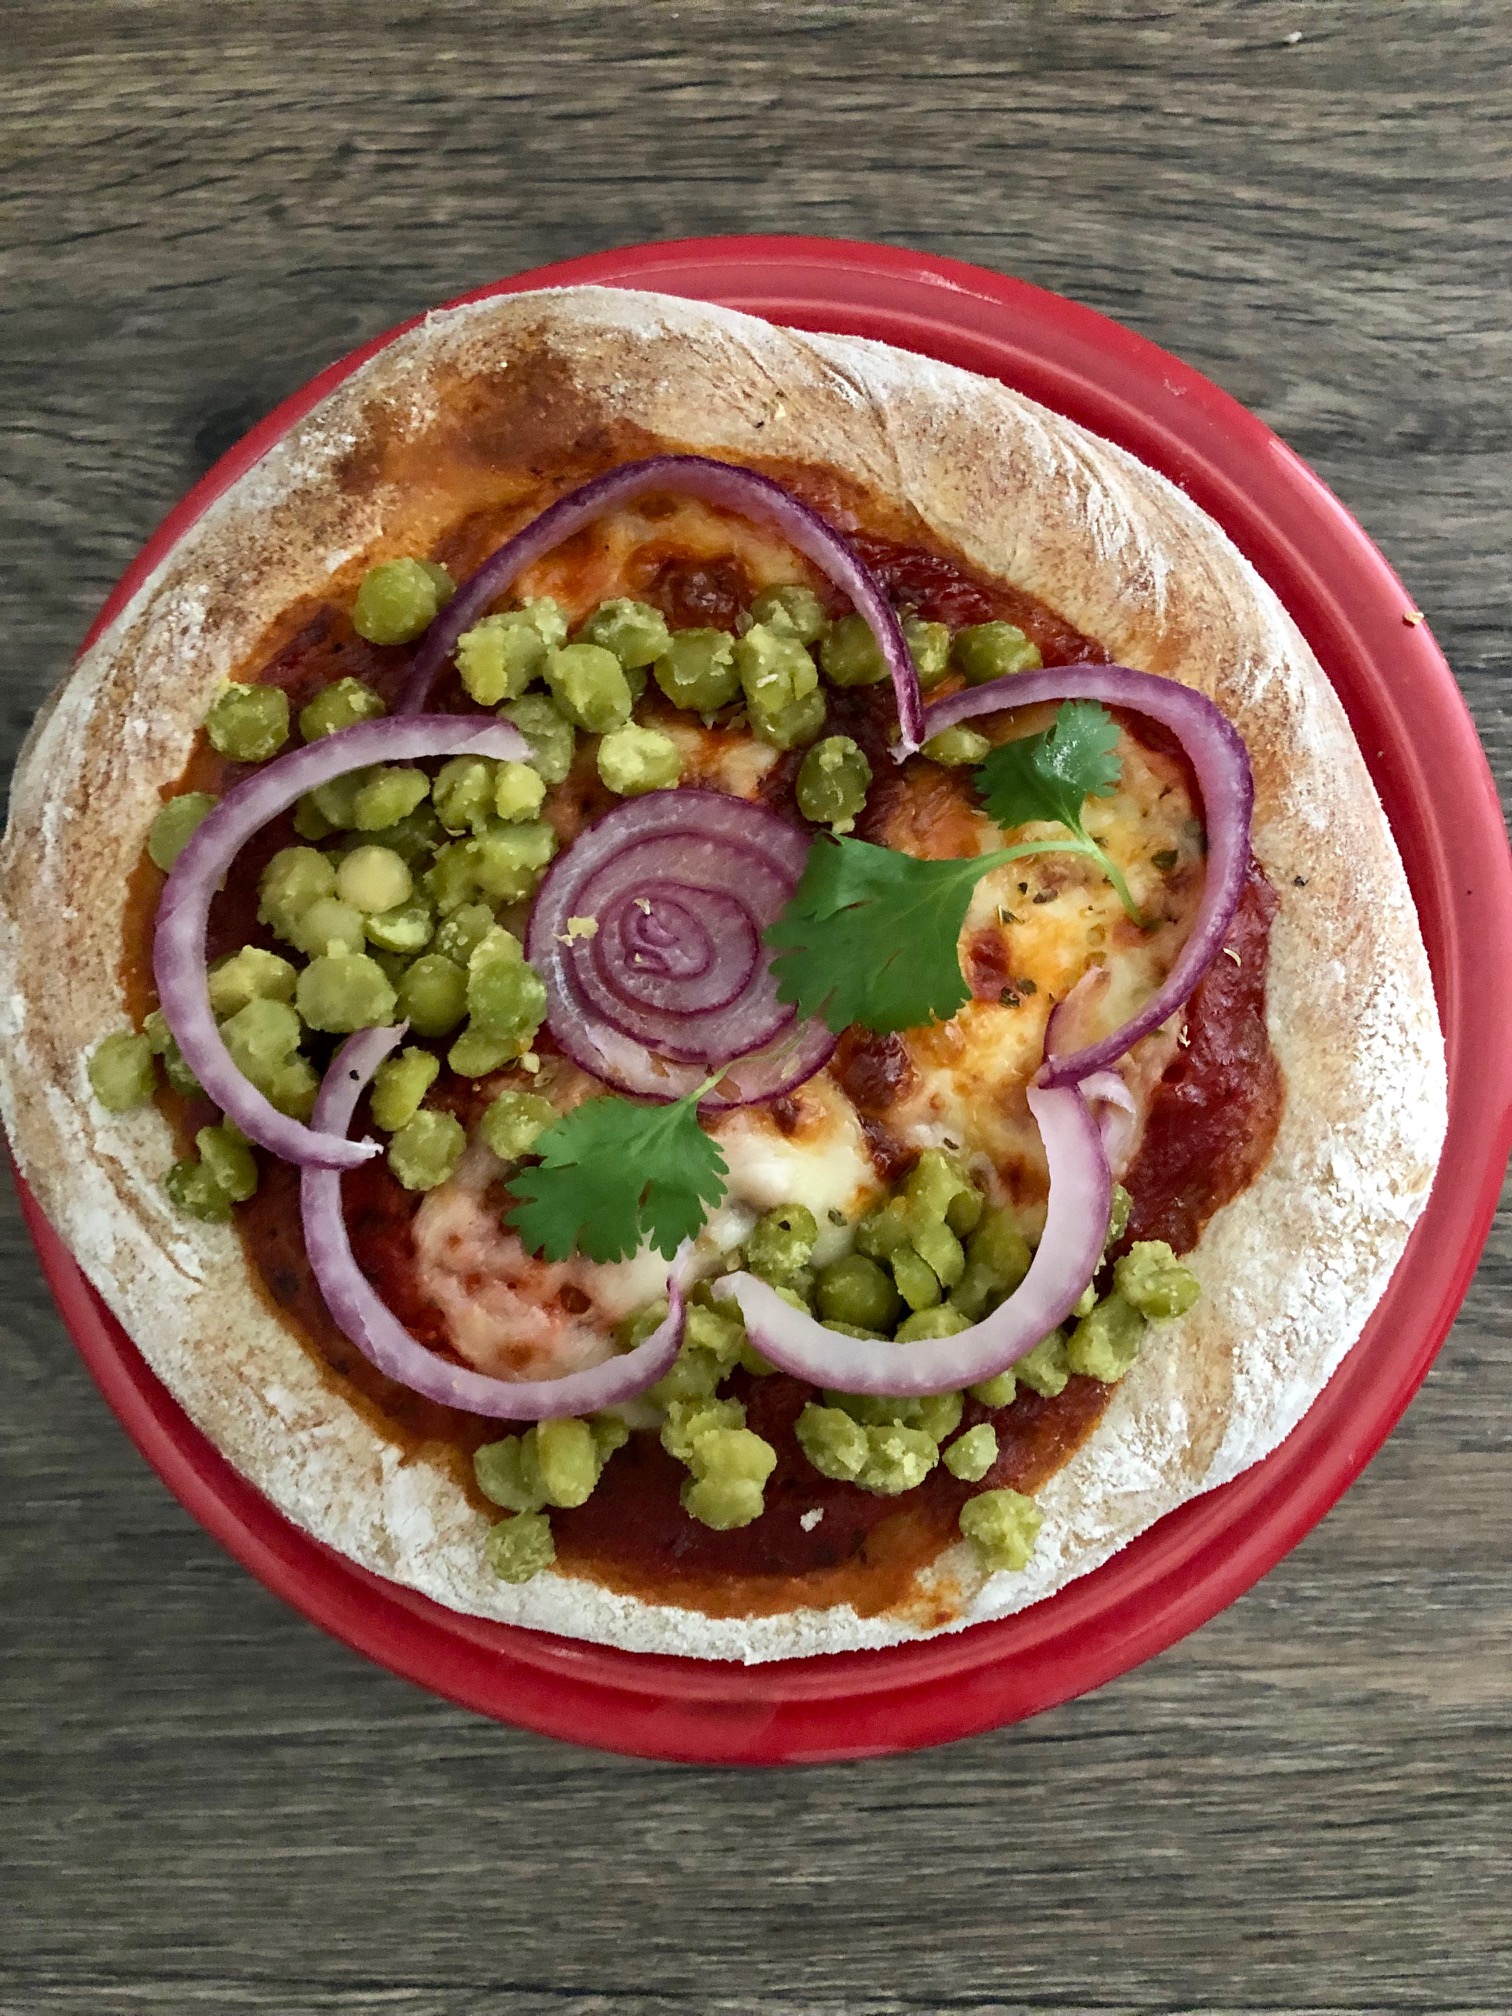
This pear-straw amuse bouche is a great easy way to kick off healthy, brightening intentions for a blessed new year… after a holiday partridge in a pear tree.
Strawberry or strawberry lemonade is a great summer drink, but in the cool months, I found a strawberry pear-pair is a great sweet one.
The tastes seasonally complement. And you don’t need to add any more sweetness.
Because the juicy pear does the trick. 🍐 Not a prickly pear (cactus) but a regular sweet pear like a Bartlett pear. Anjou and Bosc are also common pears.
…And there’s just a ‘lil prep work that’s worth waiting for.
Like a few weeks after you buy (or pick) your pears.
As the pears ripen to a softness at room temps, you can squeeze the pear juice out. You can speed things up by putting pears near other ripe fruit (like a banana or apple), and even better put in a closed brown paper bag.
A soft pear looks the same on the outside, but inside it’s so soft that you don’t need a knife to pierce in.
You can push into the pear flesh and make pear sauce (like applesauce) if you wanted to.
And it’ll look like (and have the consistency) of juicy mashed potatoes.
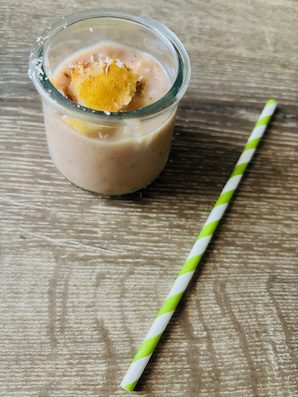
That’s when it’s ripely good for a pear strawberry smoothie.🧉
Where you decide to add frozen (or fresh) strawberries.
Strawberry is the new banana in this smoothie.
Like the one here zhughed with shredded coconut… oui?
For the smoothie consistency, if you don’t have bananas around, are tired of them, or just never liked the taste of bananas, then the soft textures from frozen strawberries brought to room temps will do the trick.
Pull them out a day or two beforehand, so they can cold thaw in the fridge into useable mushy smoothie strawberries.
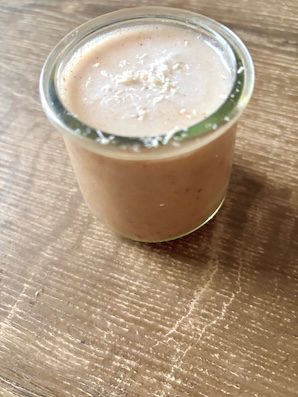
Then fire up your Magic Bullet, blending up your smoothie nice and smooth… and bottoms up!
So refreshing and sweet.
Spices also can enhance the pear tastes, and help remind you and I of the season we’re in… like winter, and if you’re feeling Kapha, ginger anti-inflammatory spice add a punchy but mild flavor.
And pinches of cinnamon for any Vata anxiety.
As someone who lives anti-inflammatory year-round, pears are full of fiber and are a low glycemic index food.
And strawberry is a superfood that has more Vitamin C than oranges!
So you’re doing a world of good by having a pear strawberry smoothie in your day.
Fruit, as in seeing what yields, is what keeps us going and growing and a smoothie can be the metaphor.
With a new year, we can use juicy winter fruit as a healthy symbol for what’s ahead.
I like seeing fruit in trees as a visual.
Bright berries are especially inspiring because you can find them out in nature even in the winter. Nature is not all dormant.
And fruit is abundant… and seasonal.
Fruit is a good metaphor for abundance. And what we all want is not just enough, or enough in the new year.
We want more than enough.
Because in overflow, we can give more to the world.
And by leaning into nature’s fruits, we can bring a little abundance into our daily smoothie drink.
For dominant Vatas (who love variety), seasons pose a garden backdrop of sweet fruits that help define what’s available and fresh to eat.
They show up in your kitchen and smoothie up!
And when you’re out and about…
Instead of reaching for a beverage, you can use a juicy apple (or in-season pears) to quench your thirst.
Apples and carrots are winter in-season healthy foods, and with the abundance, you can amp up in a apple-carrot smoothie with coconut tastes.
Or eat them raw if you don’t want to stop for restroom breaks.
Fruit also act as a mouth-teeth cleaner.So bringing a fruit snack with you in your travels make healthy sense all around.
And if you’re a hiker like me, they weigh little on the back.
They make for a happy and healthy snack break.
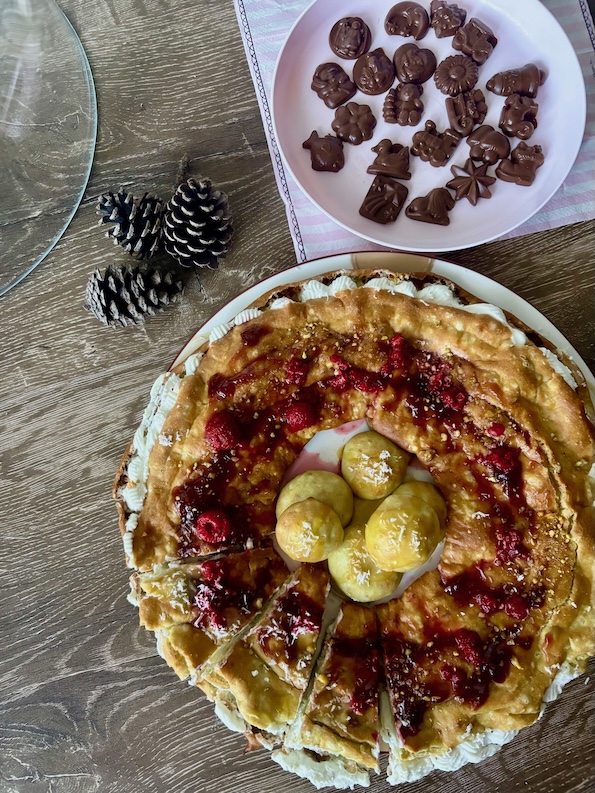
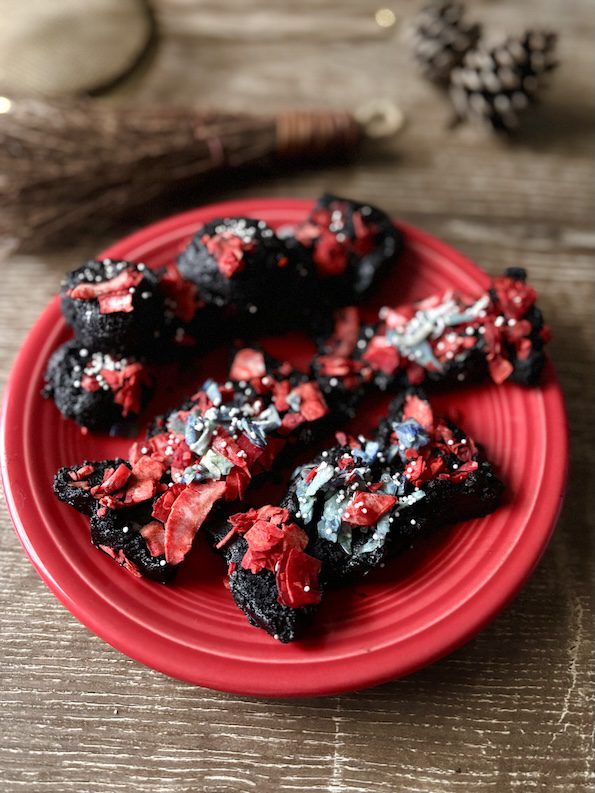
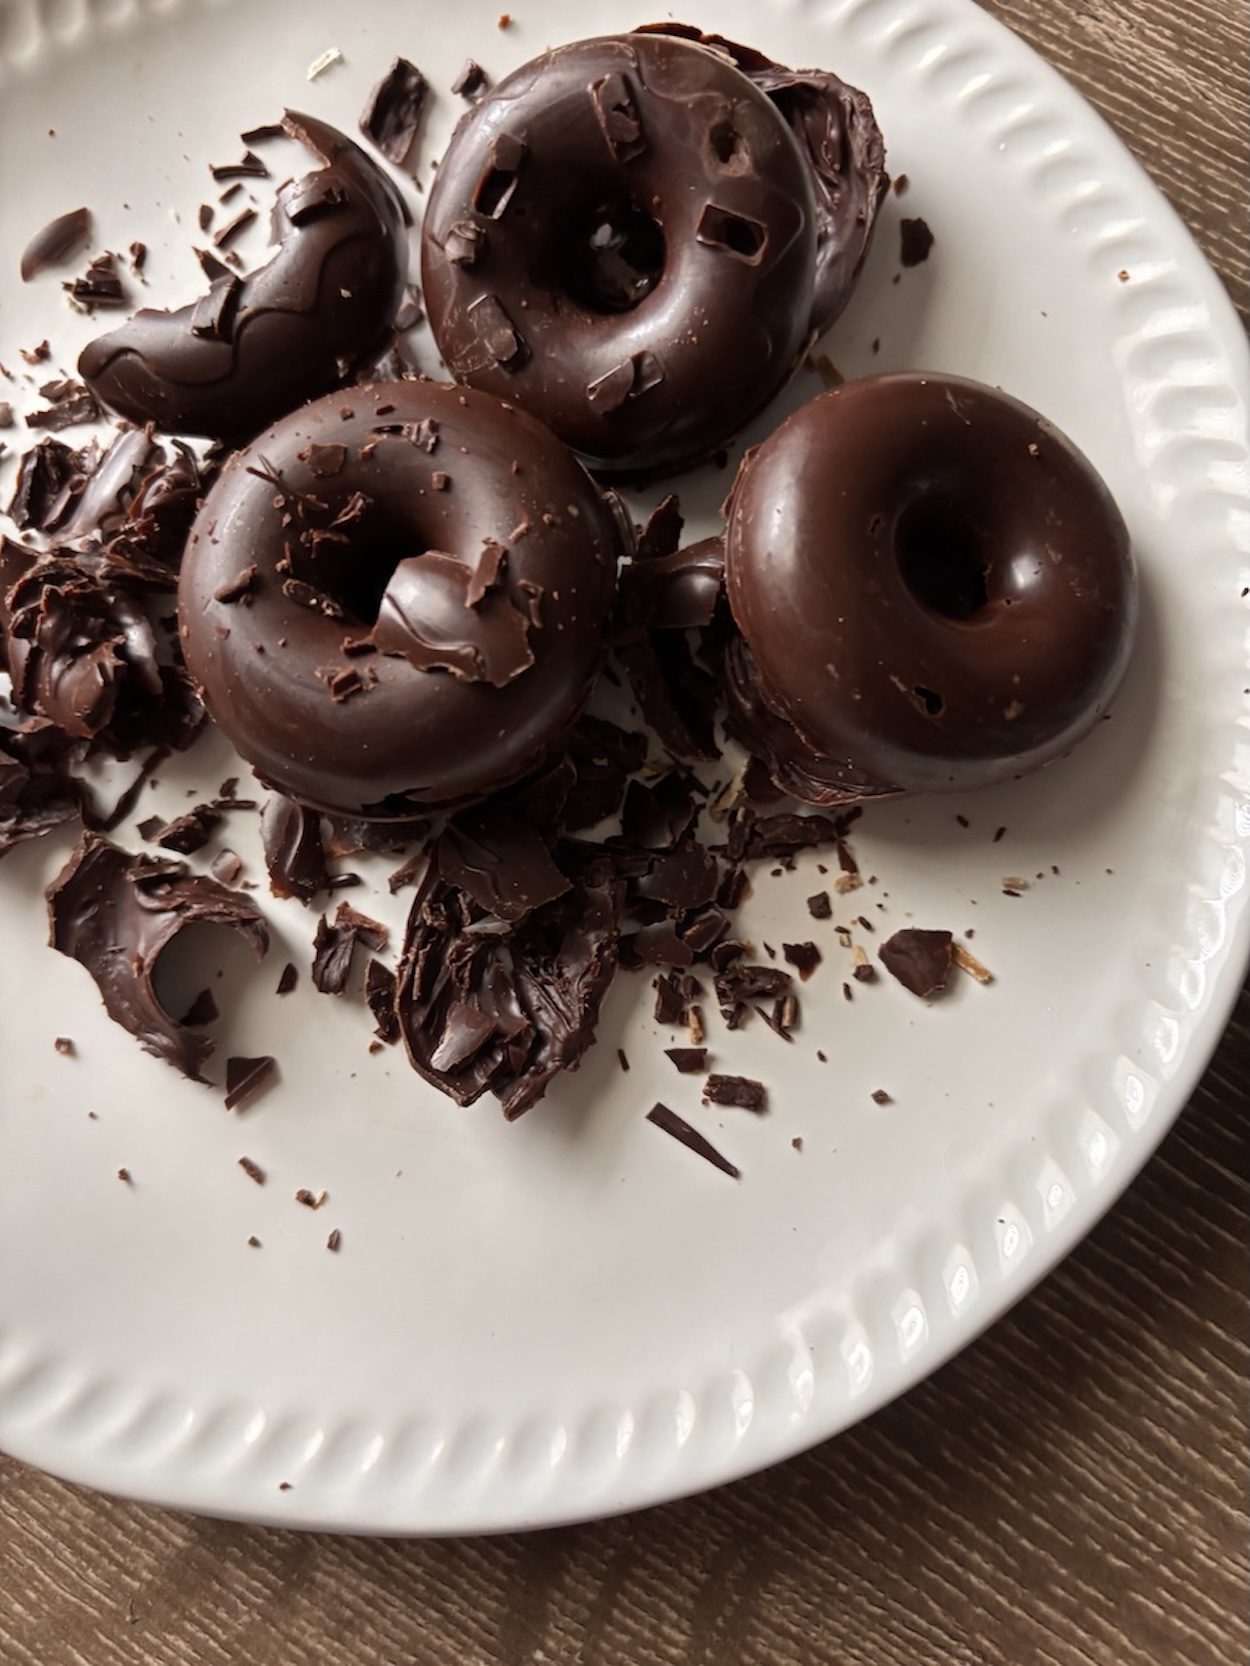
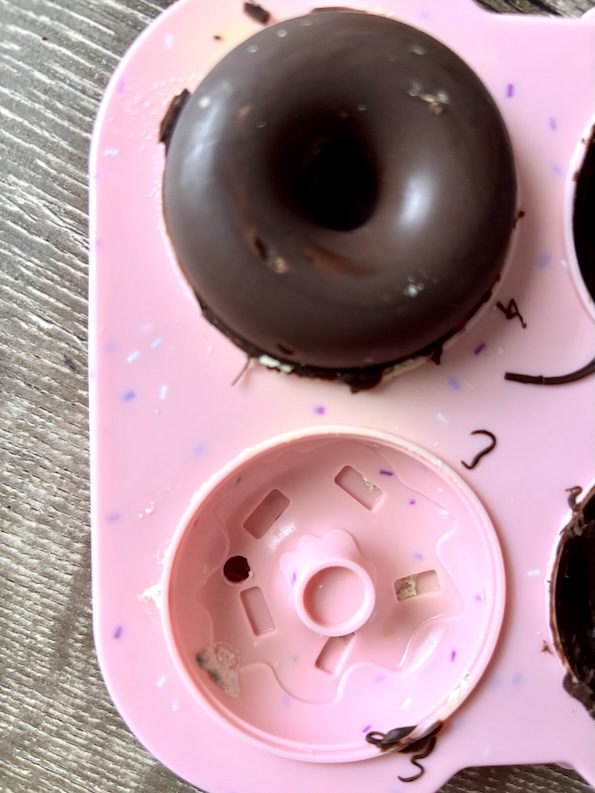
And if eating healthy today (with a healthy weight) and less sweets is your new year intention… and you have a natural daily sweet tooth craving, you can pair this pear-straw smoothie with a low-sugar berry shortbread cookie (no-bake), no-bake matcha cookie, low-sugar fruit pastry tart, gingerbread cookie, or low-sugar cinnamon donut and other low-sugar recipes.