De-stress is highly called for during the thick of holiday season and looming year-end goal deadlines. Because stress can build up fast any day like a ton of bricks. And can go away just as quickly like a tumbling over Jenga set.
But these types of short-term stressors are different than life long-term stressors that often don’t have a quick ending resolve. You can use the 5 reminders below today to help you through your waiting process.
You can also use short-term de-stress feelings and the useful reminders throughout this article to help you with your long-term stress situations.
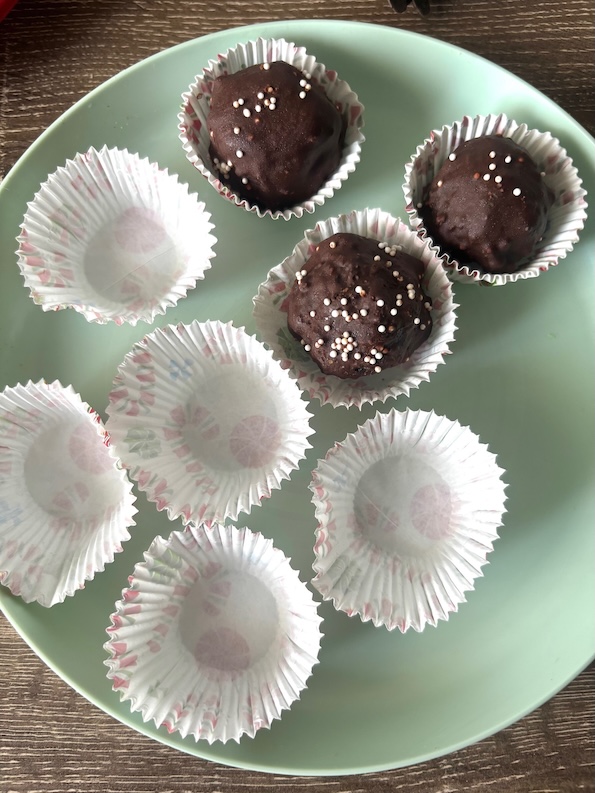
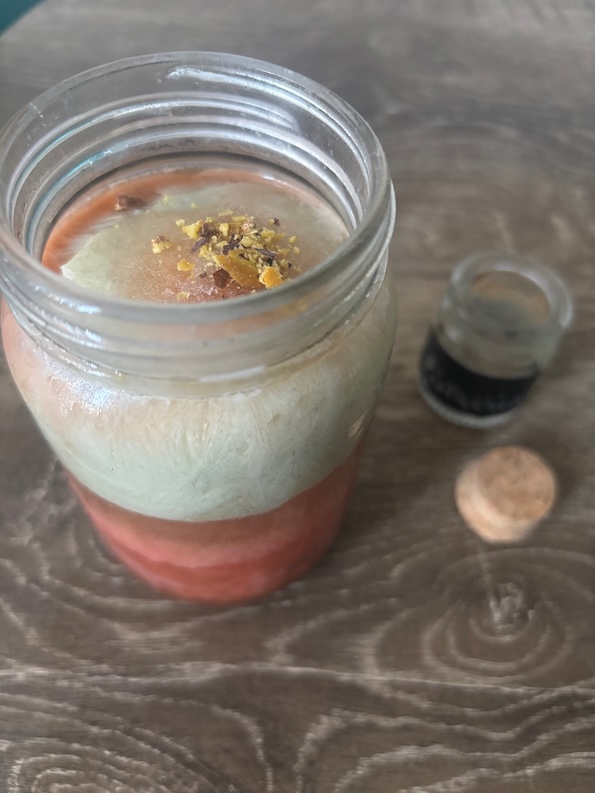
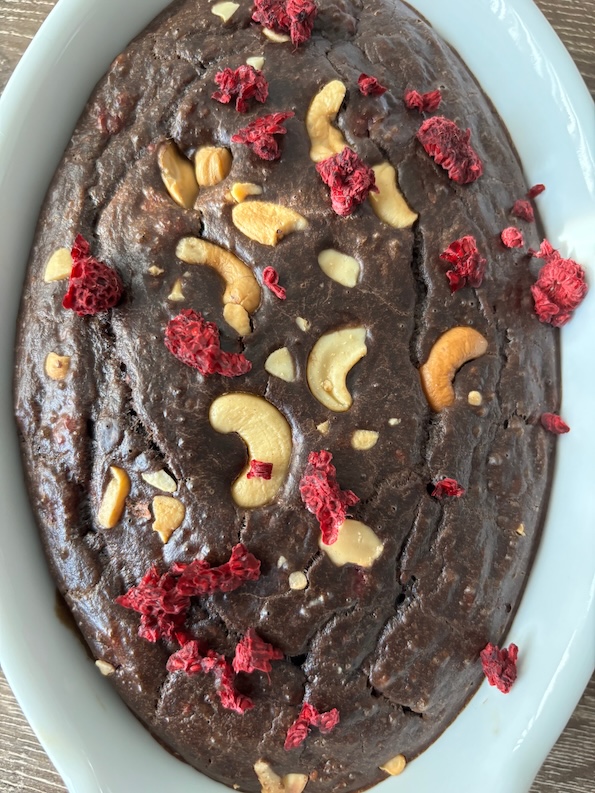
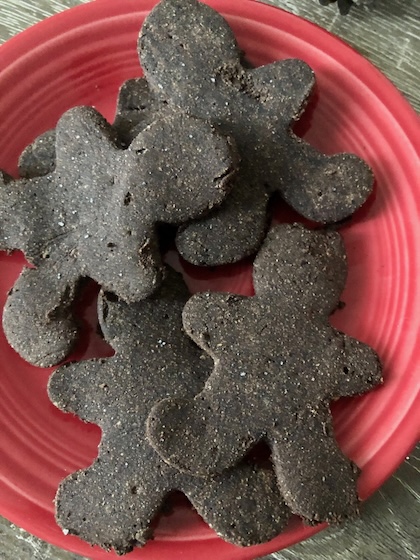
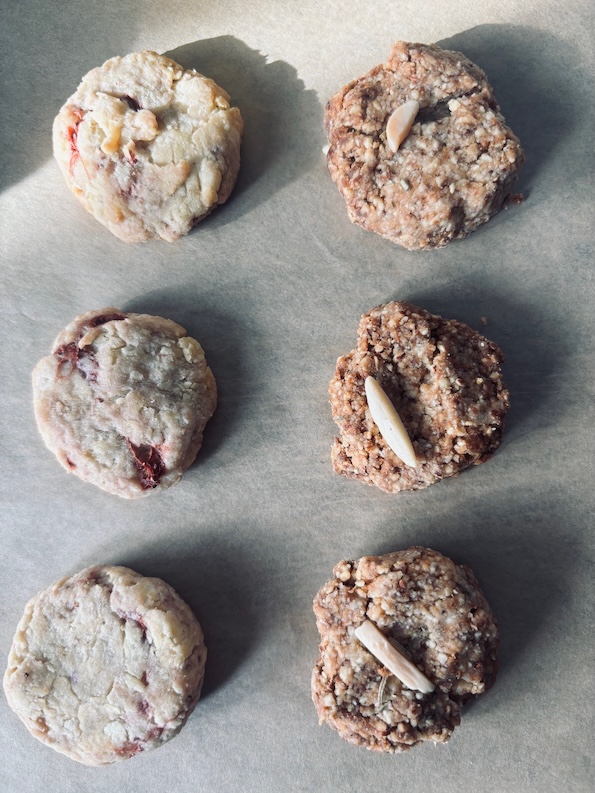
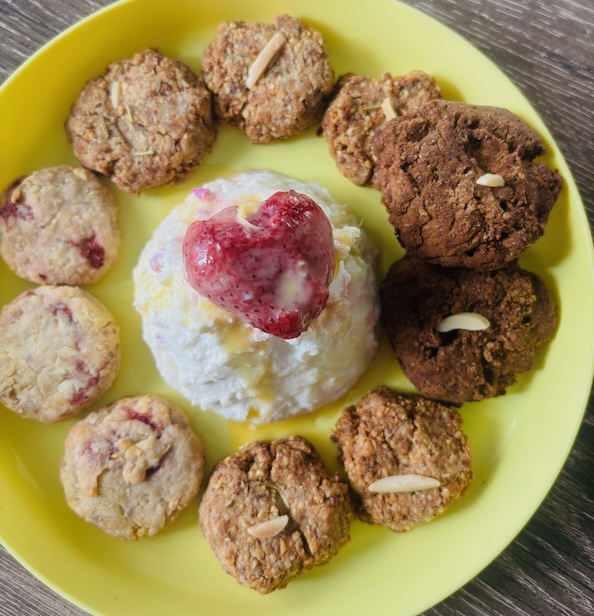
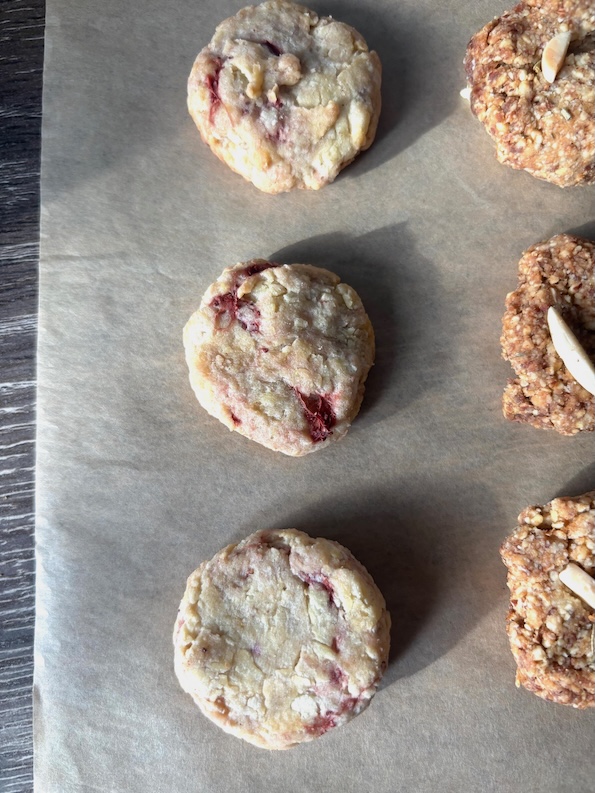
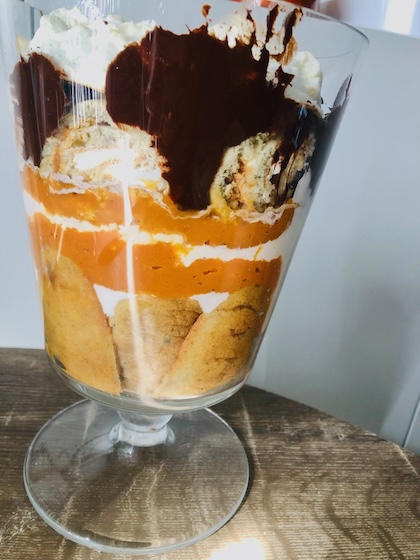
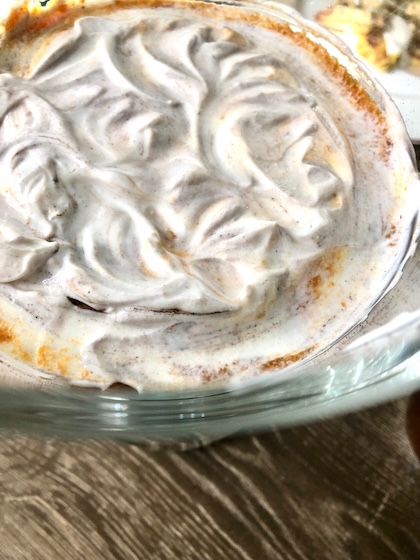
…Like for me, I use baking as a way to de-stress and relax after a work week. It keeps me on my toes, literally. I prepare a sweet table of goods and choux.

…and you too can create your table to help shoo-away stress, and celebrate de-stress.
What isn’t so easy to de-stress restore is undercurrent effects and emotional turmoil stored in the mind-body coming from long-term stress that’s hard to identify.
Those are usually invisible sources which means they’re not as easy to pinpoint and process: like dreams unrealized or deep trauma.
…Or areas of life that haven’t gone the way you wanted.
But unlike long-term stress sources, short-term stress sources are easier to describe with people, things, work deadlines and tasks involved. They are temporary thorns to the side or lasting for a season that has an end (like holiday season end).
Experiencing those temporary stressors mean you’re alive, putting yourself out there, and trying in this life! 🎉
And your gained experiences coming out of stressful situations won’t go wasted in your future as they help you build resilience and adaptability (that make you more productive and joyful, not leaning in on the negative emotions).
Plus, you can productively use the short-term stress situations to de-stress feel-good when they’re immediately over.
Then your heart beats its normal speed again and you do a happy dance inside for your accomplishments. 🫀
…Like when you make a deadline and now the work is out of your hands.
…You feel lighter as the weight is lifted and you get a quick sigh of relief.
Those de-stress happy relief feelings can last for a day or weeks, but they gradually wear off.
But through the process of handling stressful situations and then experiencing them go away, that teaches us for the next time… that things will be okay.
And those lessons carry you to help handle the long-term stress situations that sit as elephants-in-the-room for any season, usually season after season. 🐘 🐘
They’re overhanging in this season of your (and my) life. The problem hasn’t resolved or the dream hasn’t transpired yet.
This can be a few things or big areas in your life…
…And I know how that goes because I started out without balance where I had wheel-of-life (real wheel) problems that felt like I was wrapped around tornadoes. 🌪️
But the problems… no matter what they were, became less problematic as I grew because I gained more experiences and resilience. I also prayed for answers. And my self-care wheel grew.
Eventually coming out of each of those tough situations taught me the most about how to handle stress better and embrace a better life meant for me.
…And your challenging areas in your life have grown you the most. ⛰️
Long-term Stressors are Your Future Dreams
Those long-term stressors from decades ago (that are still around 🐘) are setups for your future dreams realized. ✨
They are what will be your Future Life that has more meaning and purpose than how you started off as an adult.
They will be part of your destiny… and they will lead you away from a ho-hum life that you’re not meant to live.
The sweet spot for you today is to see them as part of a long-term plan and believe they are already yours in the future.
But wisely let them go now if the timing isn’t right.
One day the stars will align in perfect timing for those dreams manifested. Just know they are yours.
In that mindset, you keep going and growing in your life now.
Also, connect-the-dots and remind yourself that your big dreams are in your recurring problems. Yes, they are!
And when you find the blessing in your problems today, you bypass unnecessary stress.
The problems in disguise will deliver you to your dreams on the other side that will change shape, form, and clothes. 😊
Those tough areas of life today that don’t seem to have any resolve in sight can take many twists and turns, heart and headaches, and often many years to come to pass…
They’re the recurring situations that keep showing up as a thorn to your side when you least expect or hope would resolve.
But most likely, they fly in and out of your life and then disappear from view again. But they are not outta the picture, even though they’re not fully visible yet.
They re-appear from time to time as reminders to keep us humble and from doing things and making decisions that we would regret later on.
…And they’re the same thorns that are meant to be turned into victory roses (dreams) later down the destiny road on your designed path.
…No matter what age you are, you have those thorny dreams right now in your life.
You know exactly what your big dream is that has shown up before in some way you know, even if you’re still wondering.
And how you manage your long-term stressor feelings is going to affect your daily life outcomes, physical, and mental health.
…So stay curious, not furious.
The dream triggers and memory reminders are hints for you to keep dreaming about this are, like you do when you’re motivated to fulfill accomplishments.
Except these big dreams blow the little victories away.
Jobs and accolades you acquire will pale in comparison to your dream purpose in this life.
If your dream purpose didn’t show up again occasionally, you wouldn’t know it can be real or leave room for chances.
You wouldn’t be leaving room for the possibilities… where anything is possible in this life.
And this life is meant to be a big adventure (as none of us know the future).
The choice is yours as to whether you embrace that what happens to you is good for you (and not a bad setback).
Enjoy the ride!
I know sometimes that can be easier said than done (or may seem like pie-in-the-sky thinking)… so in those times, simply start by working on stressing less as nothing good comes from stressful feelings.
And, a good de-stress reminder is:
Remember to keep failing forward.
…Especially on your personal growth attempts (to be a better person).
And remember to keep trying because anything worth pursuing won’t be easy.
If it were easy, you’d never appreciate what you got because you didn’t work to get it.
And these are 5 good de-stress reminders to help you through the season and the holidays especially when long-term stressors show up or blow up again…
De-Stress Reminders Around Holidays
1.Get peace.
If it’s meant to be, it will happen.
Find your peace.
Right now, today, and in this moment your life deserves peace.
Both calm inner peace and peace about your decisions.
Use discernment for decisions needed to be made and clarity from baby or micro step actions forward.
You’re meant to live whole, loving, and healed today.
(The opposite of living in fear or feeling something inside you is missing or broken).
You’re not a victim to your circumstances… and you can break out of those feelings and mindset in your journey.
“Let the peace of God rule in your heart.” – Colossians 3:15
2.Congratulate yourself on how far you’ve come in your situation.
Reflect on how far you’ve come with your same and recurring stressful situations that used to be so painful in some way.
When you don’t care so much about the situations causing stress anymore as you once did, that’s a healthy move because you’re letting go (and letting light in).
You’re also naturally learning to de-stress some in the process.
Continue to live celebrating your internal wins daily while life is working things out in your favor for the aligned perfect timing. ✨
3.Believe in good things to come.
Believe that what you’re going through and have gone through (…maybe painfully) will help your situation in the end and on the other side. 🌈
Waiting, setbacks, disappointment, and delays now are purposefully setups for your comeback and life appointments.
You can be a victor now by changing your feelings, relaxing, and de-stressing.
Your waiting and what you’re going through now won’t last, but your dreams will come to pass and they will last!
4.Keep going forward and growing healthy.
Keep growing and learning despite your stressful situations.
Keep changing your thoughts to positive, loving ones.
“Do not be conformed to this world, but be transformed by the renewal of your mind.” -Roman 12:2
Your other life-giving areas of your life are meant for this season. 🌱
Cherish them today, because they will change one day.
Use them to help you de-stress through your worry, thorn situations.
5.Keep a de-stress routine.
Find a way to de-stress every day.
I like a warm cup of tea. 🫖
I also do 4-7-8 breathing: inhaling in the gratitude and exhaling stressful negative energy.
When I felt the weight of my situations, I made sure to re-center myself back on my yoga mat and think about what I would be looking forward to later in the week and at nights.
Daily, I stay grateful for what I have in life as part of my habit stack routine. We all have things to be appreciative of in our lives… shoes and socks, showers, food, roof, lights, tea…
And my peaceful ritual every night is at 5:30 pm while working and I’m waiting for the daily sky show to light up.
Looking up and glancing out my western facing windows from my seat, I see the sky colors gradually change from day to night.
I do a little work and then look back up to see the dark rainbow colors change like an Aurora Borealis display.
Occasionally there are late afternoon storms. I find those cleansing. I appreciate the thunder claps and silvery pitter patter rain drops.
It’s not about the type of show I get, it’s about the day and night showing up for me that I take personally.
Every day like clockwork for a half-hour, I pause and a new painted sky happens, often in shades of purple, orange, blues and whites, and that reminds me that EVERYTHING will be all right as promised.
…the sunset show is my de-stress therapy for this season. 🌅 And maybe that’s something to embrace in your changing season.