
Fruit pastry tart that’s jam berry-filled is berry filling and puts a smile on some days and faces. And you can make a healthier, low-sugar version with little butter, so you can save the calories and still enjoy the pastry anytime!
Like these clouds, star, and moons…
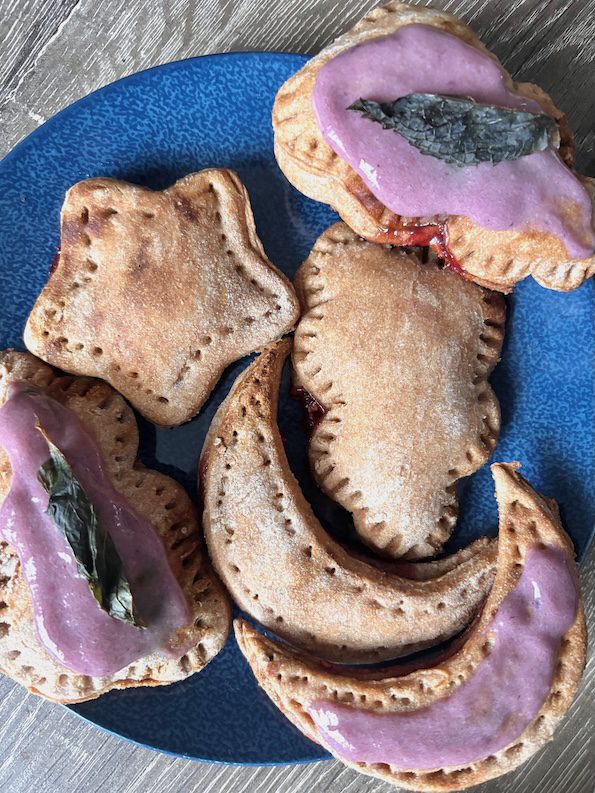
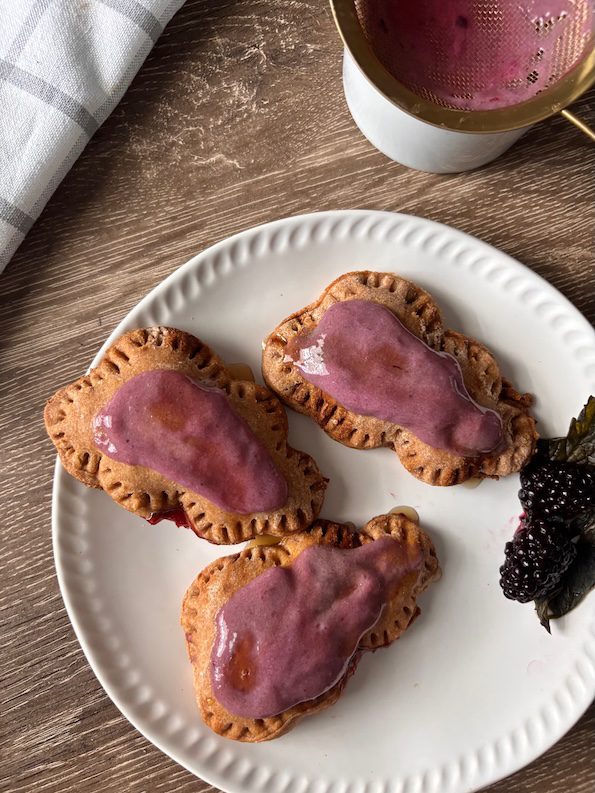
That have a zing-y blackberry glaze for your starry gaze!
For the pastry filling, you make your own jam or use a store-bought (organic) jam with 10 grams of cane sugar per tablespoon or less.
It’s not the low-sugar 5 grams per 100 grams, or half-a-cup… but it’s lower sugar that still counts.
And for this fruit pastry tart, the pastry is made from whole wheat flour that’s a little more fiber and protein vs. all-purpose flour more commonly used.
Every little healthy bit adds up.
For the fruit pastry tart below 👇, you could use the steps to make a wholewheat simple pastry dough… or use the dough you would use for a pie shell or shortcrust.
No proofing needed.
And there’s no need for folding pastry to make lamination layers like in puff pastry (that looks like fabric bolts in a fabric store if you need an imaginary visual).
But the difference is the ingredients below are modified to healthier ones.
And if that’s important, save these measured steps because this is a simple pastry recipe that you can use over and over again for many baking and dessert applications.
So let’s begin…
First off, allow about an hour from start to finish.
The baking itself will only take 15-20 minutes, but pastry dough is easier to work with when it’s cold. So stopping to refrigerate twice (or at least once) when you’re picking up the delicate cutout dough shapes, will pay off in the end.
…I’m just trying to prep you for what to expect.💭
And the good news is that the minimal extra time needed to refrigerate is about as complicated as it gets for this pastry!
Fruit Pastry Tart Ingredients:
And so starting with the easy prep, gather your pantry cupboard ingredients and combine in a bowl with a regular spoon:
Whole wheat flour, honey, and neutral (light) olive oil will add to the healthy aspects. You can also sub in coconut oil that has a different viscosity, so the amount can vary.
Small amount of butter: Keep in mind it’s easier to work with butter when it’s room temp soft so you can bring out what you will need (the 2 pats), a few hours or a day before.
If you forget, you can use heated, melted liquid butter. Both ways will work in the end.
But before you add to the other ingredients, let warm butter cool down because you want to work with a colder dough.
Water: Use coldish water after you combine the other ingredients.
Add flavor extract, salt, and baking soda.
And after you’ve combined all the ingredients together by hand or machine (if you wish), you can roll out your pastry dough onto a sheet pan (like a 17″ x 11″ cookie sheet pan with a Silpat setup works great).
Add some bench flour, so the dough doesn’t stick to your hands and rolling pin.
If you use a full size Silpat, you’ll know you’re done rolling when you reach the inner orange edges (or about 1″ from each side).
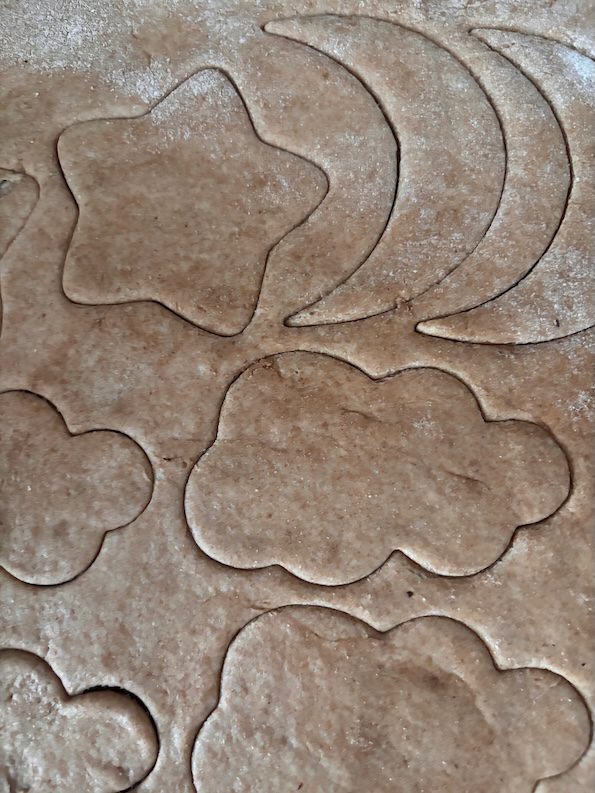
When you’re happy with your evenly rolled out dough, then take your chosen cookie cutter(s), and imprint-cut 12 shapes (2 for each shape if you use different shapes, as you’ll need a top and bottom).
Any regular size cookie cutters will work, and you will have extra pastry that you can make more with or save for another pastry project. I’m a scrapbooker, so this step makes me happy! 😊
And at this point, do not remove the excess pastry yet as it’ll be easier if it’s cold. It’s easier to move shapes when the pastry is cold.
I mentioned that already, but it’s worth repeating.
So then this is a good pause point to refrigerate the pastry pan for at least 10 minutes. (You can do a few yoga moves if you don’t know what to do).
Then when cold, bring out and remove the excess pastry from your shapes with a knife or offset spatula that you’ll use to pick up the shapes. I find it easiest to put the matching cookie cutter shape ontop of where I’m removing the excess pastry as I move from left to right on the pan.
But you do you! …and the way that makes sense to you.

Then add jam to center of the bottom shapes (or 6 of the shapes). Leave some room for the jam to ooze out when you close up the pastries.
Refrigerate again: You can refrigerate the pan for the second time so you don’t mess up the shapes. This mostly depends on how quickly you work. I’m purposefully slow and detailed, so I refrigerate again.
You’re less likely to mess up the shapes when they’re cold and firmer.
When pastry sheet is cold again or easy to work with, use an offset spatula (or regular cooking spatula) to pick up the top fruit pastry tart shapes (without jam) and gently place on top of the bottom shapes.
Then crimp the matching tops and bottoms together with a silverware fork (no fancy tool needed).
I find this step very satisfying too. 😉
And if instead of vertical line patterns, alternatively, you can also use a toothpick to poke holes evenly spaced apart on the pastry shape edges, and then push down on the pastry making a line in-between the toothpick holes you’ve made. See the star and moon shape below.
You do this with the long side of the toothpick . . . like you’re connecting dots.
Then when you’re happy with your pastry creations, bake your fruit pastry tart pan.
It’s a quick bake… like cookies.
So stick around. And while you’re waiting for the bake, you can make the glaze.
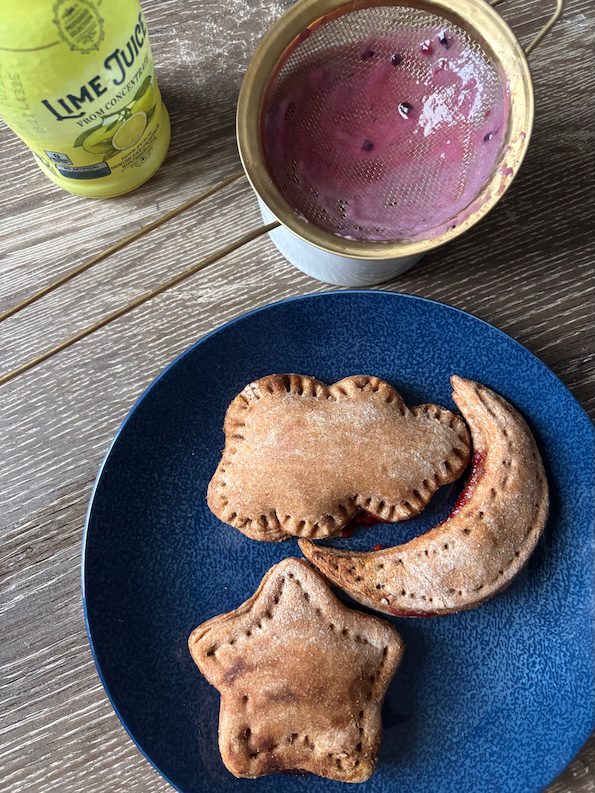
You can use crushed berries. I like a blackberry, lime, and honey trio. You can use a sieve to filter the berry seeds and push the glaze through into a bowl so the consistency will be the same (consistent).
Let the fruit pastry tart pan cool before adding the glaze ontop.
These look like soft leather plushies. I could put a few faces on these. 🙂
Regarding freezing… yes, you can freeze them (and with a glaze), and bring them out and revive them with a smeared drizzle of honey (or maple syrup).
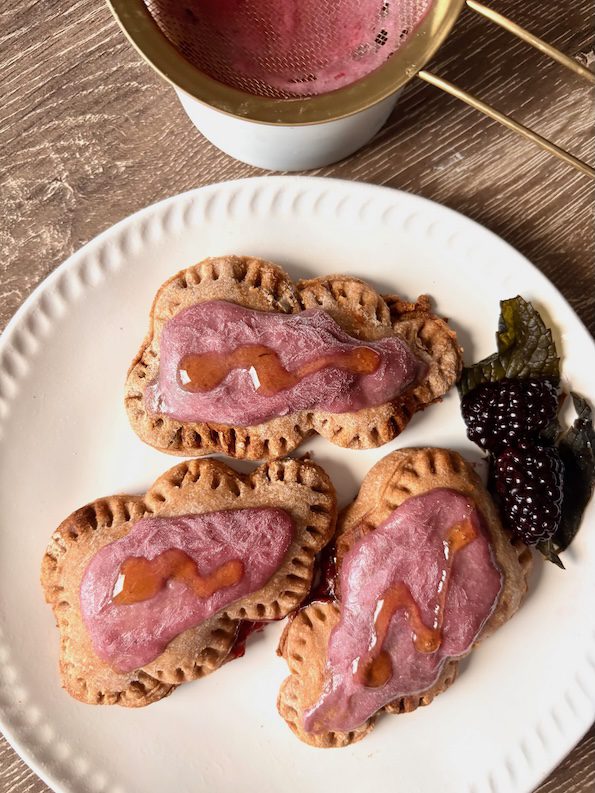
Like changing clouds, the smeared honey look like shadows… and now they’re glazed shiny again, happy, and ready to eat.
These will pair well with a refreshing low-sugar lime sherbet with blackberry.
Whole Wheat Berry Filled Pastry
Equipment
- cookie sheet pan
- Silpat optional
- offset spatula optional
Ingredients
- 2 cups whole wheat flour
- 2 tbsp honey
- 2 tbsp butter, softened
- 1 tbsp neutral oil (light olive oil)
- 1/2 tsp vanilla or almond extract
- 3/4 cup water
- 1 tsp baking soda
- pinch of salt
- fruit jam
- berries, maple syrup, juice and/or water for glaze
Instructions
- Add the flour into a bowl. Then evenly combine the softened butter.
- Add the remaining ingredients and form a pastry dough ball.
- Roll out on a sheet pan. If you use a full Silpat (17" x 11-1/2") sheet, the dough will roll out to the inner orange edge or about 1" from the edge on each side.
- Use your cookie cutters to imprint cut shapes but do not remove the excess pastry yet. Refrigerate for about 10 minutes.
- Then remove excess pastry. You'll be left with extra pastry you can re-roll or freeze for another time or pastry project.
- Add jam to center leaving an edge on the pastry shape bottoms.
- Refrigerate again.
- Add a top pastry with the same shape ontop.
- Use a small silverware fork to make an edge pattern and crimp edges shut. Alternatively, use a toothpick to make evenly spaced hole indents and then press down with the long side of the toothpick to "connect the dots."
- Bake pastry on 350°F/180°C for about 15-20 minutes. The bottom edges will look darker. Don't overbake.
- For the glaze: crush berries and add milk, maple syrup, and water or liquid like lime juice until you get the right glaze consistency. Tip: push the glaze through a filtered sieve. If it's too thick, it won't go through.