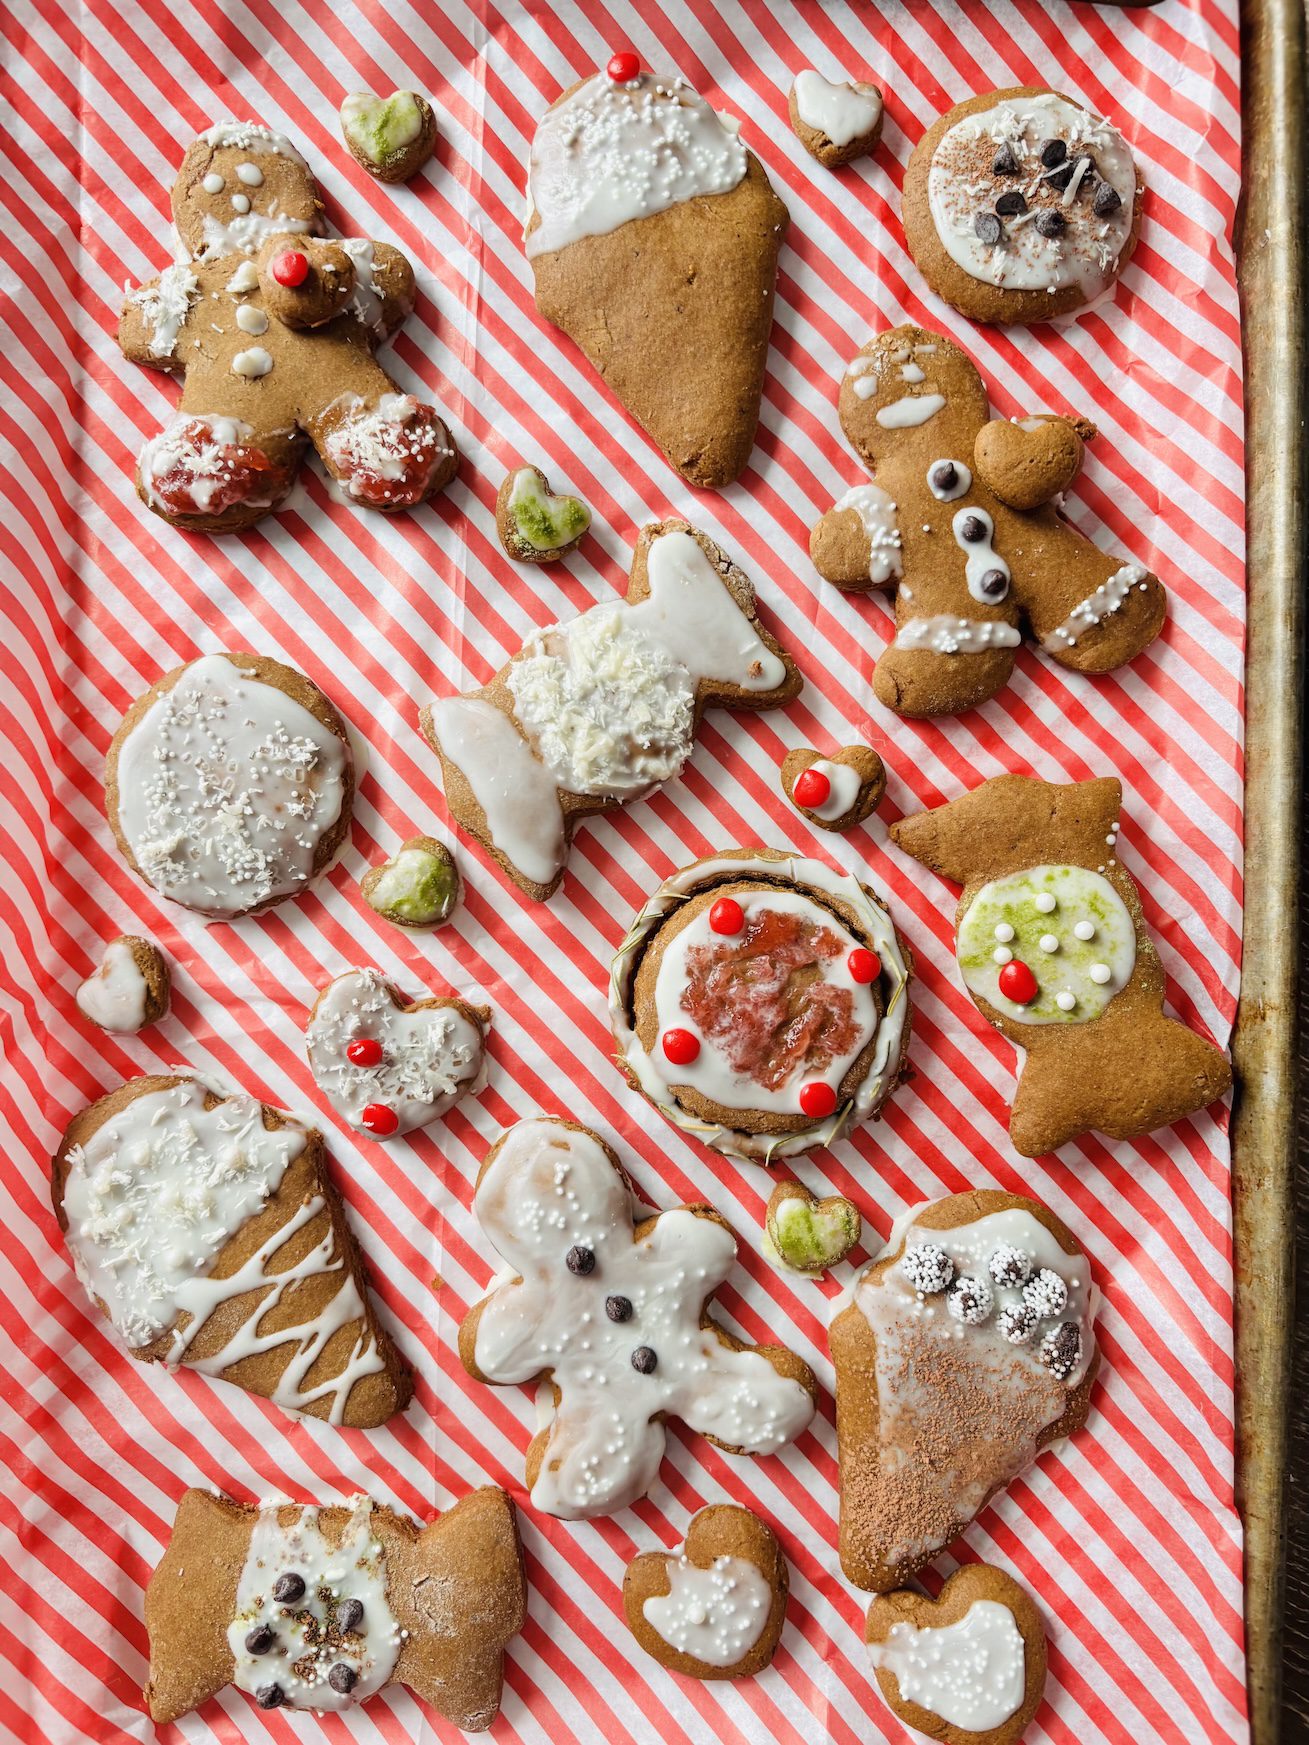
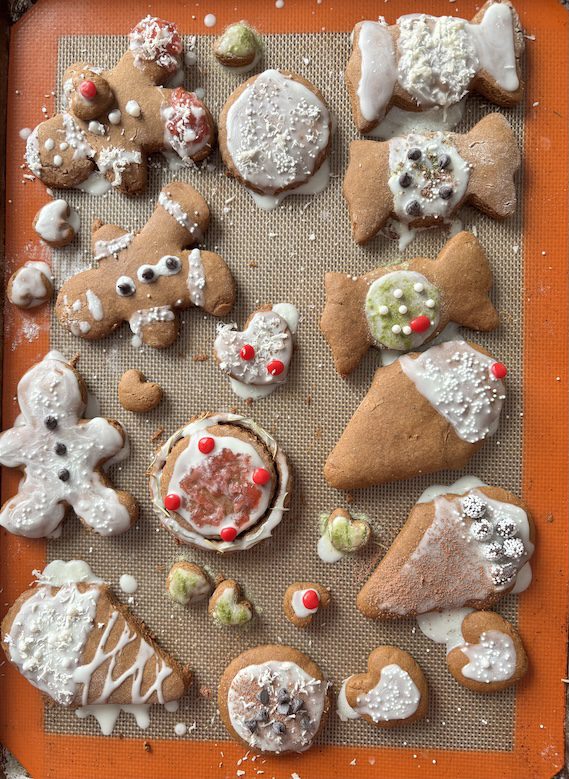
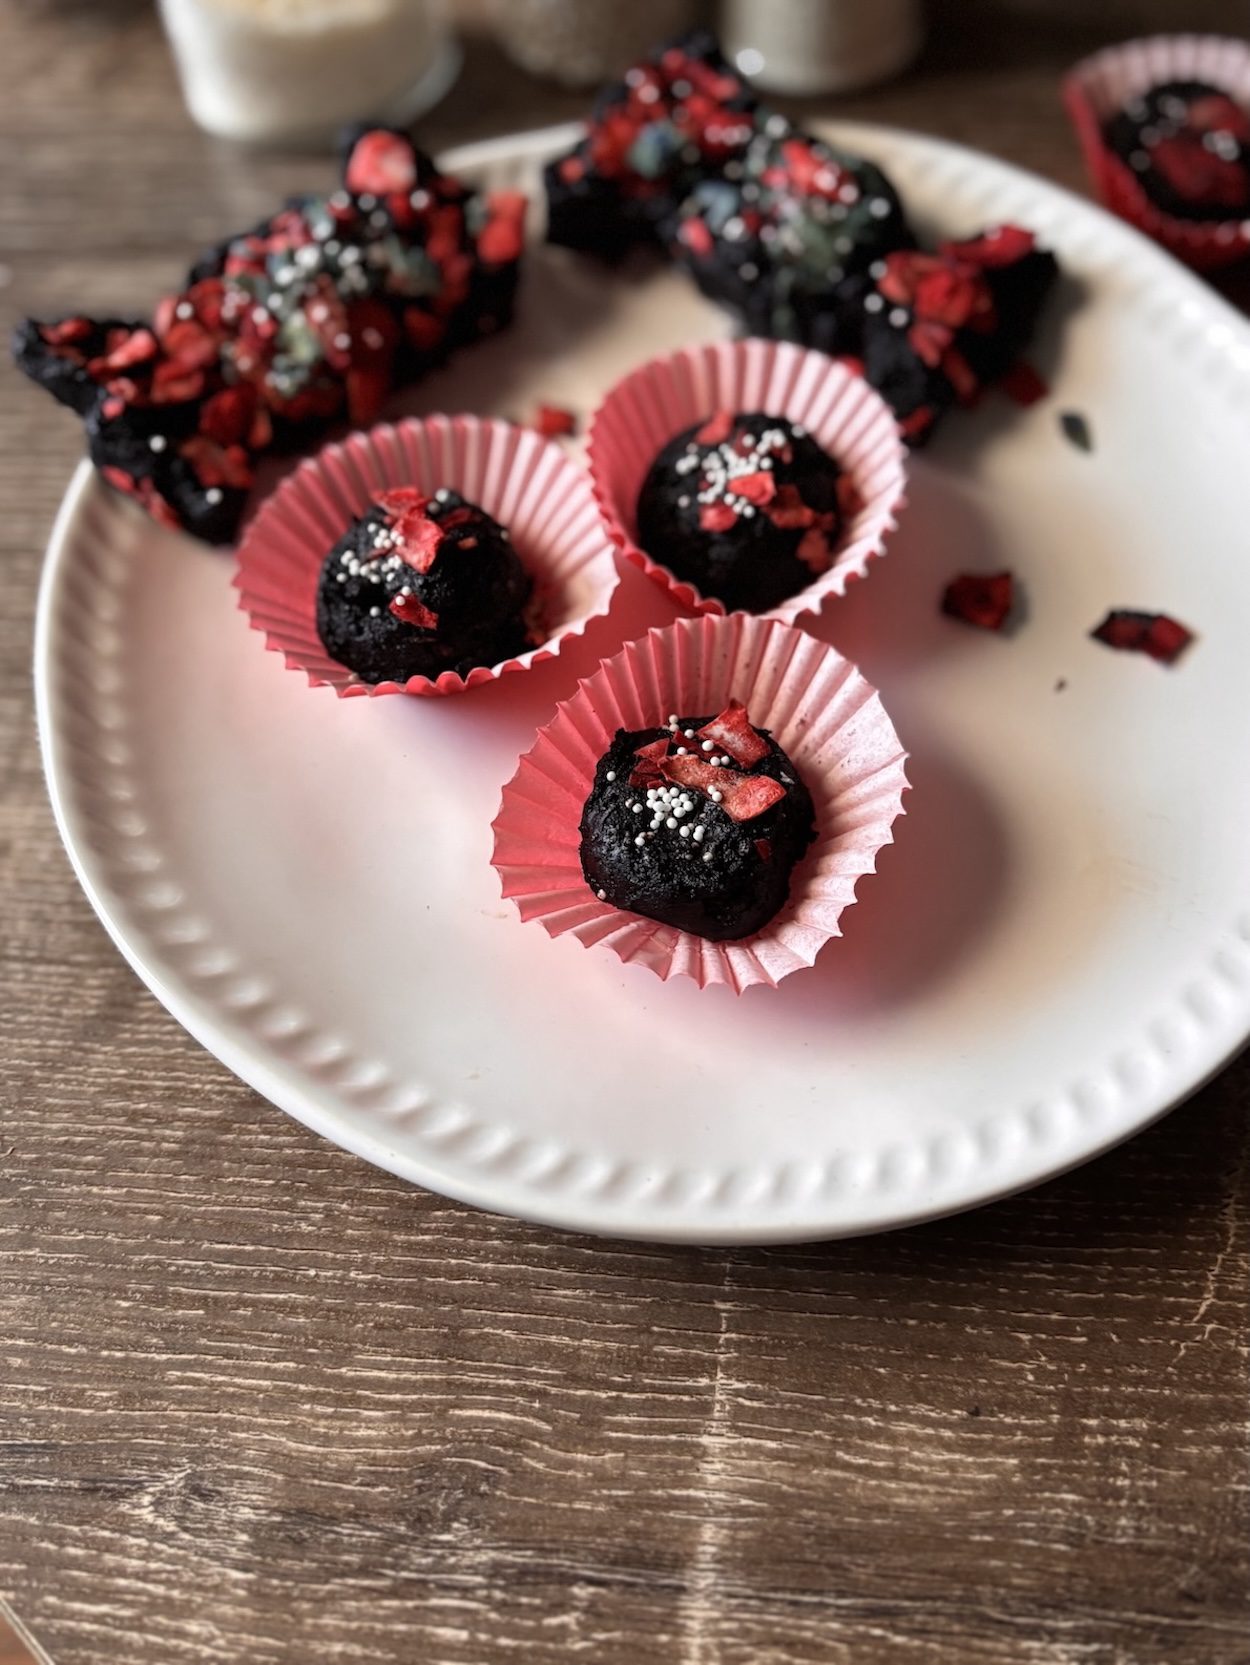
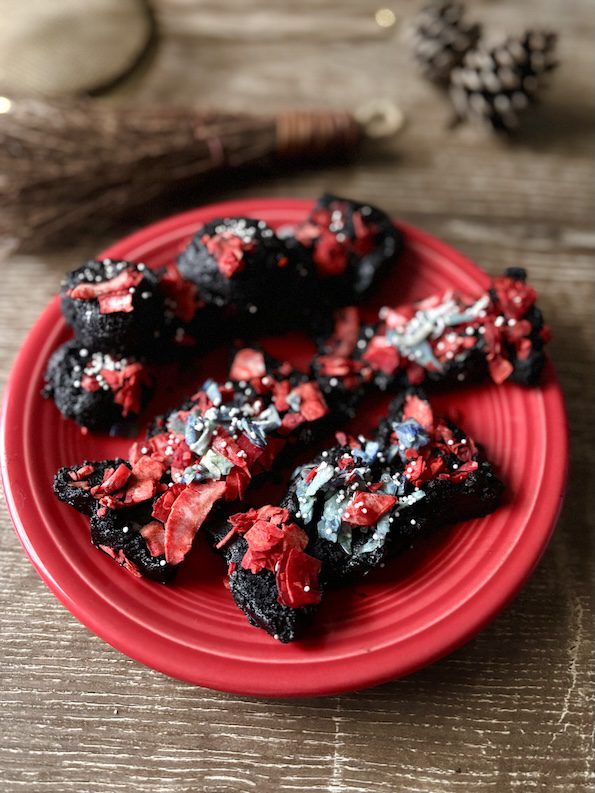
Dark cocoa cookie is festive fun when they are decked out bon bon or made into twist candy bow shapes like these just in time for holidays. And festive candy wrappers. 🍬
They remind me of the sweet treat colors in a Swiss Colony catalog.
The good news is there’s no planning needed! Work I dug my heels in for many years where I holiday planned other people’s parties in private venues.
…I know what it’s like to be on my feet for hours in heels, hiking miles in a room. That was good enough exercise where I had no additional trekking outdoors need on the weekend. 😊
And if that’s how you feel no matter what you do all week… while kicking your feet up, holiday bakers can take a break. And make a guilt-free treat.
An enjoyable plate of no-bake Christmas cookies can be the pre or post-Advent fix (along with Advent chocolates).
How does that sound?
If good, holiday party celebration festive cocoa candy bows and balls are quick and no-bake easy.
You decide what shape you make ’em.
Your delightful no-bake cookies can be a joyful respite when you’re tired of standing or doing hours of prep holiday cooking.
Good for people who work all day in kitchens too.
And then the day of the event, the enjoyment flies by. Everyone is happy. You with your prepped plate making something creatively homemade and TASTY.
Because if it’s healthy only, it’s NOT happy. 😊
No one need know that it took minutes to make.
You get to be Mary with the guests.
The reward part is spending time with people, laughing and having a good time, and not having to do any cooking work.
And these dark cocoa cookies are like a delightful break you give yourself where you don’t cook or bake.
Dark cocoa in case it doesn’t ring a bell, are the tastes from the cookie sandwiches that start with “O” and end with “O.” The cocoa tastes different than traditional hot cocoa’s cocoa.
And you can make these with the same ingredient or use regular cocoa (or healthy cacao).
Either cocoa way, the best part is they’re sweet energy snacks in disguise.
They won’t last on a plate long.
Making them is as simple as rolling out the dough…
Then refrigerating for a few minutes to let the dough rest (and dry out a little).
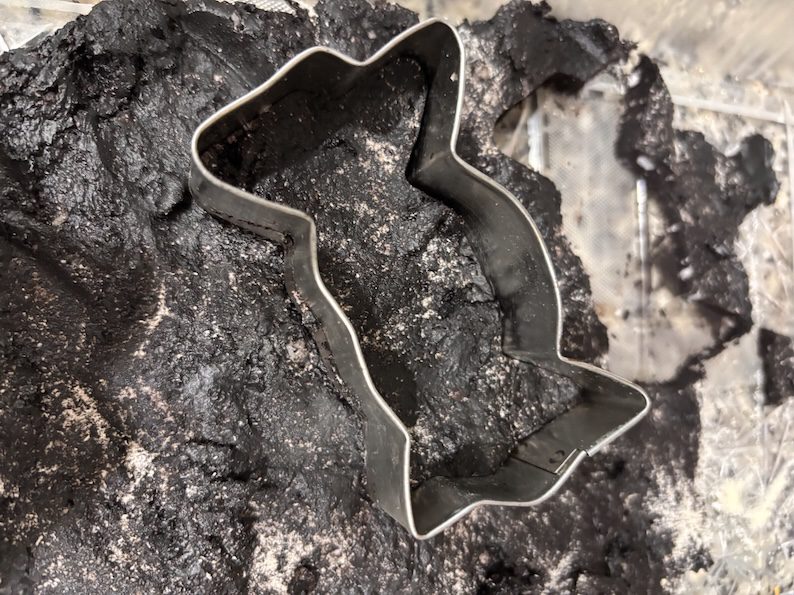
And finally, cutting out your shapes.
Or you can roll the dark cocoa cookie into fun balls… probably blindfolded without refrigerating.
Add your decorations while the dough is still sticky. You can zhugh with powdered gold ginger dust or more (dark) cocoa decadence.
Or use elegant uniform sprinkles and coconut flakes for confetti. 🎉
You can dye the confetti with healthy natural powders like blue spirulina, green matcha, and beet that I’m suggesting here.
With a little magical water ingredient, they will make colors like pastel watercolors.
And if you want the colors to be more vibrant colors, you can use natural liquid gels like Pandan gel that will give a deep green.
Let your color wheel imagination go wild! 🍬
Other ideas: if you like peanut butter tastes, try these healthy peanut butter candy chews or peanut butter cookie that have cocoa vibes.
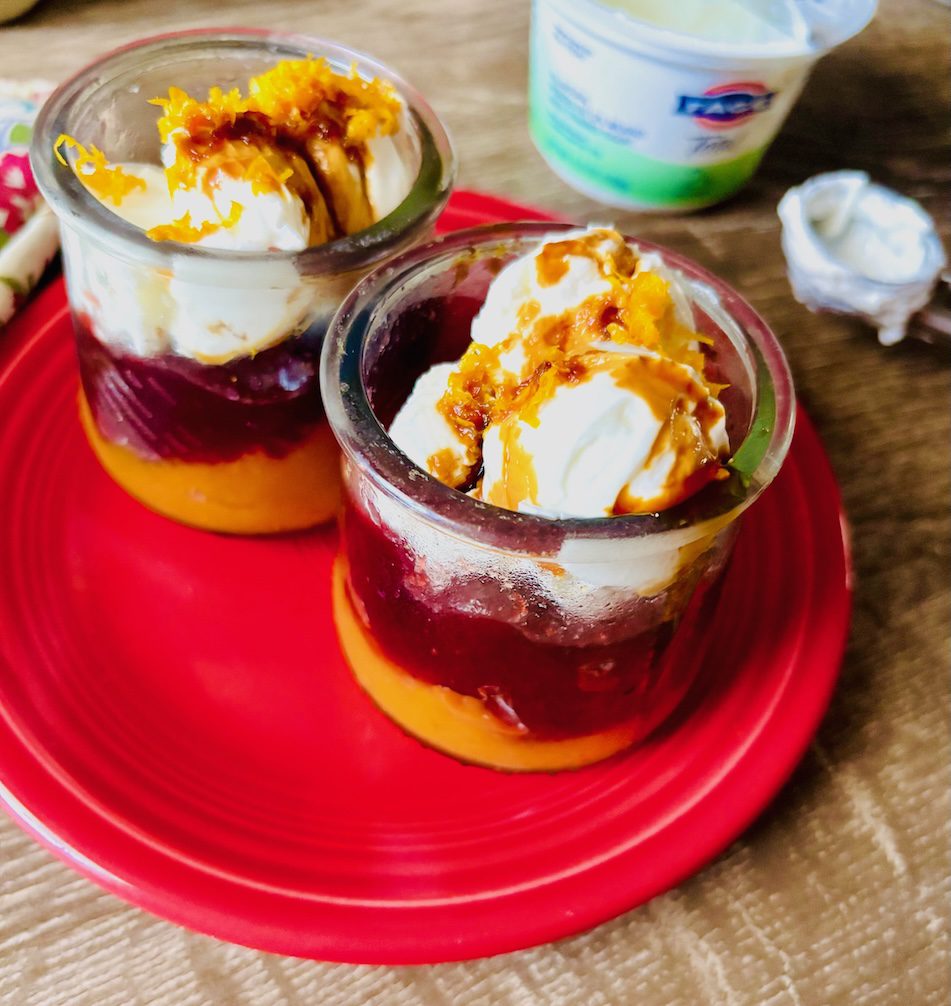
You can pair your sweets with a festive pistachio layered cacao beverage that you freeze and bring to room temps to watch the naturally sand art unfold.

Dark Cocoa Cookie
Ingredients
- 1 cup dark cocoa
- 1 Tbsp coconut flour
- 5 Tbsp oil (coconut or light olive oil)
- 2 Tbsp molasses
- 1 tsp coconut flakes
- 1 Tbsp additional coconut flour for top and bottom
Instructions
- Combine ingredients together to make a dough disc.
- Refrigerate dough in a closed container or plastic wrap for at least 20 minutes to rest and dry out some.
- Add coconut flour to top and bottom of dough to prevent sticking. Flatten dough with palm of hand.
- Cut out shapes desired e.g. with cookie cutter.
- Plate, serve, and enjoy!