Grow an Easy Avocado Plant
After you enjoyed your avocado on toast or with a meal, you can plant your seed for an avocado plant for daily enjoyment. It's perfect greenery for an apartment or bookshelf where you can grow your own plant when you have a brown thumb or want to appreciate avocado abundance. This a great project for adults and kids! 🌱
Materials
- drinking container or glass
- toothpicks
- paper towel
Instructions
- Clean off your seed. Larger round to medium seeds work better.
- Peel off the brown outer layer so you see the bare seed flesh that has a peachy flesh color. Tip: Do this when before you go to the nail salon as you will need to use your finger nails. Knives and sharp objects won't do the job without damaging the seed. It may be easier to wet soak the outer layer first to make it easier to peel off.
- Take partial paper towel and full soak seed with water. Wrap around the entire seed, but don't leave too much excess paper.
- Place the seed in a sealed plastic bag (works best) and set in a darker, cool room temperature place in a place you don't forget about.
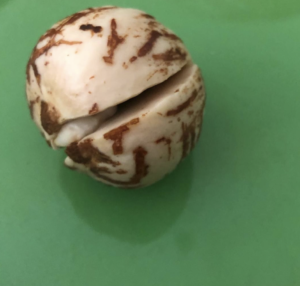
- When the paper towel starts to dry out over the days, moisten with fresh filtered water. Keep repeating this step. One day you will see a middle crack in the seed. This is to allow the root to sprout and grow that can take a few weeks. Be patient! And if your seed crack breaks the seed (no worries and don't give up), keep the seed half that has the root.
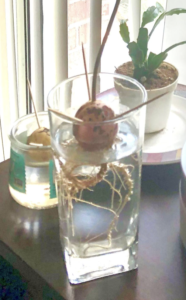
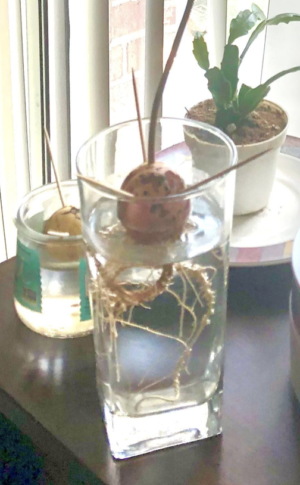
- When you see an obvious root bud growing, you can place 3 toothpicks evenly around the seed and set in a drinking glass or container with a rim. Glass works nicely so you can see the roots from the outside. Then add water so the bottom and middle of the seed is "bathing" in the water, but the top of the seed does not need to be submerged in water.

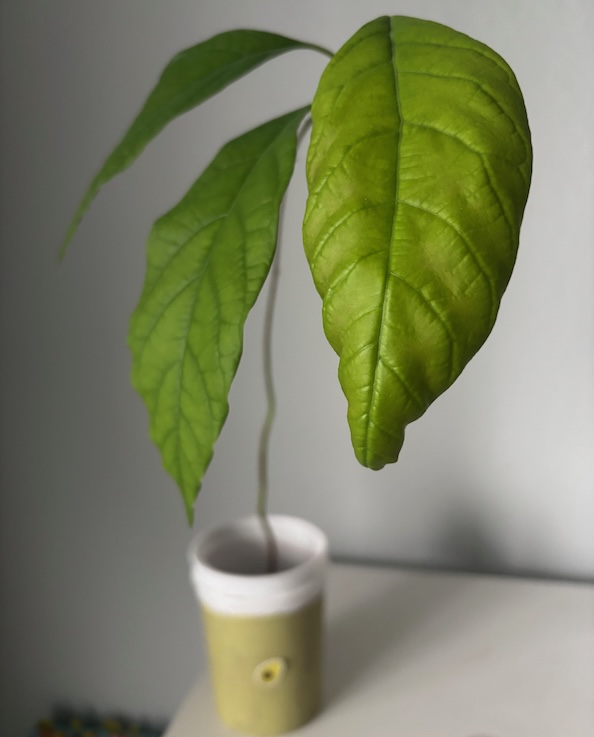
- Over more weeks, you will see a green stem grow upward and eventually leaves will sprout (months later). Enjoy and keep adding water to your glass as your seed roots are thirsty. The roots will eventually outgrow the glass where you may then choose to transplant to a larger vessel. This is a great easy project for the Kindergardener in each of us where the roots go down and the plant goes up!